Table of Contents
Advertisement
Quick Links
EDAN Agile PLM Electronic Signature Information
--Signatures related to this document and performed in EDAN Agile PLM.
文件名称(Document Name):Acclarix AX8&AX7使用说明书基础册-英文
文件编号(Number):01.54.002481
版本(Version):2.1
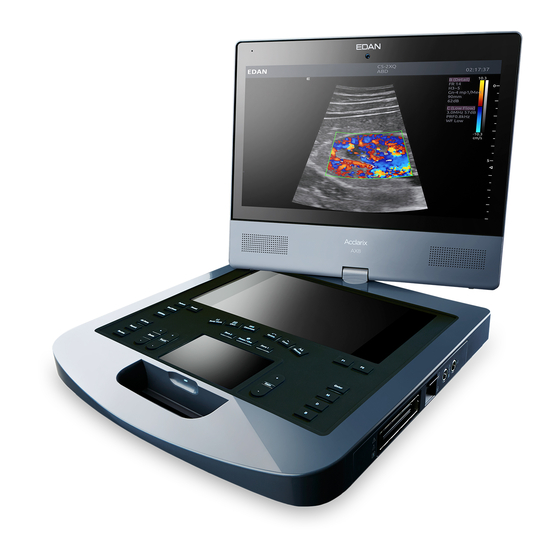
产品型号(Product Model):Acclarix AX7;Acclarix AX8
项目编码(Project Code):2908G000
签批信息(Signature):
作者(Originator) : 谢 菊艳 (xiejuyan)
2019-07-31 09:33:08
审核人(Reviewers) : 李 娟 (lijuan)
2019-07-31 16:23:29
审核人(Reviewers) : 鲁 应君 (luyingjun)
2019-07-31 09:53:23
审核人(Reviewers) : 陈 云飞 (chenyunfei)
2019-08-02 17:59:54
批准人(Approvers) : 郭 伟娟 (guoweijuan)
2019-08-06 13:48:03
批准人(Approvers) : 冀 伟 (jiwei)
2019-08-07 00:24:14
版权©深圳市理邦精密仪器股份有限公司 (Copyright©Edan Instrument,Inc.)
Advertisement
Table of Contents


Need help?
Do you have a question about the Acclarix AX8 and is the answer not in the manual?
Questions and answers