Advertisement
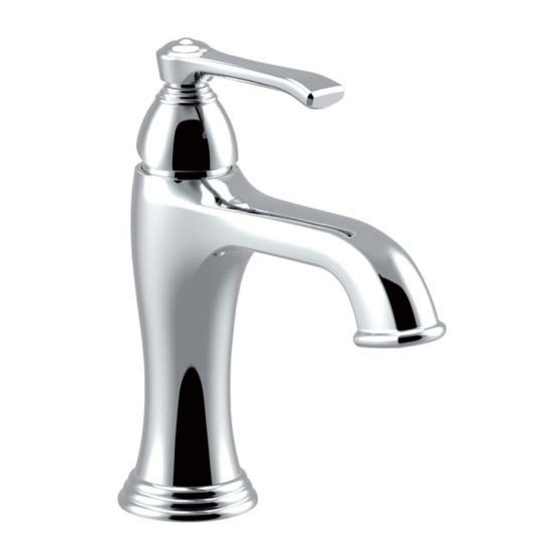
Berea Single-hole Basin Faucet
11-01
Tools You Will Need
Adjustable Wrench
For ease of installation will need:
To read the installation instructions completely before beginning.
To read all warnings, care, and maintenance information.
Adjustable Pliers
Teflon Tape
Before beginning installation, check for any damage
that may have occurred during transport.
Note: Damage claims cannot be made during
or after installation.
15121411-F
Advertisement
Table of Contents

Related Manuals for Crosswater Berea 11-01


Summary of Contents for Crosswater Berea 11-01
- Page 1 Berea Single-hole Basin Faucet 11-01 Installation Instructions Tools You Will Need Adjustable Wrench Adjustable Pliers Teflon Tape Before beginning installation, check for any damage For ease of installation will need: that may have occurred during transport. To read the installation instructions completely before beginning. Note: Damage claims cannot be made during To read all warnings, care, and maintenance information.
- Page 2 11-01 Installation Instructions 1(a) 1(b) Lower faucet into mounting hole. Slide "C" washer onto faucet shank. Plate in 1(b) is optional and may be ordered separately. Carefully tighten spout nut to secure Slide push drain trim and plug into Install the drain tailpiece to the faucet.
- Page 3 Remove aerator with key and flush out debris. Re-install aerator and save aerator key for homeowner. Cleaning Instructions Rinse away any traces of soap and gently dry with a clean, soft cloth after each use. Rinse completely with water and dry any overspray.
- Page 4 2 MAX 27-7/8 9/16-24UNEF-2B Warranty - This Crosswater London product is covered by a limited lifetime warranty. For full details, terms and conditions please visit our website. For further information contact: Crosswater London, 393 Fortune Blvd., Milford, MA 01757 www.crosswaterlondon.com email: technical@crosswaterlondon.com...
Need help?
Do you have a question about the Berea 11-01 and is the answer not in the manual?
Questions and answers