Advertisement
Table of Contents
BATH WASTES
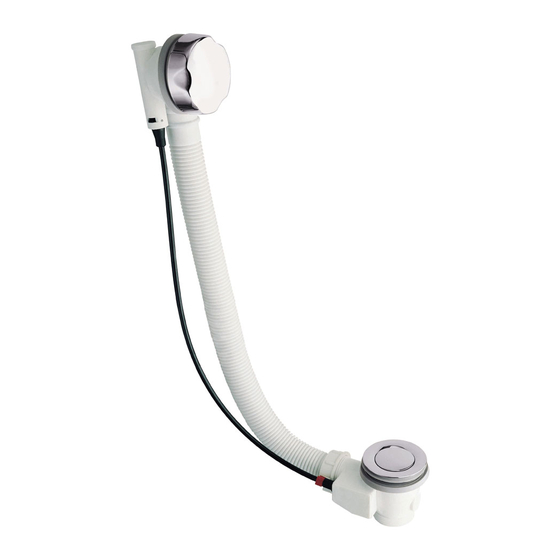
BTW0201C
HOUSING
RUBBER SEAL
'O' RING
RUBBER WASHER
WASHER
RETAINING NUT
HOSE
Push the rubber seal onto the housing, screw in the bolt and hold
the unit in position from the outside of the bath. From the inside
of the bath place the foam and face plate over the bath hole and
screw on the nut, finally screw on the cover.
Prepare the hose by sliding on the retaining nut, clear washer,
rubber washer, finally push the 'O' ring into position 25mm from
the end (see detail). Push the hose assembly up into the housing
and hand tighten the nut.
Inside of bath
SEAL
25mm
'O' ring
HOSE
RETAINING NUT
WASHER
RUBBER WASHER
From below push the rubber seal into the hole in the bath
(see detail), then push on the housing. From inside the bath place
the plug hole in position on the seal, screw in the bolt and tighten
(use the small bolt for bath thicknesses up to 9mm and the
large bolt for thicknesses from 9mm to 35mm), finally screw in
the plug.
Prepare the hose by sliding on the retaining nut, clear washer,
rubber washer. Finally push the 'O' ring into position 25mm from
the end (see detail above). Push the hose assembly into the
housing and hand tighten the nut.
INSTALLATION INSTRUCTIONS
Crosswater Bath Wastes.indd 1
BATH
FOAM WASHER
FACE PLATE
BOLT
NUT
25mm
COVER
'O' ring
PLUG
BOLT
PLUG HOLE
BATH
SEAL
HOUSING
'O' RING
BFW0301C
BLANKING SOCKET
INLET
RUBBER SEAL
BATH
HOUSING
'O' RINGS x 2
LUGS
HOSE
Prepare the assembly by pushing the 'O' ring onto the nut. Push
the rubber seal onto the housing, and hold the unit in position
from the outside of the bath. From the inside of the bath place
the base ring over the bath hole, if the hole is to small, snap off
one of the lugs with a pair of long nose pliers. Slide the insert
and body into the base ring and screw on the nut, finally screw on
the cover.
Push the hose onto the housing making sure that the 2 x 'O' rings
are in position within the hose.
Finally connect up the inlet which can be positioned either side
of the housing. An extra inlet elbow is supplied were dual feed
supply is required, remove the blanking socket as required.
Inside of bath
SEAL
25mm
PLUG HOLE
'O' ring
HOSE
RETAINING NUT
WASHER
RUBBER WASHER
'O' RING
From below push the rubber seal into the hole in the bath
(see detail), then push on the housing. From inside the bath place
the plug hole in position on the seal, screw in the bolt and tighten
(use the small bolt for bath thicknesses up to 9mm and the
large bolt for thicknesses from 9mm to 35mm), finally screw in
the plug.
Prepare the hose by sliding on the retaining nut, clear washer,
rubber washer. Finally push the 'O' ring into position 25mm from
the end (see detail above). Push the hose assembly into the
housing and hand tighten the nut.
BASE RING
INSERT
BODY
NUT
'O' RING
COVER
PLUG
BOLT
BATH
SEAL
HOUSING
21/8/07 15:08:50
Advertisement
Table of Contents

Summary of Contents for Crosswater BTW0241C
- Page 1 (see detail above). Push the hose assembly into the the end (see detail above). Push the hose assembly into the housing and hand tighten the nut. housing and hand tighten the nut. INSTALLATION INSTRUCTIONS Crosswater Bath Wastes.indd 1 21/8/07 15:08:50...
- Page 2 (see detail above). Push the hose assembly into the housing and hand tighten the nut. housing and hand tighten the nut. For any further information please contact Crosswater on: 0845 873 8840 Or visit our web-site at www.crosswater.co.uk The manufacturer reserves the right to make technical modifications without prior notice.


Need help?
Do you have a question about the BTW0241C and is the answer not in the manual?
Questions and answers