Keysight E8257D Installation Notes
Psg signal generators add option unr
Hide thumbs
Also See for E8257D:
- Installation manual (38 pages) ,
- User manual (20 pages) ,
- Manual (16 pages)
Advertisement
Quick Links
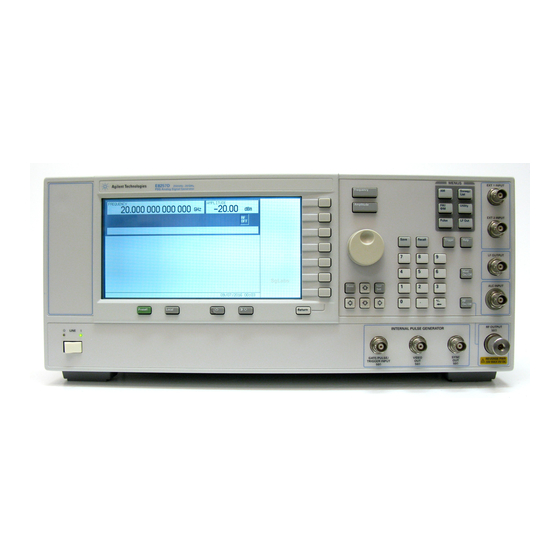
Keysight E8257D/67D PSG
Signal Generators Add Option UNR
(Enhanced Phase Noise)
Kit Part Number E8251-60380
Notice: This document contains references to Agilent.
Please note that Agilent's Test and Measurement busi-
ness has become Keysight Technologies. For more in-
formation, go to www.keysight.com.
Installation Note
Part Number: E8251-90380
Printed in USA August 2014
Advertisement

Related Manuals for Keysight E8257D


Summary of Contents for Keysight E8257D
- Page 1 (Enhanced Phase Noise) Kit Part Number E8251-60380 Notice: This document contains references to Agilent. Please note that Agilent’s Test and Measurement busi- ness has become Keysight Technologies. For more in- formation, go to www.keysight.com. Installation Note Part Number: E8251-90380 Printed in USA August 2014...
- Page 2 Agilent Technologies shall not be liable for errors contained herein or for incidental or consequential damages in connection with the furnishing, performance, or use of this material. © Copyright 2014 Keysight Technologies Inc.
- Page 3 Estimated Verification Time: ....2.0 hours Introduction This upgrade kit adds Option UNR (Enhanced Phase Noise) to the E8257D (Analog) and E8267D (Vector) PSG Signal Generators. Installation includes the following major steps, starting on page 1.
-
Page 4: Installation Kit Parts List
Installation Kit Parts List Item Quantity Description Part Number Installation Note E8251-90380 Screw M3x0.5 8mm-LG 0515-0372 A32 10 MHz Crystal Oscillator E8251-60071 A7 Reference Board (Option UNR) E8251-60048 Tools Required • TORX T-10 driver • TORX T-15 driver • TORX T-20 driver •... - Page 5 . Upon completion, a summary of the self-test will be displayed. Use the Run Complete Self Test E8257D/67D PSG Service Guide, E8251-90359, to troubleshoot any failures detected by the test. Some circuits may require up to 50 minutes to warm up before passing the self-test. If NOTE self-tests continue to fail after 50 minutes of warm up, troubleshoot the instrument.
- Page 6 6. Tilt the signal generator forward and slide the outer cover (6) back to remove it from the frame. Remove the Inner Top Cover Refer to Figure 1. Using a T-10 driver, remove the screws (1) from the inner-top cover (2). There are twelve screws for E8257D and eleven screws for E8267D. 2. Remove the inner-top cover.
- Page 7 Figure 1 Outer Cover Removal...
- Page 8 Figure 2 Inner Top Cover Removal...
- Page 9 Install the A32 10 MHz Crystal Oscillator Refer to Figure 1. Position the signal generator with the rear panel facing you. 2. Using a T-10 driver, install the three screws (1) to secure the A32 10 MHz Crystal Oscillator to the rear panel.
- Page 10 Install the New A7 Reference Board Refer to Figure 1. Position the signal generator with the front panel facing you. 2. Lift the retention levers and disconnect the A7 Reference board from the A31 Motherboard. 3. Lift the board out of the slot. 4.
- Page 11 Re-Assemble the Signal Generator Refer to Figure 1 Figure 1. Reinstall the inner and outer instrument covers by reversing the order for removal. 2. Torque all T-10 screws to 9 in-lbs. 3. Torque all T-15 and T-20 screws to 21 in-lbs. Verify Signal Generator Calibration 1.
Need help?
Do you have a question about the E8257D and is the answer not in the manual?
Questions and answers