Vista VK2 Series Quick Install Manual
Hide thumbs
Also See for VK2 Series:
- Installation manual (13 pages) ,
- User manual (79 pages) ,
- Quick manual (11 pages)

Related Manuals for Vista VK2 Series


Summary of Contents for Vista VK2 Series
- Page 1 VK2-4KXVRDIR36V11M, 2/4MPXVRDIR28V12M Quick install guide V1.0 VK2-4KXVRDIR36V11M VK2-4MP(2MP)XVRDIR28V12M VK2-2MPXVRDIR37 Quick Install manual Please read this manual thoroughly before use and keep it handy for future reference...
- Page 2 VK2-4KXVRDIR36V11M, 2/4MPXVRDIR28V12M Quick install guide V1.0...
-
Page 3: Before You Begin
VK2-4KXVRDIR36V11M, 2/4MPXVRDIR28V12M Quick install guide V1.0 Before You Begin Read these instructions before installing or operating this product. Note: This installation should be made by a qualified service person and should conform to local codes. This manual provides installation and operation information. To use this document, you must have the following minimum qualifications: ... - Page 4 VK2-4KXVRDIR36V11M, 2/4MPXVRDIR28V12M Quick install guide V1.0 IMPORTANT SAFEGUARDS 1. Read these instructions. 2. Keep these instructions. 3. Heed all warnings. 4. Follow all instructions. 5. Do not use this apparatus near water. 6. Clean only with dry cloth. 7. Do not block any ventilation openings. Install in accordance with the manufacturer's instructions.
-
Page 5: Table Of Contents
VK2-4KXVRDIR36V11M, 2/4MPXVRDIR28V12M Quick install guide V1.0 Contents Before You Begin Intended use Customer Support WARNINGS AND CAUTIONS: 1 Introduction 1.1 Components ......................6 2 Installation 2.1 Overview........................7 2.2 Connection ....................... 9 2.3 Resetting to the factory default settings ..............10 2.4 Network Connection &... -
Page 6: Introduction
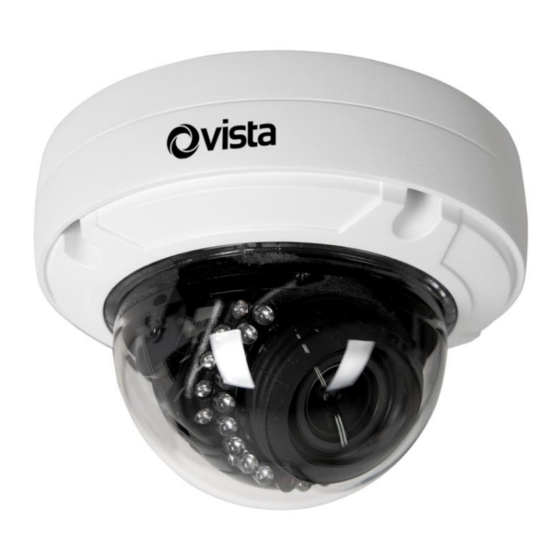
VK2-4KXVRDIR36V11M, 2/4MPXVRDIR28V12M Quick install guide V1.0 1 Introduction VK2-4KXVRDIR36V11M, VK2-4MP(2MP)VRDIR28V12M, VK2-2MPXVRDIR37 vandal resistant IP domes are highly featured CCTV cameras offering the installer and user the following: 1. H265 / H264 Compression 2. Vandal resistant IK10 housing 3. IR Illumination 4. -
Page 7: Installation
VK2-4KXVRDIR36V11M, 2/4MPXVRDIR28V12M Quick install guide V1.0 2 Installation The camera requires, as a minimum, a Cat5e network cable. This can be used for IP transmission as well as powering the camera via a PoE switch. Alternatively the camera can be powered locally using a 12VDC power source. - Page 8 VK2-4KXVRDIR36V11M, 2/4MPXVRDIR28V12M Quick install guide V1.0 • Installing & Adjusting Camera Carefully remove the contents from the box. Loosen the four captive torx screws located the front of the housing leaving the screws in the front portion of the housing. Use the template supplied with the camera to mark the location holes for mounting, and the best position for cable access.
-
Page 9: Connection
VK2-4KXVRDIR36V11M, 2/4MPXVRDIR28V12M Quick install guide V1.0 2.2 Connection • Micro SD memory slot on the Bottom Board Remove the plastic cover at rear of the camera to reveal the location for the SD memory card. • Connecting to the RJ-45 Connect a standard RJ-45 cable to the network port of the camera. -
Page 10: Resetting To The Factory Default Settings
VK2-4KXVRDIR36V11M, 2/4MPXVRDIR28V12M Quick install guide V1.0 2.3 Resetting to the factory default settings To reset the network camera to the original factory settings, go to the Setup > System > Maintenance web page (described in “System > Maintenance” of User Manual) or use the Reset button on the network camera inside the rear cover. -
Page 11: Network Connection & Ip Assignment
VK2-4KXVRDIR36V11M, 2/4MPXVRDIR28V12M Quick install guide V1.0 2.4 Network Connection & IP assignment . When a camera is first connected to the network, it is necessary to allocate an IP address to the device with the “SmartManager” utility on the CD. (Default IP 192.168.30.220) Connect the network camera/device to the network and power up. - Page 12 VK2-4KXVRDIR36V11M, 2/4MPXVRDIR28V12M Quick install guide V1.0 NETWORK CAMERA 50304308B...
Need help?
Do you have a question about the VK2 Series and is the answer not in the manual?
Questions and answers