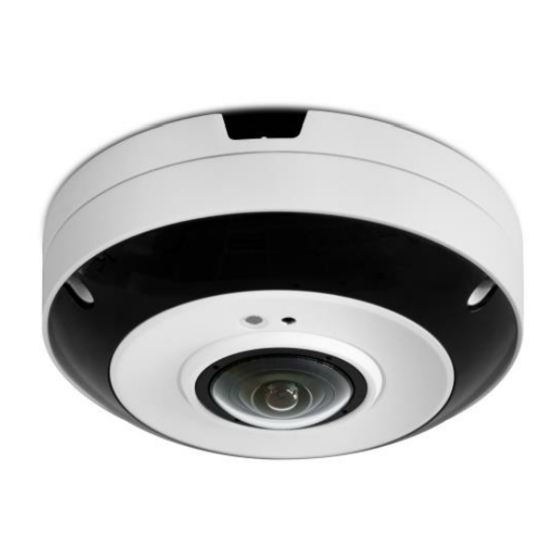
Summary of Contents for Vista VK2-12MP360EXTIR
- Page 1 VK2-12MP360EXTIR Quick guide V1.0 VK2-12MP360EXTIR Quick Guide Please read this manual thoroughly before use and keep it handy for future reference.
-
Page 2: Warnings And Cautions
VK2-12MP360EXTIR Quick guide V1.0 Before You Begin Read these instructions before installing or operating this product. Note: This installation should be made by a qualified service person and should conform to local codes. This manual provides installation and operation information. To use this document, you must have the following minimum qualifications: ... -
Page 3: Important Safeguards
VK2-12MP360EXTIR Quick guide V1.0 IMPORTANT SAFEGUARDS 1. Read these instructions. 2. Keep these instructions. 3. Heed all warnings. 4. Follow all instructions. 5. Do not use this apparatus near water. 6. Clean only with dry cloth. 7. Do not block any ventilation openings. Install in accordance with the manufacturer's instructions. - Page 4 VK2-12MP360EXTIR Quick guide V1.0 1 Introduction The VK2-12MP360EXTIR vandal resistant 360 degree fisheye camera is highly featured CCTV cameras offering the installer and user the following: 1. 360-degree complete coverage 2. Upto 12 Mega Pixel resolution 3. H265 / H264 Compression 4.
-
Page 5: Installation
VK2-12MP360EXTIR Quick guide V1.0 2 Installation The VK2-12MP360EXTIR can be installed using a single Cat5e cable to supply power and also to transmit network video traffic. Additional cabling is required for Alarms and audio connections. 2.1 Overview • Dimension Dimensions Unit: mm... - Page 6 VK2-12MP360EXTIR Quick guide V1.0 • Connectors Item Description DC12V Power input(2pin terminal block) Power Ethernet, RJ-45 port compatible RJ-45 with 10/100Mbps PoE Modular Jack CVBS Analog test video out(2pin connector) ALO: Alarm Out ALI: Alarm In Alarm input and output, 3pin terminal...
- Page 7 VK2-12MP360EXTIR Quick guide V1.0 • Installing Camera 1. Open the top cover using L-wrench.. 2. Drill a hole on the rubber grommet and insert an UTP(Ethernet) cable. 3. Assemble the RJ45 connector and UTP cable using crimping tool. Pin Color...
- Page 8 VK2-12MP360EXTIR Quick guide V1.0 5. Fix the rubber grommet on the bottom for water proof. 6. Make mounting holes and cable hole using the template sheet.
- Page 9 VK2-12MP360EXTIR Quick guide V1.0 2.2 Connection • Micro SD memory card Insert the SD card on the bottom of the dome. • Connecting to the RJ-45 Connect a standard RJ-45 cable to the network port of the network camera. Generally a cross-over cable is used for directly connection to PC, while a direct cable is used for connection to a hub.
-
Page 10: Resetting To The Factory Default Settings
VK2-12MP360EXTIR Quick guide V1.0 2.3 Resetting to the factory default settings To reset the network camera to the original factory settings, go to the Setup > System > Maintenance web page (described in “System > Maintenance” of User Manual) or use the Reset button on the network camera inside the bottom cap. -
Page 11: Network Connection & Ip Assignment
VK2-12MP360EXTIR Quick guide V1.0 2.4 Network Connection & IP assignment The camera supports the operation through the network. When a camera is first connected to the network, it is necessary to allocate an IP address to the device with the “SmartManager” utility on the CD.


Need help?
Do you have a question about the VK2-12MP360EXTIR and is the answer not in the manual?
Questions and answers