Table of Contents
Advertisement
Advertisement
Table of Contents

Related Manuals for Rexton M-Core SR


Summary of Contents for Rexton M-Core SR
-
Page 2: Table Of Contents
Content Introduction Before and after fitting Assembling Activating Charging Connecting Noting the serial number Troubleshooting Exchanging the receiver wax guard Important safety information General warnings Defective power cells Further information Storage periods Symbols used in this document ... -
Page 3: Introduction
Introduction This guide is intended for Hearing Care Professionals. It provides important information on hearing instruments with permanently built‑in power cells (lithium‑ion batteries). CAUTION It is important to read this guide, the user guide and the safety manual thoroughly. Follow the safety information to avoid damage or injury. -
Page 4: Before And After Fitting
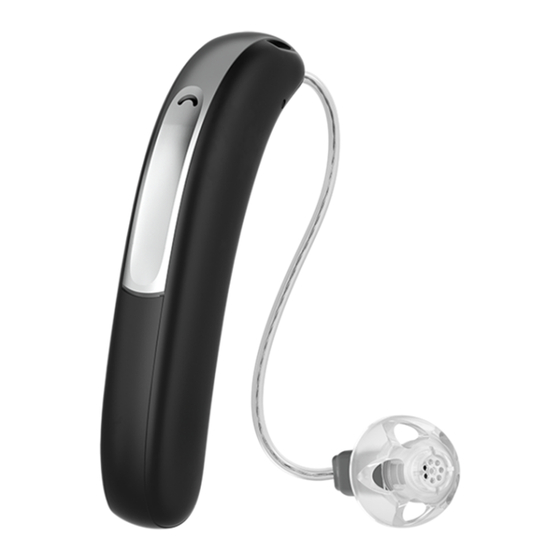
B efore and after fitting You have to prepare the hearing instruments before you can start fitting. A ssembling A power cell is installed in every hearing instrument on delivery. There is no need to insert a battery. Attach a suitable ear piece to the suitable receiver unit. Attach the receiver unit to the hearing instrument by clicking it in place. Push the receiver locking bar into the housing. A ctivating Before first use or first fitting you have to activate the ... -
Page 5: Charging
C harging Charge the hearing instruments for at least 15 minutes before a first fitting session. Fully charge the hearing instruments before delivery to the client. A full charging cycle takes approximately 4 hours. Follow the operating conditions in both the hearing instrument's and the charger's user guide. C onnecting Use Noahlink Wireless to fit the hearing instruments wirelessly. N oting the serial number The serial number is printed on the housing. -
Page 6: Troubleshooting
Troubleshooting Before sending a hearing instrument to our service address, perform a visual check to see if the receiver is blocked by cerumen. If this is the case, exchange the receiver wax guard. E xchanging the receiver wax guard Remove the ear piece. Screw the threaded end of the wax guard changing tool into the filter of the external receiver. Remove the used filter. Flip the tool over and push the new wax guard into place. Release the filter by tilting the changing tool to the side. -
Page 7: Important Safety Information
Important safety information This section contains important safety information regarding the power cell. For more safety information, refer to the safety manual and the user guide supplied with the hearing instruments. NOTICE Do not exchange power cells. This may only be performed by Service Center only. General warnings WARNING A power cell (lithium‑ion rechargeable battery) -
Page 8: Defective Power Cells
Defective power cells In case you think the power cell is defective comply with the following steps: Place the hearing instrument into the charger. If you get a red LED then the power cell is defective. Perform visual inspection of the hearing instrument. The test is considered failed if it has any of below criteria: ■ There is physical sign of deformation caused by bloated lithium power cell inside. ■ There is visible leakage from the lithium power cell. ■ Product is generating heat on its own or hot to the touch. -
Page 9: Further Information
Further information S torage periods Unused hearing instruments lose their charge. Observe the following storage periods to avoid deep-discharge: ■ Hearing instruments that have not been activated or used can be stored up to 12 months after production date. The production date is printed on the hearing instrument's label on the packaging. ■ Once a hearing instrument is activated, in order for it to remain in good condition it needs to be charged at least every 6 months. S ymbols used in this document Points out a situation that could lead to serious, moderate, or minor injuries. - Page 10 "Made for iPhone", "Made for iPad", and "Made for iPod" mean that an electronic accessory has been designed to connect specifically to iPhone, iPad, or iPod, respectively, and has been certified by the developer to meet Apple performance standards. Apple is not responsible for the operation of this device or its compliance with safety and regulatory standards. Please note that the use of this accessory with iPhone, iPad, or iPod may affect wireless performance.
- Page 11 Risk mitigations (for internal use only) Defective power cells..............8 MI301 | Follow safety instructions for Li-ion ......7 Not exchange power cells ............7...
- Page 12 Legal Manufacturer Sivantos GmbH Henri-Dunant-Strasse 100 91058 Erlangen Germany Phone +49 9131 308 0 Document No. 04229-99T##-#### ## Order/Item No. ### ### ## Master Rev01, 05.2020 © ##.2020, Sivantos GmbH. All rights reserved 0123 www.rexton.com...
Need help?
Do you have a question about the M-Core SR and is the answer not in the manual?
Questions and answers