Advertisement
25 August, 2020, www.brodit.com, © 2020 Brodit AB
Product 713049
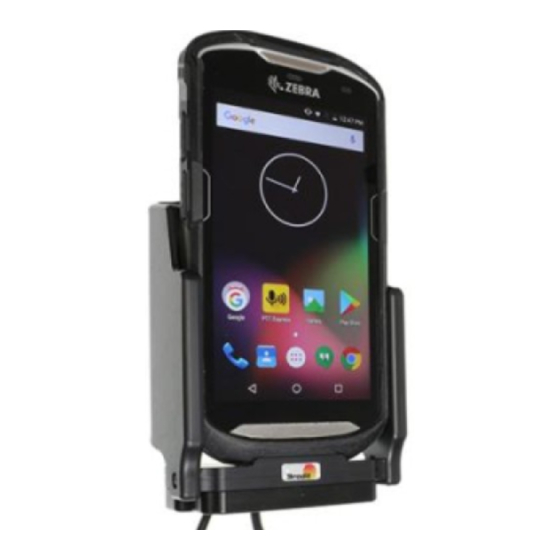
713049 Active holder for fixed installation With Molex adapter system. 2A charger. With tilt swivel. Fits device
with Zebra Original Rugged Boot. With USB Host.
Extra durable active holder with USB Host, designed to withstand rough working conditions in professional use.
Keep your device in an active holder while on the road, and you will always have a freshly charged battery! The
active holder is to be connected inside the dashboard, this gives a discreet, neat installation without cables
hanging over the interior! When you put the device in the holder, it is automatically connected to the charging
unit.
12/24 Volt. The product is E-approved. Connect the power cable with a 2 A fuse. 2 A charger. Professional
installation recommended. The holder is attached onto a tilt swivel so you can easily adjust your device in order
to avoid light reflection. Attach onto a ProClip Mounting Platform.
Dimensions: 88 x 122 x 77 mm (W x H x D mm)
Weight: 316 g
Length cabel: 418 cm, (holder + pigtale 25 cm, cabel to box 77cm, box 11cm, box to open end 305 cm.) USB
Cable 47cm.
EAN: 7320287130492
Item no 713049 fits:
Zebra TC51 (For all countries)
Zebra TC52 (For all countries)
Zebra TC56 (For all countries)
Zebra TC57 (For all countries)
Advertisement
Table of Contents

Summary of Contents for Brodit 713049
- Page 1 25 August, 2020, www.brodit.com, © 2020 Brodit AB Product 713049 713049 Active holder for fixed installation With Molex adapter system. 2A charger. With tilt swivel. Fits device with Zebra Original Rugged Boot. With USB Host. Extra durable active holder with USB Host, designed to withstand rough working conditions in professional use.
- Page 2 INSTALLATION INSTRUCTIONS Please read all of the instructions and look at the pictures before attaching the holder. 1. Loosen the screw in the center of the holder so you can remove the tilt swivel attaching plate on the back. 2. Place the attaching plate onto the desired position. Screw the attaching plate into place with the enclosed screws.


Need help?
Do you have a question about the 713049 and is the answer not in the manual?
Questions and answers