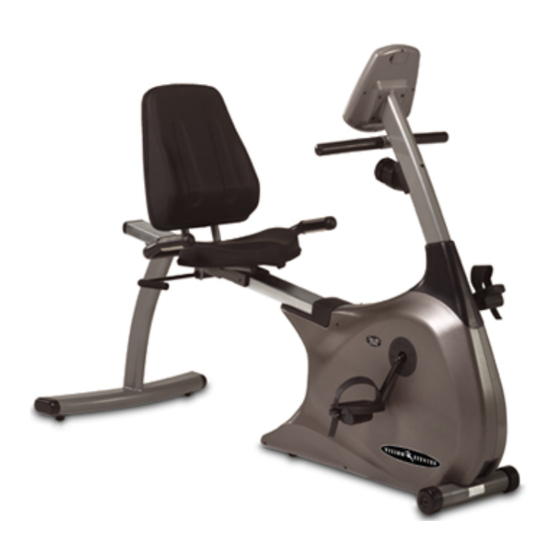
Vision Fitness R2000 Assembly Manual
Vision fitness semi-recumbent fitness bike assemby guide
Hide thumbs
Also See for R2000:
- Owner's manual (64 pages) ,
- Assembly manual (8 pages) ,
- Assembly instruction manual (8 pages)
Summary of Contents for Vision Fitness R2000
- Page 1 A s s e m b l y G u i d e R2100 R2000 SEMI-RECUMBENT FITNESS BIKES...
- Page 2 Also, during each assembly step, ensure that ALL screws are in place and partially threaded in before completely tightening any ONE screw. STEP A s s e m b l y G u i d e R2100 R2000 SEMI-RECUMBENT FITNESS BIKES STEP STEP STEP STEP...
- Page 3 4mm L-Shaped Wrench Screwdriver PARTS BOX Console Mast Cover Pedals 5mm L-Shaped Wrench Seat Rail Cover Tension Knob and bracket (R2000 ONLY) Water Bottle & Cage Warter Bottle Bracket (R2000 ONLY) Power Supply (R2100 ONLY) Color-coded Hardware Bags Owner’s Guide...
-
Page 4: Hardware Included
M8 Lockwasher M8 x 15L Screw Quantity: 3 Quantity: 3 GREEN BAG M5x35L CapScrew Quantity: 2 M8 x 15L Screws (R2000 ONLY) Quantity: 5 M8 Lockwashers Quantity: 4 M5 Washer M5 x 65L Screw Quantity: 1 Quantity: 1 (R2000 ONLY) - Page 5 ORANGE BAG STEP • Attach the rear support to the seat rail with four screws (M8x15) and four lock washers (M8). Tighten with the 5mm T-shaped wrench. • Slide the seat frame onto the seat rail. Make sure the flat side of the clamp block rests against the bottom of the seat rail.
- Page 6 BLUE BAG STEP • Slide the seat rail sleeve onto the seat rail. • Connect the heart rate wires com- ing from the seat rail to the heart rate wires coming from the seat frame bracket. Tuck the excess wire under the seat frame bracket.
- Page 7 PINK BAG STEP • With four screws (M8x15) and four lock washers (M8) attach the seat han- dlebar to the seat frame. • Connect the heart rate wires coming from the seat handlebar to the heart rate wires on the seat frame. •...
- Page 8 Waterbottle console. Mount the console onto the Bracket console mast with the four screws. • R2000 ONLY: Insert the two AA bat- teries into the console. Mast Cover • Remove the two M5x15L Screws from the water bottle cage holes on the console mast.
- Page 9 15mm pedal wrench. STEP 500 South CP Avenue • P.O. Box 280 • Lake Mills. WI 53551 toll free 1.800.335.4348 • phone 1.920.648.4090 • fax 1.920.648.3373 www.visionfitness.com ©2004 Vision Fitness. All Rights Reserved. 5.05 Part #Z20RB104-AG AG18.17PRD REV5 PEDALS...


Need help?
Do you have a question about the R2000 and is the answer not in the manual?
Questions and answers