Sign In
Upload
Download
Table of Contents
Contents
Add to my manuals
Delete from my manuals
Share
URL of this page:
HTML Link:
Bookmark this page
Add
Manual will be automatically added to "My Manuals"
Print this page
×
Bookmark added
×
Added to my manuals
Manuals
Brands
Sartorius Manuals
Scales
Talent Series
Service manual
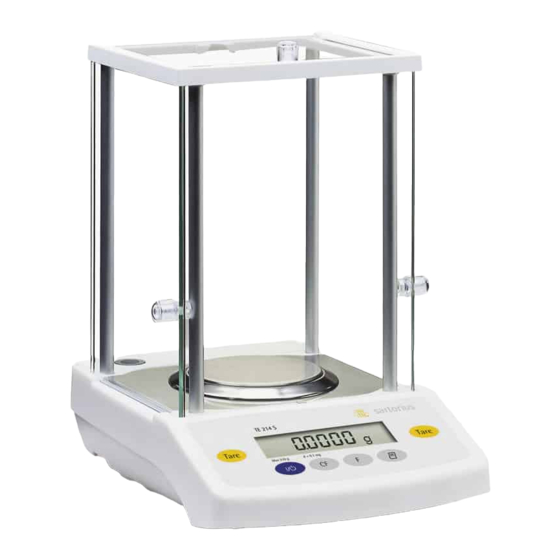
Sartorius Talent Series Service Manual
Electronic analytical and precision balances and precious metal scales
Hide thumbs
1
Table Of Contents
2
3
4
5
6
7
8
9
10
11
12
13
14
15
16
17
18
19
20
21
22
23
24
25
26
27
28
29
30
31
32
33
34
35
36
37
38
39
40
41
42
43
44
45
46
47
48
49
50
51
52
53
54
55
56
page
of
56
Go
/
56
Contents
Table of Contents
Bookmarks
Table of Contents
Table of Contents
Generals Information
Important Information
Service Concept for TE- Balances/Scales
General Notes
Service Guide
Models with Special Weighing Systems
Model
Model
Auxiliary Service Tools, Equipment and Weights
Accompanying Literature
Weights
Handling and Operating the te Balances/Scales
Function of the Keys
Displaying the Hardware and Software Versions
Operating Menu Access Switch
Balance/Scale Operating Menu
Balances/Scales with Strain Gauge Systems
Checking and Adjustment Sequence
Checking the Overload Stop
Table of Weights for Overload Stop
Checking the Overload Stop
Zero-Point Offset Value
Adjusting the Zero-Point Offset Value
Table of Adjustment Resistors
Repeatability (Standard Deviation)
Checking the Repeatability (Standard Deviation „S")
Off-Center Error
Checking the Off-Center Error
Adjusting the Off-Center Error
Span Adjustment
Adjusting Linearity
Checking the Linearity
Adjusting the Linearity
Advertisement
Quick Links
1
Table of Contents
2
Generals Information
3
Service Guide
4
Function of the Keys
5
Balance/Scale Operating Menu
6
Span Adjustment
Download this manual
Service Manual
Sartorius Talent | Gem, Gold
TE Models
Electronic Analytical and Precision
Balances and Precious Metal Scales
Including Service Specification Sheets
WTE5001-e03101
Table of
Contents
Previous
Page
Next
Page
1
2
3
4
5
Advertisement
Table of Contents
Need help?
Do you have a question about the Talent Series and is the answer not in the manual?
Ask a question
Questions and answers
Related Manuals for Sartorius Talent Series
Scales Sartorius Gold Series Operating Instructions Manual
(283 pages)
Scales Sartorius Portable Series Service Manual
(40 pages)
Scales Sartorius TopMix2.Touch User Manual
(20 pages)
Scales Sartorius talent Operating Instructions Manual
Electronic analytical and precision balances and precious metal scales (38 pages)
Scales Sartorius TS 6100B Installation And Operating Instructions Manual
Electronic over/under scales (40 pages)
Scales Sartorius EA Operating Instructions Manual
Balances/scales interface (13 pages)
Scales Sartorius WM Series Operating Instructions Manual
(30 pages)
Scales Sartorius Sartorius PMA 35D-X Nstallation And Operating Instructions
Electronic paint-mixing scales (16 pages)
Scales Sartorius Sartorius Basic plus Service Manual
(32 pages)
Scales Sartorius ED224S-0CE Operating Instructions Manual
Sartorius extend series; sartorius gem series; gold extend series. electronic analytical and precision balances and precious metal scales (63 pages)
Scales Sartorius BL150S Operating Instructions Manual
Sartorius basic lite series/ gold series electronic precision balances and gold scales (24 pages)
Scales Sartorius m-power Operating Instructions Manual
Electronic analytical and precision balances and precious metal scales (38 pages)
Scales Sartorius Combics CAW3P Operating Instructions Manual
Combics series complete scales (148 pages)
Scales Sartorius Master series User Manual
Electronic weighing instruments accuracy class i or ii analytical and precision balances (122 pages)
Scales Sartorius Entris BCE Series Operating Instructions Manual
(44 pages)
Scales Sartorius Entris Operating Instructions Manual
Laboratory balances (46 pages)
This manual is also suitable for:
Gem series
Gold series
Talent te64
Talent te124s
Talent te214s
Talent te313s-ds
...
Show all
Talent te153s-ds
Talent te313s
Gold gd103
Gold gd603
Talent te153s
Gold gd252
Talent te212
Talent te212-l
Talent te412
Talent te412-l
Talent te612
Talent te612-l
Gem ge212
Gem ge412
Gem ge812
Talent te1502s
Gem ge1302
Gem ge2102
Talent te601
Talent te601-l
Talent te2101
Talent te2101-l
Talent te4101
Talent te4101-l
Talent te6101
Talent te6101-l
Gem ge811
Gem ge2101
Gem ge7101
Gem ge4101
Talent te12000
Talent te12000-l
Talent te6100
Talent te6100-l
Talent te4100
Talent te1200-0ce
Talent te3102s
Table of Contents
Save PDF
Print
Rename the bookmark
Delete bookmark?
Delete from my manuals?
Login
Sign In
OR
Sign in with Facebook
Sign in with Google
Upload manual
Upload from disk
Upload from URL


Need help?
Do you have a question about the Talent Series and is the answer not in the manual?
Questions and answers