Advertisement
Quick Links
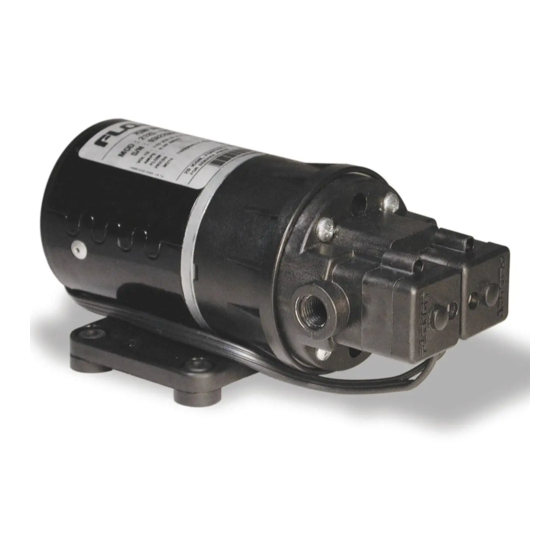
2125 PUMP INSTALLATION
MOUNTING
• Ensure the area you have selected for installation is
dry, well ventilated, and has access to power.
• The suction side of the pump should be positioned so
that it is facing down. (See illustration below) This will
optimize the priming, and avoid cavitation from air in
the bag-in-box product.
• ideally the pump should be at the same level or just
below product.
• Position pump to desired area, secure mounting
screws through the rubber grommet in the baseplate
of pump. (See, illustration below)
HOSE CONNECTIONS
• Food grade Vinyl tygon tubing or equivalent with 3/8"
I.D. (8.9 mm) is recommended for both suction and
discharge.
• Total length of tubing run should not exceed 50' (15.2 m)
to ensure sufficient pressure to brix the dispensing valve.
• The vertical lift of the, tubing run should not exceed
10" (3.0 m) within the 50' (15.2 m) hose run.
• Use a #17.0 oetiker clamp or a worm gear clamp with
360° uniform clamping band.
• Avoid sharp, bends that could restrict flow especially
on suction side.
• After tubing installation is complete begin priming
sequence.
FIGURE 1
Discharge
Side
Suction
Side
FIGURE 1
Discharge
Side
Suction
Side
Mounting
Screws
Mounting
Screws
Oetiker
Clamp
90°
0°
The Pump Head
Can Be Rotated
In 90° Increments
Electric Beverage Pump
ELECTRICAL
24 Volt AC Power - Wire pump as follows: Black wire
and white wire to 24 Volt power supply. Green wire to
safety ground.
115 Volt AC Power - Plug pump into standard 115 Volt
grounded electrical source or GFI.
230 Volt AC Power - Wire appropriate connector for
system. Green wire to safety ground.
OPERATION
The Model 2125 is a demand pump. The pump will
come on when dispensing valve is open and shut off
when valve is closed.
To start operation, open dispensing valve to purge air
from the system. Pump will now operate automatically
by starting and stopping on demand, as beverage is
served and maintain constant pressure, at dispensing
valve. The pump will shut off when beverage bag has
been depleted and sold out light will go on. The pump
will automatically reset and the light will go out when a
full bag is connected. The pump is equipped with an
automatic timer designed to shut the pump off after 3
minutes of continuous running. The timer is set at the
factory and needs no adjustment. To restart, push white
reset button on face of pump. To purge any air trapped
in the pump open Dispensing Valve and run pump until
all air is purged from pump and inlet lines.
System pressure and flow can be adjusted as follows:
Pressure control - The hexhead screw on face of pump
adjusts the pressure (See Fig. #3). The pump is set at 50
PSI (3.4 BAR) max. at the factory. To reduce pressure
turn screw counter clockwise with Alien wrench. To
increase, turn screw clockwise. Pressure can be
adjusted between a high of 50 PSI (3.4 BAR) to a low of
30 PSI (2.1 BAR).
The 2125 has an automatic sold out switch which stops
the pump when bag is empty and high vacuum builds
up in the inlet line. The sold out switch is set at 14 ± 2
in Hg. The sold out switch will automatically restart the
pump when a new bag is connected and vacuum in the
inlet line has returned to normal.
FIGURE 3
Front View
Sold Out
LIght
RESET
Reset
Plastic
Base Plate
Model 2125
Pressure
Adjustment
SOLD OUT
Increase
F
L
O
W
Decrease
Advertisement

Related Manuals for FLOJET 2125 Series


Summary of Contents for FLOJET 2125 Series
- Page 1 Model 2125 Electric Beverage Pump 2125 PUMP INSTALLATION ELECTRICAL 24 Volt AC Power - Wire pump as follows: Black wire MOUNTING and white wire to 24 Volt power supply. Green wire to • Ensure the area you have selected for installation is safety ground.
- Page 2 • Punctured pump diaphragm. for a period of one year after purchase by the customer from FLOJET. During this one year period, FLOJET will at its option, at no charge to the customer, repair or • Defective pump check valve.
Need help?
Do you have a question about the 2125 Series and is the answer not in the manual?
Questions and answers