Table of Contents
Advertisement
Quick Links
Advertisement
Table of Contents

Related Manuals for Precor Resolute RSL 315


Summary of Contents for Precor Resolute RSL 315
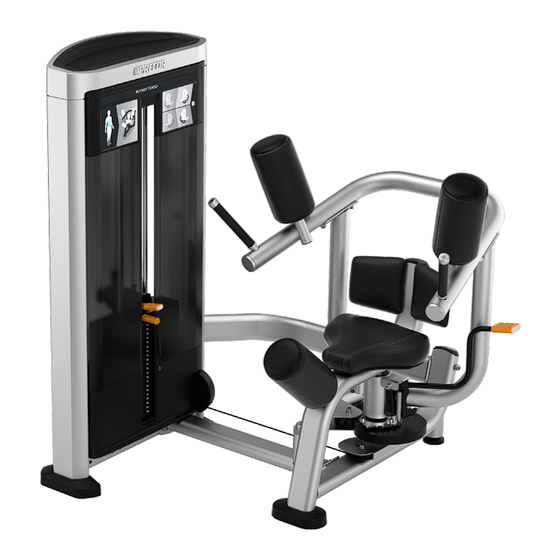
- Page 1 ENGLISH Resolute™ Strength Selectorized Line Rotary Torso RSL 315 Assembly Guide...
-
Page 2: Assembly Requirements
It takes about 90 minutes to assemble this equipment. If this is your first time doing this, allow more time. CAUTION At least two people are required to assemble the equipment. DO NOT attempt to assemble this by yourself. Precor recommends that all strength equipment be bolted to the flooring at all anchoring points. -
Page 3: Parts List
Shroud, front lower Washers, 13 mm Shroud, rear middle Washers, 11 mm Shroud, front middle (left and right) Washers, 9 mm Top tray Shroud, lower pulley cover Seat pad ©2019 Precor Inc. | Rotary Torso RSL 315 | Assembly Guide... -
Page 4: Frame Assembly
Hand tighten only. These will be removed temporarily in a later washers, 11 mm step. M12 x 35 mm SHCS Connect lower cross brace to main frame washers, 13 mm Tool: Hex wrench, 10 mm ©2019 Precor Inc. | Rotary Torso RSL 315 | Assembly Guide... - Page 5 (75 N-m). Socket wrench, 19 mm Do not tighten the M10 screws installed in step 1 at this time. They will Torque wrench be removed temporarily in a later step. ©2019 Precor Inc. | Rotary Torso RSL 315 | Assembly Guide...
-
Page 6: Seat Assembly
(wide sides towards middle) to main frame washers, 9 mm Tool: Hex wrench, 1/2-inch hex head screw 5/16-inch x 1½-inch Attach seat pad to main frame washers, 9 mm Tool: Socket wrench, 1/2-inch ©2019 Precor Inc. | Rotary Torso RSL 315 | Assembly Guide... -
Page 7: Route The Cable
To route the cable to the upper pulleys of weight stack tower, remove the cable retainers, route the cables, and replace the retainers. Tighten to 50 Open-end wrench, 19 mm ft-lb (67 N-m) of torque. Torque wrench ©2019 Precor Inc. | Rotary Torso RSL 315 | Assembly Guide... - Page 8 Place the top 10 lb (4.5 kg) weight plates plate over the weight plates. The plates and top plate should align flush on the top plate assembly user side. ©2019 Precor Inc. | Rotary Torso RSL 315 | Assembly Guide...
- Page 9 Replace the cap to the top of the rod and secure top of rod to weight stack tower frame. washers, 11 mm M10 nylon lock nut Tools: Hex wrench, 8 mm Socket wrench, 17 mm ©2019 Precor Inc. | Rotary Torso RSL 315 | Assembly Guide...
- Page 10 Peel the extra label away and rub remaining labels again. Lubricate the guide rods with a Teflon-based lubricant, such as Tri-Flow Superior Lubricant. Remove any excess with a clean cloth or tissue. ©2019 Precor Inc. | Rotary Torso RSL 315 | Assembly Guide...
- Page 11 M10 x 40 mm SHCS Place shroud crown on top and secure. Recommended bolt torque is 25 ft-lb (34 N-m). Tools: Hex wrench, 8 mm Torque wrench Securely snap top tray into place. ©2019 Precor Inc. | Rotary Torso RSL 315 | Assembly Guide...
-
Page 12: Complete The Assembly
Complete the Assembly Precor recommends that the strength equipment be bolted down at all anchoring points. Adjust the round feet on the frame up or down by turning them left or right to help level the equipment. Anchor each oblong foot on the frame to the floor, including the feet on the weight stack tower. Each oblong foot has a rubber cap with slits to allow access the anchor points.
Need help?
Do you have a question about the Resolute RSL 315 and is the answer not in the manual?
Questions and answers