Advertisement
Quick Links
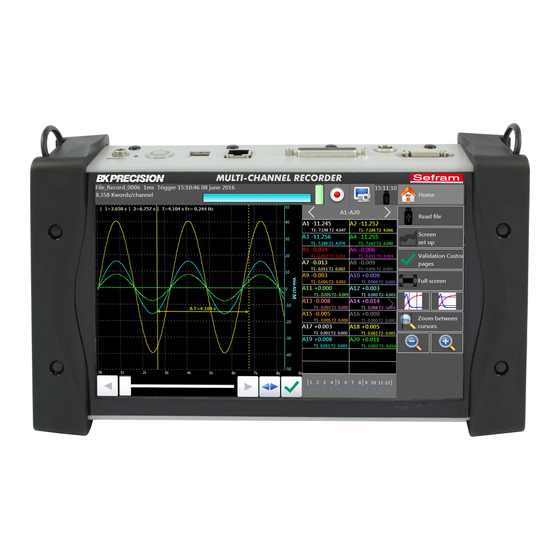
NA_ENR_DAS240_CONF_VOIE
The recorder DAS240, enable to record the following settings: voltage, current, resistance, temperature (with
a thermocouple, PT100 or PT1000).
We are going to see how to set an acquisition channel, with three examples:
1) Channel 1 configuration with a single voltage
2) Channel 2configuration with a K type thermocouple to measure an ambient temperature
3) Current configuration with a SHUNT resistor
I: Example voltage, setting the channel 1
1- Go to the channels validation by pressing the "Channels and functions On / Off" button:
2- Select the channel. Here we choose channel 1:
SEFRAM INSTRUMENTS SAS
SAS au capital de 1 650 000 euros – RCS Saint-Etienne 790 833 404/ APE: 2651B / SIRET : 790 833 404 00011
SETTING A CHANNEL DAS240
- 32, rue E. Martel – BP55 - F42009 – Saint-Etienne Cedex 2 France
Tel: +33 (0)4 77 59 01 01 Fax : +33 (0)4 77 57 23 23
TVA Intracommunautaire: FR 19790833404
v
Version: 1
Advertisement

Related Manuals for BK Precision Sefram DAS240


Summary of Contents for BK Precision Sefram DAS240
- Page 1 NA_ENR_DAS240_CONF_VOIE Version: 1 SETTING A CHANNEL DAS240 The recorder DAS240, enable to record the following settings: voltage, current, resistance, temperature (with a thermocouple, PT100 or PT1000). We are going to see how to set an acquisition channel, with three examples: 1) Channel 1 configuration with a single voltage 2) Channel 2configuration with a K type thermocouple to measure an ambient temperature 3) Current configuration with a SHUNT resistor...
- Page 2 3- Go to the channel setting s by pressing on the channel to be set: 4- Set the type of measurement, here we measure the voltage: 5- Choose an adapted caliber for this voltage, in this example: 20V caliber : SEFRAM INSTRUMENTS SAS - 32, rue E.
- Page 3 6- Set the zero’s position, here we will use the “Min” position because we want to visualize a positive voltage. The range will be 0 to 20V: 7- It’s possible to use a filter to remove the glitches, here we will choose 10 Hz: SEFRAM INSTRUMENTS SAS - 32, rue E.
- Page 4 8- Choose the acquisition period, in the example we will use a « 20 ms » sampling period (each channel can have their own sampling period which is different of the sampling frequency of the recorder): 9- The configuration of the first channel is completed and we can visualized the signal: SEFRAM INSTRUMENTS SAS - 32, rue E.
- Page 5 II: Example K type thermocouple, set the channel 2 1- Go to the channels validation by pressing the “Channels and functions On / Off” button: 2- Select the channel. Here, the channel 2: 3- Go to the settings of the channel by pressing the channel to be set: SEFRAM INSTRUMENTS SAS - 32, rue E.
- Page 6 4- Choose the type of measurement, here we measure the temperature with a thermocouple: 5- Setting the type measurement: 1. Choose the thermocouple type, here we will use a K type thermocouple 2. Select the compensation 3. Choose the unit, here we will take the Celsius degree (°) 6- Choose an adapted caliber, in this example we will use a 30°C caliber: SEFRAM INSTRUMENTS SAS - 32, rue E.
- Page 7 7- Set the zero’s position, here we will use the “Min” position because we want to visualize the ambient temperature. The range will be 0 to 30°C: 8- It’s possible to use a filter to remove the glitches, here we will choose 10 Hz: SEFRAM INSTRUMENTS SAS - 32, rue E.
- Page 8 9- Choose the acquisition period, in our example we will use a « 20 ms » sampling period, each channel can have their own sampling period which is different of the sampling frequency of the recorder: 10- The configuration of the second channel is completed and we can visualized the signal: SEFRAM INSTRUMENTS SAS - 32, rue E.
- Page 9 III: Example current, setting the channel 3 1- Go to the channels validation by pressing the “Channels and functions On / Off” button: 2- Select the channel. Here, the channel 3: 3- Go to the channel settings by pressing the channel to be set: SEFRAM INSTRUMENTS SAS - 32, rue E.
- Page 10 4- Choose the measurement type, here we measure a current measurement: 5- To measure the current we will use a SHUNT resistor. Choose its value, here we will take a 50 Ω resistor: 6- Choose an adapted caliber, here: 1A caliber: SEFRAM INSTRUMENTS SAS - 32, rue E.
- Page 11 7- Set the zero’s position, here we will use the “Min” position because we want to visualize a positive current. The range will from 0 to 1A: It is possible to use a filter to remove the glitches, here we will choose 10 Hz: SEFRAM INSTRUMENTS SAS - 32, rue E.
- Page 12 9- Choose the acquisition period, in the example we will use a « 20 ms » sampling period, each channel can have their own sampling period which is different of the sampling frequency of the recorder: 10- The configuration of the second channel is completed and we can visualized the signal: SEFRAM INSTRUMENTS SAS - 32, rue E.
Need help?
Do you have a question about the Sefram DAS240 and is the answer not in the manual?
Questions and answers