Keysight U1273AX Service Note
Handheld digital multimeter
Hide thumbs
Also See for U1273AX:
- Quick start manual (24 pages) ,
- Service manual (63 pages) ,
- Quick start manual (25 pages)
Table of Contents
Advertisement
Quick Links
Information Only
Service Note
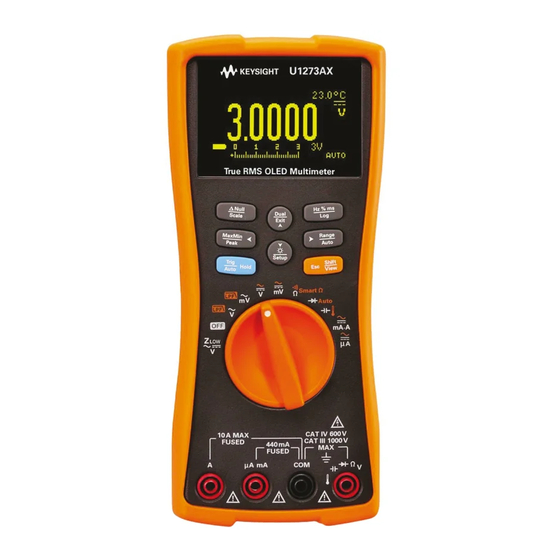
U1273AX Handheld Digital Multimeter, 4½ Digit, IP54, OLED Display, -40°C
Serial Numbers: ALL
The Problem – Instructions to replace the OLED (Organic LED) display board for U1273AX.
Parts Required:
P/N
Description
U1273-66501
Display Board, U1273AX
ADMINISTRATIVE INFORMATION
[[]] Calibration Required
X Calibration NOT Required
ADDITIONAL INFORMATION:
Qty.
1
PRODUCT LINE: GM
AUTHOR: WY
U1273AX-06
Supersedes:
© Keysight Technologies 2015-2019
Information Only Service Note
Version 1.2 | October 10, 2019| Page 1 of 7
NONE
Advertisement
Table of Contents

Related Manuals for Keysight U1273AX


Summary of Contents for Keysight U1273AX
- Page 1 Information Only Service Note Supersedes: NONE U1273AX Handheld Digital Multimeter, 4½ Digit, IP54, OLED Display, -40°C Serial Numbers: ALL The Problem – Instructions to replace the OLED (Organic LED) display board for U1273AX. Parts Required: Description Qty. U1273-66501 Display Board, U1273AX...
- Page 2 If the beeper was disabled previously, you may connect your HHDMM to a PC by using an IR-USB cable (U1173B) to check whether the unit can be detected by the Keysight Handheld Meter Logger software. If the PC can detect the HHDMM, replacing the OLED display board will bring back the bright display.
- Page 3 3. Loosen the 2 screws as shown below to remove the battery casing: 4. Loosen the 4 screws as shown below to remove the bottom cover: © Keysight Technologies 2015-2019 Information Only Service Note Version 1.2 | October 10, 2019| Page 3 of 7...
- Page 4 5. Remove the bottom cover carefully and unplug the buzzer wire. 6. To remove the PCA from the top cover, use a flat-head screwdriver and carefully remove the PCA from the latch. © Keysight Technologies 2015-2019 Information Only Service Note Version 1.2 | October 10, 2019| Page 4 of 7...
- Page 5 7. Replace OLED display board by unscrewing the 4 screws. 8. Carefully assemble the PCA back to the top casing. Remember to plug in the buzzer wire. © Keysight Technologies 2015-2019 Information Only Service Note Version 1.2 | October 10, 2019| Page 5 of 7...
- Page 6 9. Install the back cover and the 4 screws to lock the compartment. Then install batteries. 10. Install the battery cover and the two screws to lock the battery cover compartment. © Keysight Technologies 2015-2019 Information Only Service Note Version 1.2 | October 10, 2019| Page 6 of 7...
- Page 7 After the OLED display board replacement, switch on your DMM and you will notice a bright display. Revision History: Service Date Note Author Reason for Change Revision 10 October 19 WanYee As Published © Keysight Technologies 2015-2019 Information Only Service Note Version 1.2 | October 10, 2019| Page 7 of 7...
Need help?
Do you have a question about the U1273AX and is the answer not in the manual?
Questions and answers