
Subscribe to Our Youtube Channel
Related Manuals for Stuv 30-in


Summary of Contents for Stuv 30-in
-
Page 1: Table Of Contents
Maintenance Replacing refractors Replacing of ashtray grate Replacing of grate shaker Replacing of drum bolt and bolt spring Replacing of drum positioner Rotation of drum Replacing damper and regulator Replacing of upper seal between body & drum Replacing of lower seal between body & drum Door locking Replacing of panes Replacing... -
Page 2: Replacing Refractors
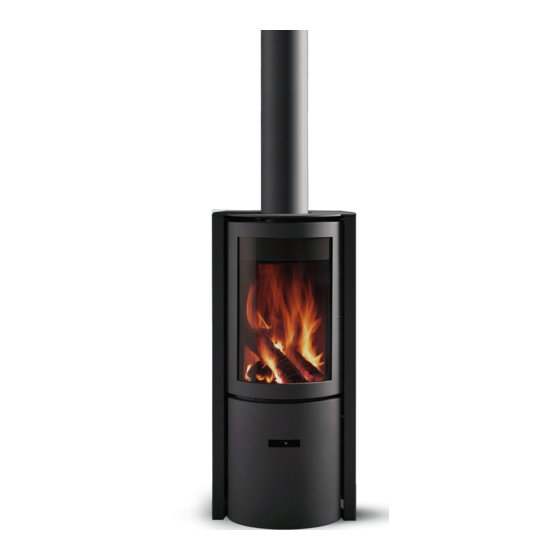
- 1 Allen key n° 3 and 4 - 1 8mm open-end spanner - 1 Adjustable locking wrench - 1 socket-head screwdriver with 7mm and 8mm sockets - 1 spatula 1 General view of the Stûv 30-in Front panel Solid door Finishing frame Damper regulator Ashtray door... -
Page 3: Replacing Of Ashtray Grate
Replacing ashtray grate 1. Removal of grate 1 Grate mechanism. 2 Open a door. 3 Remove grate with its pin Red knob of grate shaker Remove both front refractors. Mobile upper grate Fixed lower grate Fork 6 Refit refractors. Using red knob of 4 &... -
Page 4: Replacing Of Grate Shaker
Replacing ashtray shaker 1 Open a door. Remove front refrac- 2 Unscrew both grate shaker parts 3 Unscrew red knob from rod to allow tors. Remove grate and grate holding red knob with RH and fork both rod sections to be removed holder. -
Page 5: Replacing Of Drum Positioner
Replacing drum positioner The positioner is the fixed female element in which the bolt inserts to immobilise the drum. 2’ 2’ To refit, insert positioner using 2 screws with fan-washers. Do not tighten. Check that door lines up with front panel and ashtray door before tightening screws. -
Page 6: Replacing Damper And Regulator
2. Replacing drum guide bearing 1 Rotate drum for easy access to bear- 2 Using Allen key n°4 undo bearing axle pin. Don’t forget to refit washer between bearing and drum lower ring. Replacing damper and regulator 1 Remove both front refractors. 2 Remove primary air deflector. -
Page 7: Replacing Of Upper Seal Between Body & Drum
Replacing upper seal between body & drum Carefully note seal position before removal. 1 Using Allen key n°3 unscrew semi- 2 Remove semi-circular panel. 3 Undo both side finishing frames. circular panel on stove top. 4 Remove front panel. 5 Undo 3 hexagonal headed screws to 6 Remove stainless-steel seal retainer. - Page 8 10 Remove stainless-steel primary air 11 Remove 2 vertical protective sec- 12 Unscrew vertical seal retainer bolts deflector. tions by raising them through holes a few turns. provided for fixing the barbecue grill. 13 Remove used seal. 14 Fit new seal with flexible edge out- wards and thin section against stove face.
-
Page 9: Replacing Of Lower Seal Between Body & Drum
Replacing lower seal between body & drum Carefully note seal position before removal. 1 Open door slightly. Rotate drum 2 Using an 8mm open-end spanner 3 Rotate drum 10cm to the right, then 10cm to the right. Lift door out of and 8mm socket, unscrew bolt hold- remove upper crosspiece. -
Page 10: Door Locking
8 Position drum on solid door, remove 9 Remove seal. 7 Undo Allen screw and M5 nut holding door by lifting it off its hinges. Refitting is in reverse sequence. lower crosspiece. Rotate drum to the left to bring the 15mm hole level with vertical body seal. -
Page 11: Replacing Of Panes
Replacing panes Same procedure applies to glass door and/or “open fire” door. 1 1. Slightly open door. 2 Rotate drum 10cm to the right. Lift 3 Remove door striker plate. Note its door off its hinges, then push it to position carefully ! the left. -
Page 12: Replacing Of Anti-Convection Seals On Solid Door
Replacing anti-convection seals and solid door pane 1 Slightly open door. 2 Rotate drum 10cm to the right. Lift 3 Using an 87mm socket undo ther- door off its hinges, then push it to mal shield from solid door. the left. 4 Remove thermal shield. -
Page 13: Replacing Of Door Seals
Replacing door seals 1 Slightly open door. 2 Rotate drum 10cm to the right. Lift 3 Remove door seal simply pulling it door off its hinges, then push it to out. the left. 4 Using a spatula, replace seal starting from bottom hinge side. -
Page 14: Spare Parts List
Spare parts list for Stûv 30-in as of 02-05 Parts description Reference Part # Primary air deflector page 14 pic. 5 A 30P1501NX Thermal shield page 14 pic. 9 30P1502NX Drum grip hook page 4 pic. 2 30P1505NX RH facing page 14 pic. - Page 15 Warning ! Stûv stoves being constantly improved, please give stove serial number when ordering spares to make sure the ade- quate part is supplied. S30-in M. En 03-05...
- Page 16 Concept & Forme sa - rue Jules Borbouse 4 - 5170 Bois-de-Villers - Belgium tel: +32 (0)81 43 47 96 - fax +32 (0)81 43 48 74 info@stuv.be - www.stuv.be...
Need help?
Do you have a question about the 30-in and is the answer not in the manual?
Questions and answers