Advertisement
Quick Links
Please read instructions before beginning installation. Check the kit hardware against the kit contents shown below. Be
sure you have all needed parts and know where they go.
If question exist, please call us @1-800-222-7023. We will be happy to answer any questions concerning this product.
Check all fasteners for proper torque. Check to ensure for adequate clearance between all components.
Check and retighten wheels at 50 miles and again at 500 miles. Periodically check all hardware for tightness.
TOOLS NEEDED:
4mm Allen
8mm Socket
10mm Wrench and Socket
Jack
Jack Stands
Rachet
Body Saw
Paint marker
Tape measure
Auto Trim Puller
Long nose plyers
Wheel Chocks
Torque Specs:
Size
Grade 5
5/16"
15 ft/lbs
3/8"
30 ft/lbs
7/16"
45 ft/lbs
1/2"
65 ft/lbs
9/16"
95 ft/lbs
5/8"
135ft/lbs
3/4"
185ft/lbs
Thank you for choosing Rough Country for all your vehicle needs.
KIT CONTENTS:
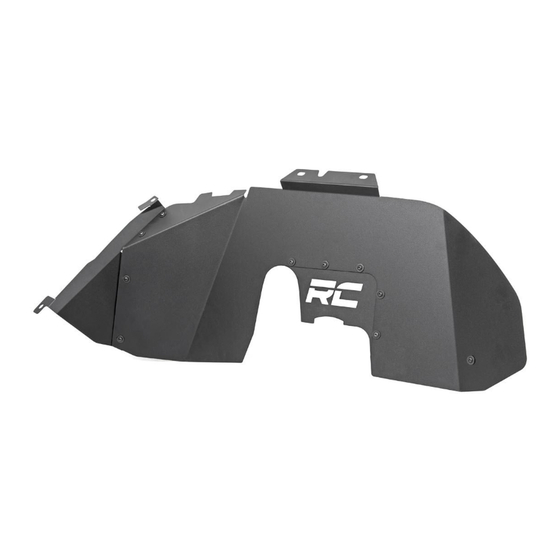
Dr & Pass Outer Inner Fender
Dr & Pass Rear Inner Fender
Dr & Pass Front Bracket
Dr & Pass RC logo plate
Red Accents x2
Grade 8
Size
20ft/lbs
6MM
35ft/lbs
8MM
60ft/lbs
10MM
90ft/lbs
12MM
130ft/lbs
14MM
175ft/lbs
16MM
280ft/lbs
18MM
JEEP 2018-19 JL Front Inner Fenders
Class 8.8
Class 10.9
5ft/lbs
9ft/lbs
18ft/lbs
23ft/lbs
32ft/lbs
45ft/lbs
55ft/lbs
75ft/lbs
85ft/lbs
120ft/lbs
130ft/lbs
165ft/lbs
170ft/lbs
240ft/lbs
HARDWARE INCLUDED:
(20) 6mm-1.0 x20 Button Head Bolts
(8)
6mm-1.0 x20 Hex Head Bolts
(2)
6mm-1.0 x35 Hex Head Bolts
(12) 6mm Nylock Nut
(18) 6mm Body clips
(42) 6mm Flat Washers
921104970
Advertisement

Subscribe to Our Youtube Channel
Related Manuals for rough country 10499


Summary of Contents for rough country 10499
- Page 1 921104970 JEEP 2018-19 JL Front Inner Fenders Thank you for choosing Rough Country for all your vehicle needs. Please read instructions before beginning installation. Check the kit hardware against the kit contents shown below. Be sure you have all needed parts and know where they go.
- Page 2 INSTALLATION INSTRUCTONS FOR STEP 32. Use this edge to set the mounting angle. Drivers and Passengers Front mounting brackets. Use this edge to set the mounting angle onto the body mount. See Step 32. and Photo 31. Drivers Side Front Mounting Bracket (x1) Passengers Side Front Mounting Bracket (x1)
- Page 3 INSTALLATION INSTRUCTONS 1. Park the vehicle on a level surface and chock the rear wheels. 2. Jack up the front of the vehicle. Place jack stands under the frame rails and lower onto jack stands letting the front suspension hang. 3.
- Page 4 9. Remove the fender liner. Set aside this will not be reused. See Photo 7. 10. Located at the front of the fender remove the 2 bolts, using a 10mm socket. See Photo 8. Save for reuse. Photo 7 Photo 8 Remove fender liner.
- Page 5 15. Release the tabs in between the fender and remove the 3rd and 4th clips. See Photo 13. 16. Remove the 7th and 11th clip on the rear and bottom of the fender. See Photo 14. Photo 13 Photo 14 7th clip 3rd and 4th clips 11th clip...
- Page 6 21. Mark the 3 highlighted lines on the inner structure to be trimmed for bolt and tool access. See Photo 19. 22. Using a body saw trim the 3 highlighted lines on the inner structure. See Photo 20. Photo 19 Photo 20 Mark lines to be trimmed.
- Page 7 26. Install the (6) 6mm body clips onto the rear inner fender panel. See Photo 24. 27. Install the rear inner fender panel into the rear of the vehicle. See Photo 25. Photo 24 Photo 25 Install (6) 6mm clips onto the back panel. Install rear panel.
- Page 8 34. Only install the (5) 6mm-1.0 x20mm bolts, washers and nylock nuts. if your installing these inner fenders with the Rough Country Vertex shocks installed on the vehicle. If so tighten using a 4mm allen wrench and a 10mm socket on the nut, turn the nut only to prevent chipping the powder coat off of the outside.
- Page 9 36. Install the (4) 6mm-1.0 x20mm button head bolts and washers in the rear of the panel. See Photo 36. 37. Install the (1) 6mm-1.0 x20mm button head bolt and washers in the front of the panel. See Photo 37. 38.
- Page 10 48. Lift the vehicle up and remove the jack stands, then lower the vehicle back onto the ground. By purchasing any item sold by Rough Country, LLC, the buyer expressly warrants that he/she is in compliance with all applicable , State, and Local laws and regulations regarding the purchase, ownership, and use of the item. It shall be the buyers responsibility to comply with all Federal, State and Local laws governing the sales of any items listed, illustrated or sold.
Need help?
Do you have a question about the 10499 and is the answer not in the manual?
Questions and answers