Advertisement
Quick Links
13. OEM bolt tightening sequence
1
4
3
2
Bolt tightening advice:
A. 25% of tightening torque
B. 50% of tightening torque
C. 100% of tightening torque
Check with OEM
14. Release horizontal adjustment bolts
15. Check the final alignment
Bolt tightening advice:
Re-check after 24 hot running hours
16. Recommendations
Remove complete or lock, with a locking nut,
the released adjustment bolts.
✓
Related products
✓
SKF Shaft alignment tools
✓
Surface treated SKF Vibracon chocks
Vibracon selection tool:
mapro.skf.com/vibracon
✓
Contact details:
vibracon@skf.com
skf.com/vibracon
® SKF is a registered trademark of the SKF Group.
© SKF Group 2019
The contents of this publication are the copyright of the publisher
and may not be reproduced (even extracts) unless prior written
permission is granted. Every care has been taken to ensure the
accuracy of the information contained in this publication but no
liability can be accepted for any loss or damage whether direct,
indirect or consequential arising out of the use of the information
contained herein.
PUB 43/P2 16115/2 EN · December 2019
Quick start guide
SKF Vibracon
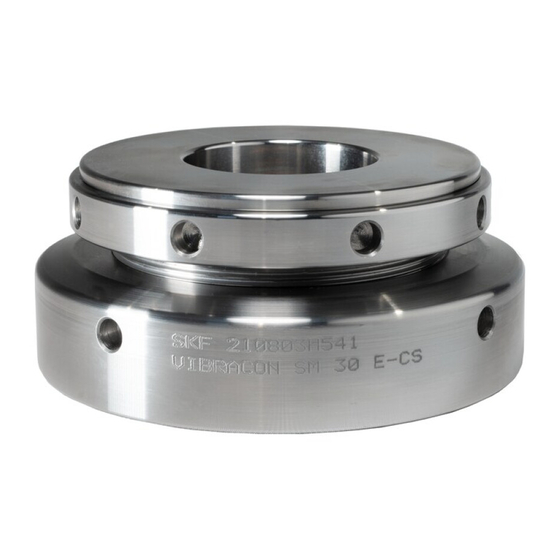
re-adjustable steel chock
SKF Spherical washers
SKF Vibracon low profile chock
and spherical washer
Benefits:
• Eliminate the "Soft Foot"
• Save installation time
• Self leveling
• Re-adjustable / re-useable
• Chock fast, no curing
• No special installation skills required
Advertisement

Summary of Contents for SKF Vibracon
- Page 1 Re-check after 24 hot running hours skf.com/vibracon • No special installation skills required ® SKF is a registered trademark of the SKF Group. 16. Recommendations © SKF Group 2019 The contents of this publication are the copyright of the publisher...
- Page 2 9. Adjustment to height ✗ ✓ ✓ ✓ 2. Adjustment of the component 6. Installation of the SKF Vibracon 10. Check contact area ✓ ✓ ✓ 3. Outcome of the adjustment: gaps to fill 7. Batch number in sight/front for traceability 11.


Need help?
Do you have a question about the Vibracon and is the answer not in the manual?
Questions and answers