Table of Contents
Advertisement
Quick Links
Advertisement
Table of Contents

Related Manuals for Measuretek EHX Series


Summary of Contents for Measuretek EHX Series
- Page 1 User Manual Contents subject to change without notice Version 1.0 7/2016...
-
Page 2: Table Of Contents
TABLE OF CONTENTS INTRODUCTION ........................1 General and Safety Information ..........................1 Specifications ................................1 Unpacking and Setup ......................2 Contents ................................. 2 OVERVIEW OF CONTROLS AND FUNCTIONS .................. 2 3.1 Indicator Display Character Definitions ........................2 3.2 Key Functions .............................. -
Page 3: Introduction
1. INTRODUCTION General and Safety Information For use in dry environments only. This product uses a Lead-acid rechargeable battery. Dispose of according to local laws and regulations. Read and understand all operating instructions before using this product. Keep this manual for future reference. -
Page 4: Unpacking And Setup
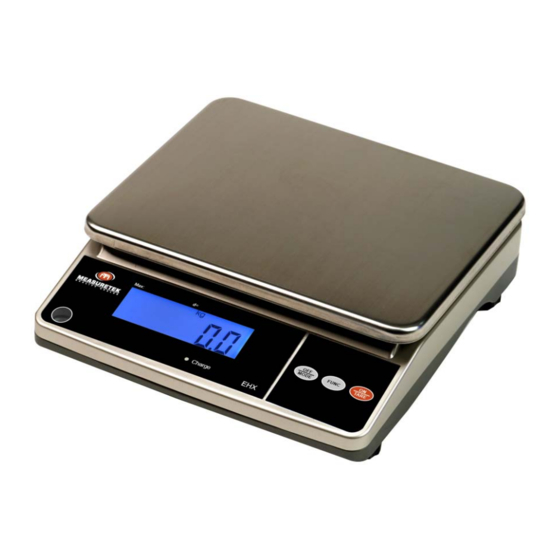
2. Unpacking and Setup Remove the scale from the box and place it on a firm, level surface. Avoid locations with rapid temperature changes, excessive dust, moisture, air currents, vibrations, electromagnetic fields, heat or direct sunlight. Adjust the leveling feet until the bubble is centered in the circle of the level indicator (located on the front panel). -
Page 5: Key Functions
3.2 Key Functions Press to power on the scale when the scale is off Press to tare a weight when the scale is on Long press to set upper and lower limit value Press to change the weighing units : kg, lb, pcs Long press to power off the scale when the scale is on ... -
Page 6: Operations
4. OPERATIONS 4.1 Power on / Power off scale Place the scale on a flat, stable surface. Level the scale using the leveling bubble at the lower left side of the display. With the weighing platter empty, press the ON/TARE key to power on the scale. The self-check will run and the scale will display a zero reading. -
Page 7: Counting Function
When only lower limit is set. Display weight value≥ lower limit value:The scales will not alarm. Display weight value < lower limit value:the scales will alarm. When only upper limit is set: Display weight value≤upper limit value:The scales will not alarm. Display weight value >... -
Page 8: Calibration
5. Calibration When precision weighing is needed, calibrate the scale as follows: First take away the object from the platform, then press ON/TARE key to set the display to zero, press and hold ON/TARE key until “ ” is display, then release, the scale will display " ”. -
Page 9: Error Codes And Troubleshooting
6.4 Demonstrating communication software (1)The super end under WIN9X/NT/2000/XP (2)The debugging assistant on www.gjwtech.com 7. Error Codes and Troubleshooting The following list describes the various errors which may appear on the display and the suggested remedy. Err 0 --- With the platform on, this signal indicates the platform is too light. Make it heavier properly. If this error still occurs, the sensor or the circuit board may be destroyed.
Need help?
Do you have a question about the EHX Series and is the answer not in the manual?
Questions and answers