Advertisement
Quick Links
Do not open during installation
This product is factory-sealed.
Refer to the instructions contained in this
document for details.
Surge Protection
This product features built-in surge protection circuitry in compliance with
applicable standards.
For comprehensive protection of a luminaire installation against lightning and
electrical surges, it is essential to cover mains supply and data input lines at
the distribution board level, by using respective primary (Type 1) and secondary
(Type 2) surge arrestors in compliance with EN61643-11/IEC61643-1.
Warning
Ensure that all required surge protection measures are in place and activated
prior to luminaire installation. Also, disconnect luminaires before operating
high-power devices such as, for example, electrical arc welders.
WE-EF LEUCHTEN
Installation and Maintenance
Instructions
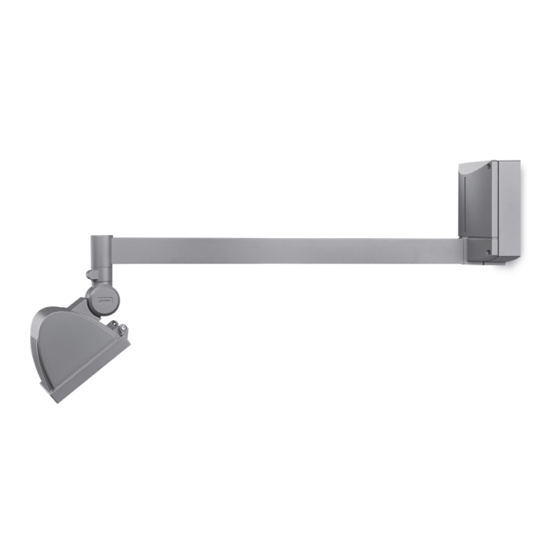
Bracket Mounted Floodlight
FLB141 #4 LED
Advertisement

Subscribe to Our Youtube Channel
Related Manuals for WE-EF FLB141 4 LED


Summary of Contents for WE-EF FLB141 4 LED
- Page 1 WE-EF LEUCHTEN Installation and Maintenance Instructions Bracket Mounted Floodlight FLB141 #4 LED Do not open during installation Surge Protection This product is factory-sealed. This product features built-in surge protection circuitry in compliance with Refer to the instructions contained in this applicable standards.
- Page 2 Bracket Mounted Floodlight FLB141 #4 IP66, IK08. Class I, ta = 40°C Weight for FLB141 #4 LED Windage area m² for FLB141 #4 LED 0.095 Orientation: horizontal...
-
Page 3: Maintenance
Light Source Maintenance Apart from cleaning the product’s exterior surfaces, no special maintenance work is required. Do not use high-pressure cleaners. In case of component failure due to abnormal circumstances or at end of life, replacement must be carried out Warning: Do not open luminaire while mains supply is switched on. -
Page 4: Installation
Installation The product must be installed and maintained by a building/construction and/or electrical regulations and relevant legislation. Warning: Switch off mains electrical supply prior to installing and connecting the luminaire. Notice: than the original manufacturer, then the warranty will no longer be valid and shall become the full respon- sibility of the modifying person/organisation. -
Page 5: Installation Procedure
Installation Procedure 1) Switch off mains electrical supply. A by loosening screws B. Detach terminal connector C. 3) Check that rating shown on luminaire label conforms with mains electrical supply. Drill relevant holes E and insert nylon plugs F. Warning: Ensure not to damage any electrical 07/18 IP55 cable, water pipe or other items drilling holes. - Page 6 5) Feed mains supply cable G (and second cable A, insert and tighten H for through wiring, if required) through mem- screws D. brane spout(s) I Attention: Nylon washers J must remain in A in position. position to provide sealing. 7) Connect mains supply cable G leads to 8) Ensure that all surfaces are clean and dry.
- Page 7 9) Loosen screws M and N slightly. Aim luminaire in desired direction, retighten screws M and N. Attention: The luminaire is pre-assembled for downward lighting applications as illustrated. To aim upwards, loosen screws P and rotate head assembly 180 degrees. Then retighten screws.
- Page 8 Tel +1 724 742 0030 Fax +41 22 752 49 74 Fax +1 724 742 0035 info.switzerland@we-ef.com info.usa@we-ef.com WE-EF LIGHTING United Kingdom Tel +44 844 880 5346 Fax +44 844 880 5347 info.uk@we-ef.com TO9246W0519 © WE-EF 2019 subject to change.
Need help?
Do you have a question about the FLB141 4 LED and is the answer not in the manual?
Questions and answers