Table of Contents
Advertisement
Quick Links
INSTALLATION AND OPERATION INSTRUCTIONS FOR
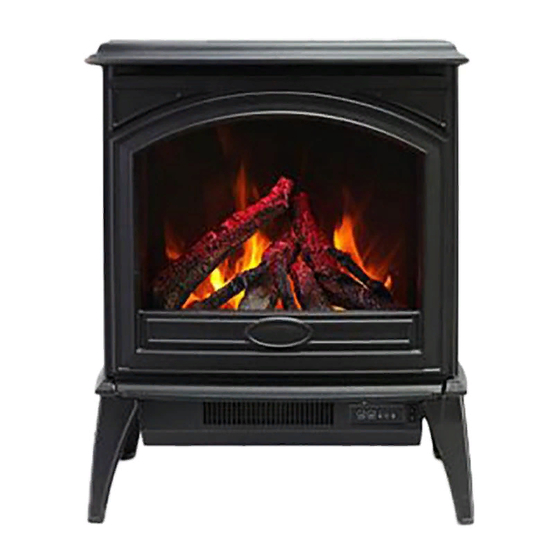
E 50
E 70
SAFETY INFORMATION
WARNING
For your safety, always comply with all
warnings and safety instructions
contained in this manual to prevent
personal injury or property damage.
Do not store or use gasoline or other flammable vapors
and liquids in the vicinity of this appliance.
INSTALLER: LEAVE OWNER'S MANUAL WITH THE APPLIANCE.
CONSUMER: RETAIN OWNER'S MANUAL FOR FUTURE REFERENCE.
Advertisement
Table of Contents

Related Manuals for Amantii E 50


Summary of Contents for Amantii E 50
- Page 1 INSTALLATION AND OPERATION INSTRUCTIONS FOR E 50 E 70 SAFETY INFORMATION WARNING For your safety, always comply with all warnings and safety instructions contained in this manual to prevent personal injury or property damage. Do not store or use gasoline or other flammable vapors and liquids in the vicinity of this appliance.
-
Page 2: Table Of Contents
Please read and carefully follow all instructions found in this manual. Please pay special attention to the safety instructions provided in this manual. The instructions included here will assure that you have many years of dependable and enjoyable service from your Amantii product. Table of Contents IMPORTANT INSTRUCTIONS .......................... -
Page 3: Important Instructions
IMPORTANT INSTRUCTIONS PLEASE RETAIN THIS USER GUIDE FOR FUTURE REFERENCE When using electrical appliances, basic precautions should always be followed to reduce the risk of fire, electric shock, and injury to persons, including the following: 1) Read all instructions before using this fireplace 2) The fireplace is hot when in use. -
Page 4: Unpacking And Testing Appliance
UNPACKING AND TESTING APPLIANCE Carefully remove the appliance from the box. Prior to installing the appliance, test to make sure the appliance operates properly by plugging the power supply cord into a conveniently located 120 Volt grounded outlet. Test all aspects of its operation (manual switches, remote and heater) to make sure all components operate correctly. -
Page 5: Virtus 50
VIRTUS 50 This appliance has been tested in accordance with the UL Standard Description 2021 fixed location Free Standing Appliance dedicated electric room appliances Voltage 120V AC 60Hz in the United States and Canada. If Watts 1500W Max need assistance during NO HEATER 18.5W... -
Page 6: Virtus 70
VIRTUS 70 This appliance has been tested in accordance with the UL Standard 2021 fixed location Description Free Standing Appliance dedicated electric room appliances Voltage 120V AC 60Hz in the United States and Canada. If Watts 1500W Max need assistance during NO HEATER 18.5W... -
Page 7: Media Options
MEDIA OPTIONS Your fireplace shipped with DESIGN- MEDIA-BIRCH-10PCE. DESIGN-MEDIA-BIRCH-10PCE STEP 4: Now you can decorate your fireplace. MEDIA INSTALLATION STEP 1: Unplug the unit and make sure controls are switched off. STEP 2: Take off the top cover. Top cover STEP 5: After the media has been installed, reinstall the front door and top cover. -
Page 8: Operation
OPERATION The fireplace can be operated by the switches located on the left front of the fireplace unit or by by the switches located on the left front of the fireplace unit or by by the switches located on the left front of the fireplace unit or by remote control (included). -
Page 9: Remote Control Operation
REMOTE CONTROL OPERATION REMOTE CONTROL OPERATION For remote to function make sure the heater is plugged in and main power switch located on the For remote to function make sure the heater is plugged in and main power switch located on the For remote to function make sure the heater is plugged in and main power switch located on the bottom left hand side is at position I. -
Page 10: Replacement Parts
REPLACEMENT PARTS This list contains replacement parts DESCRIPTION PART NUMBER E 50 E 70 10701381 10701382 FRONT GLASS 10702263 10702265 BOTTOM GLASS 10702262 10702264 BACK GLASS 3224505 3225505 FLICKER ASSEMBLY 601136B LED STRIP 601141B LED STRIP 601097B CIRCUIT BOARD BLOWER AND HEATER... -
Page 11: Exploded View
EXPLODED VIEW... -
Page 12: Wiring Diagram
Wiring Diagram... -
Page 13: Trouble Shooting
TROUBLE SHOOTING PROBLEM POSSIBLE CAUSE SOLUTION Dim or no flame Flame LED’s are burnt out Inspect the LED’s and replace them if necessary. Back black cloth is falling off Change a flicker and back black cloth. and rolled up in the flicker Ember Ember LED’s are burnt out Inspect the ember bed LED’s and... -
Page 14: Service History
SERVICE HISTORY This heater must be serviced annually depending on usage. Date Dealer Service technician Service Performed Special Concerns Name Name NOTES:...
Need help?
Do you have a question about the E 50 and is the answer not in the manual?
Questions and answers