EMC2 VNX Series Manual
Hide thumbs
Also See for VNX Series:
- Hardware information manual (138 pages) ,
- Installation manual (82 pages) ,
- Manual (15 pages)
Advertisement
Your Configuration is:
Disk - Replace a disk in a 15-drive enclosure
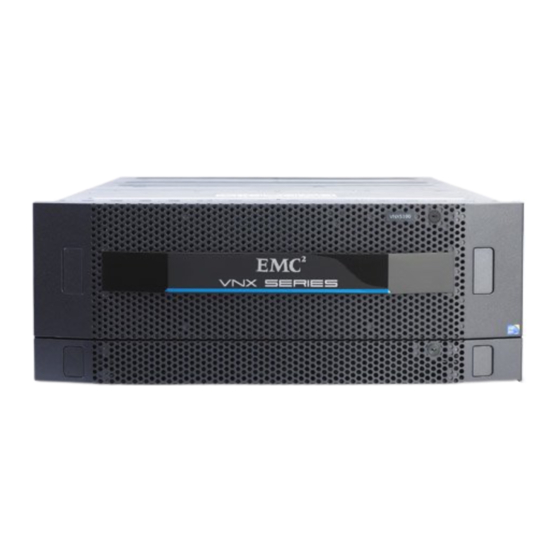
Model - VNX5100
Storage Type - VNX for Block (SAN)
Document ID - 1402279933326
To send comments or report errors regarding this document,
please email: mydocs@emc.com.
For Issues not related to this document, contact your service provider.
Refer to Document ID:
1402279933326
Content Creation Date June 8, 2014
Here is Your Customized Document
Reporting Problems
Advertisement
Table of Contents

Related Manuals for EMC2 VNX Series


Summary of Contents for EMC2 VNX Series
- Page 1 Here is Your Customized Document Your Configuration is: Disk - Replace a disk in a 15-drive enclosure Model - VNX5100 Storage Type - VNX for Block (SAN) Document ID - 1402279933326 Reporting Problems To send comments or report errors regarding this document, please email: mydocs@emc.com.
- Page 2 ® ® Series Replacing a disk in a 15-drive enclosure May, 2014 ® This document describes how to replace a disk in an EMC VNX5100 15-drive disk processor enclosure (DPE) or disk-array enclosure (DAE). Note Do not completely remove assembly- or enclosure-level hardware from the system or rack unless specifically directed.
-
Page 3: Before You Begin
Before you begin Before you begin this maintenance activity, refer to the component handling instructions. You should also review the entire procedure prior to beginning any maintenance activity on the system. Handling replaceable units This section describes the precautions that you must take and the general procedures that you must follow when removing, installing, and storing any replaceable unit. - Page 4 Replacing a disk in a 15-drive enclosure When you remove a unit from the antistatic bag, avoid touching any electronic components and circuits on it. If you must move around the room or touch other surfaces before installing a unit, first place the unit back in the antistatic bag.
-
Page 5: Preparing The System
Do not remove a faulty disk until you have a replacement disk (with the same part number or the part number of an approved replacement for the disk). The part number (PN005xxxxxx) appears on the disk. A replacement disk should be the same type (SAS, SATA, FLASH) and have the same capacity (size and speed) as the disk it is replacing. - Page 6 Replacing a disk in a 15-drive enclosure Procedure 1. Log in to the storage system or the Unisphere domain that contains the storage system. 2. From Unisphere, select System Monitoring and Alerts Notification and select the > > Distributed Monitors tab. 3.
-
Page 7: Running The Disk Replacement Wizard
Click the Unisphere Service Manager icon on your desktop Select Start All Programs or Start Programs, then select EMC Unisphere > > > Service Manager Unisphere Service Manager > From the System screen in Unisphere, click Launch USM in the right-hand taskbar located under Service Tasks 2. -
Page 8: Finishing Up
Replacing a disk in a 15-drive enclosure Finishing up After completing the maintenance activity, follow the tasks in this section to return the system to production ready. Checking the system for faulted hardware Follow the steps below to verify the status of the system's hardware components. Running the Verify Storage System wizard Use the Verify Storage System wizard to perform a health check on the storage system. - Page 9 4. De-select the Disable Responses check box and click OK. 5. Repeat these steps for SP B. Note You MUST enable responses on BOTH SP A and SP B to enable the storage system call home. Results You have enabled the storage system call home and responses. Returning the failed part Ship the failed part to your service provider as described in the instructions that were included with the replacement part.
- Page 10 Replacing a disk in a 15-drive enclosure © Copyright . All rights reserved. Published in USA. Published May, 2014 EMC believes the information in this publication is accurate as of its publication date. The information is subject to change without notice.
Need help?
Do you have a question about the VNX Series and is the answer not in the manual?
Questions and answers