EMC2 VNX Series Manual
Replace an sp battery backup unit
Hide thumbs
Also See for VNX Series:
- Hardware information manual (138 pages) ,
- Installation manual (82 pages) ,
- Manual (10 pages)
Advertisement
Quick Links
Your Configuration is:
SP - Replace an SP battery backup unit (BBU)
Model - VNX5400
Storage Type - VNX for Block (SAN)
Document ID - 1378191530101
To send comments or report errors regarding this document,
please email: mydocs@emc.com.
For Issues not related to this document, contact your service provider.
Refer to Document ID:
1378191530101
Content Creation Date September 3, 2013
Here is Your Customized Document
Reporting Problems
Advertisement

Related Manuals for EMC2 VNX Series


Summary of Contents for EMC2 VNX Series
- Page 1 Here is Your Customized Document Your Configuration is: SP - Replace an SP battery backup unit (BBU) Model - VNX5400 Storage Type - VNX for Block (SAN) Document ID - 1378191530101 Reporting Problems To send comments or report errors regarding this document, please email: mydocs@emc.com.
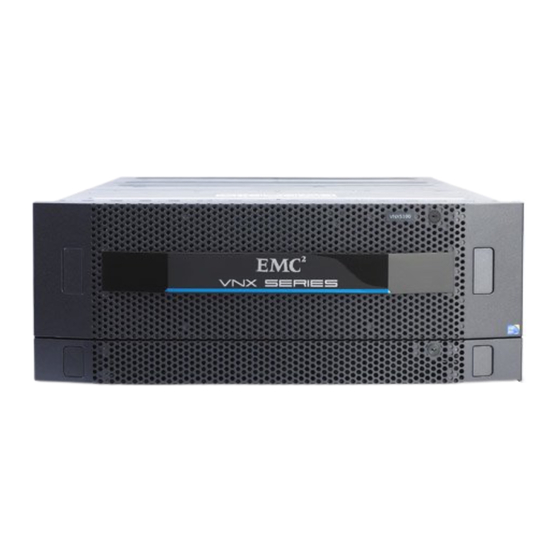
- Page 2 ® ® Series Replacing a Battery Backup Unit in a Disk Processor Enclosure ® This document describes how to replace a battery backup unit (BBU) in an EMC VNX5400 DPE9 disk processor enclosure. A BBU is part of the DPE9 base module and is accessible from the rear of the DPE9. You replace a faulted BBU from the rear of the chassis while the system is powered up.
-
Page 3: Before You Begin
Before you begin Before you begin this maintenance activity, refer to the component handling instructions. You should also review the entire procedure prior to beginning any maintenance activity on the system. Handling replaceable units This section describes the precautions that you must take and the general procedures that you must follow when removing, installing, and storing any replaceable unit. - Page 4 Before you begin If an emergency arises and the ESD kit is not available, follow the procedures in Emergency procedures (without an ESD kit) on page 4 Use the ESD wristband that is supplied with the server. To use it, attach the clip of the ESD wristband (strap) to any bare (unpainted) metal on the cabinet or enclosure, and then put the wristband around your wrist with the metal button against your skin.
- Page 5 Before you begin For a module that must be installed into a slot in an enclosure, examine the rear connectors on the module for any damage before attempting its installation. Store a CRU in the antistatic bag and the specially designed shipping container in which you received it.
-
Page 6: Preparing The System
Preparing the system Take the following actions to prepare the system for this maintenance activity. Disabling call home Use Unisphere or naviseccli to disable call home for the storage system during this maintenance activity. You can disable call home responses for a user determined time period between the 30 minute minimum and the 240 minute maximum. - Page 7 Preparing the system Important: You MUST disable responses on BOTH SP A and SP B to disable the storage system call home responses. The storage system will not call home or respond to any other template applied to the storage system for the specified time period.
- Page 8 Preparing the system 1. Locate the DPE and BBU. 2. Using the fault information found in Unisphere, determine which BBU (BBU A or BBU B) must be replaced. Running the Verify Storage System wizard Use the Verify Storage System wizard to perform a health check on the storage system. 1.
-
Page 9: Replacing The Faulted Hardware Component
Replacing the faulted hardware component Take the following actions to remove the faulted hardware part and install the replacement hardware part into the system. Removing a faulted BBU Before you begin Identify the faulted BBU by its amber fault LED(Figure 1 on page Figure 1. - Page 10 Replacing the faulted hardware component 2. Pull the BBU from the base module and place it on a clean, static-free surface. Figure 2. Removing a BBU Unpacking a part 1. Attach an ESD wristband to your wrist and the enclosure in which you are installing the part.
- Page 11 Replacing the faulted hardware component 2. Push the BBU into the slot until it clicks in place. Figure 3. Installing a BBU Note: After placing the replacement battery backup unit (BBU) into the DPE, the BBU immediately begins charging to full capacity, which may take several hours. Ensure that the BBU LED (location shown in Figure 1 on page 9) in the upper right corner of the BBU is steady green.
-
Page 12: Finishing Up
Finishing up After completing the maintenance activity, follow the tasks in this section to return the system to production ready. Verifying the operation of a new or replacement part with Unisphere 1. Start EMC® Unisphere for the storage system by entering the IP address in a browser window. - Page 13 Finishing up Select , then select Start All Programs Start Programs Unisphere Service Manager Unisphere Service Manager From the screen in Unisphere, click in the right-hand taskbar System Launch USM located under Service Tasks 2. Log in to your system. 3.
- Page 14 Finishing up You have enabled the storage system call home and responses. Returning the failed part Ship the failed part to your service provider as described in the instructions that were included with the replacement part. Your comments Your suggestions will help us continue to improve the accuracy, organization, and overall quality of the user publications.
- Page 15 Copyright © 2013 - EMC Corporation. All rights reserved. Published August 2013 EMC believes the information in this publication is accurate as of its publication date. The information is subject to change without notice. THE INFORMATION IN THIS PUBLICATION IS PROVIDED "AS IS." EMC CORPORATION MAKES NO REPRESENTATIONS OR WARRANTIES OF ANY KIND WITH RESPECT TO THE INFORMATION IN THIS PUBLICATION, AND SPECIFICALLY DISCLAIMS IMPLIED WARRANTIES OF MERCHANTABILITY OR FITNESS FOR A PARTICULAR PURPOSE.
Need help?
Do you have a question about the VNX Series and is the answer not in the manual?
Questions and answers