MSI Optix Series Manual
Hide thumbs
Also See for Optix Series:
- User manual (46 pages) ,
- Manual (38 pages) ,
- Quick start manual (24 pages)
Table of Contents
Advertisement
Advertisement
Table of Contents

Related Manuals for MSI Optix Series


Summary of Contents for MSI Optix Series
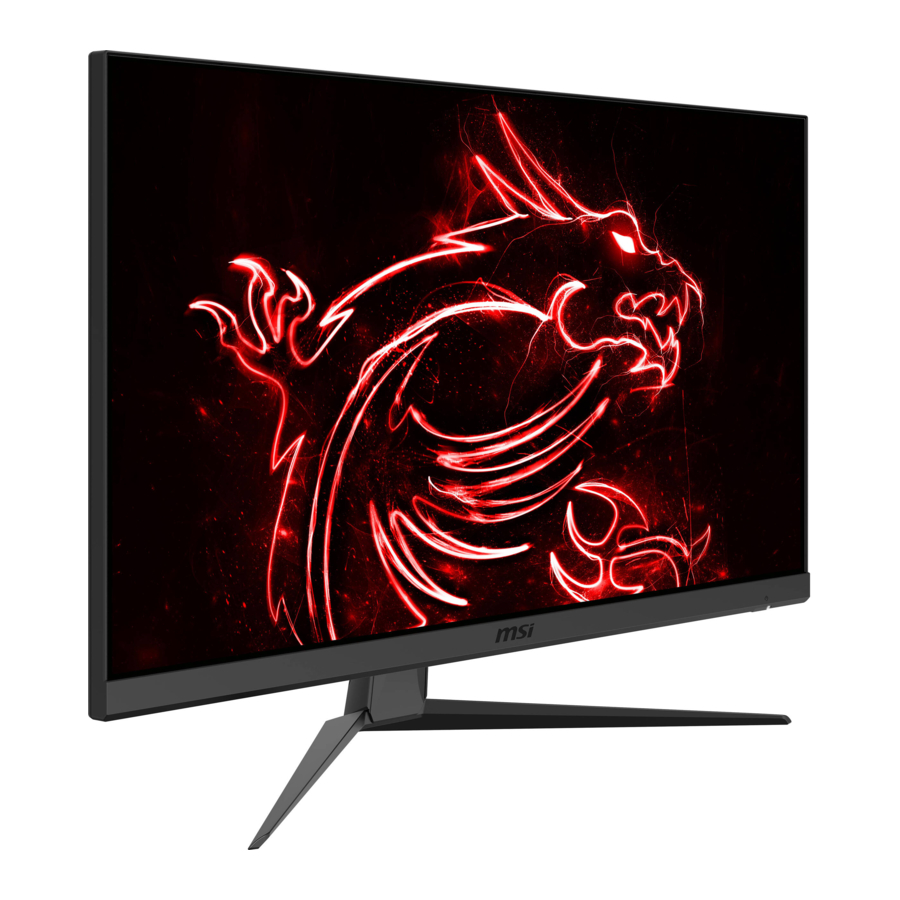
- Page 1 Optix Series LCD Monitor Optix MAG273 (3CB6) Optix MAG273R (3CB6)
-
Page 2: Table Of Contents
Contents Copyright and Trademarks Notice ��������������������������������������������������������������������������iii Revision ������������������������������������������������������������������������������������������������������������������iii Technical Support ���������������������������������������������������������������������������������������������������iii Safety Instructions ���������������������������������������������������������������������������������������������������iv CE Conformity ���������������������������������������������������������������������������������������������������������vi FCC-B Radio Frequency Interference Statement ���������������������������������������������������vi WEEE Statement ���������������������������������������������������������������������������������������������������vii Chemical Substances Information �������������������������������������������������������������������������vii RoHS Statement ����������������������������������������������������������������������������������������������������vii Getting Started �������������������������������������������������������������������������������1-1 Package Contents ������������������������������������������������������������������������������������������������ 1-2 Installing the Monitor Stand ����������������������������������������������������������������������������������... -
Page 3: Copyright And Trademarks Notice
Preface Copyright and Trademarks Notice Copyright © Micro-Star Int’l Co�, Ltd� All rights reserved� The MSI logo used is a registered trademark of Micro-Star Int’l Co�, Ltd� All other marks and names mentioned may be trademarks of their respective owners� No warranty as to accuracy or completeness is expressed or implied�... -
Page 4: Safety Instructions
Safety Instructions ◙ Read the safety instructions carefully and thoroughly� ◙ All cautions and warnings on the device or user’s manual should be noted� ◙ Refer servicing to qualified personnel only. Keep the User’s Guide that comes with the package for future reference� To prevent fire or shock hazard, keep this device away from humidity and high temperature�... - Page 5 Users should contact the local authorized point of collection for recycling and disposing of their end-of-life products� ◙ Visit the MSI website and locate a nearby distributor for further recycling information� ◙ Users may also reach us at gpcontdev@msi�com for information regarding proper disposal, take-back, recycling, and disassembly of MSI products�...
-
Page 6: Ce Conformity
1� this device may not cause harmful interference, and 2� this device must accept any interference received, including interference that may cause undesired operation� MSI Computer Corp� 901 Canada Court, City of Industry, CA 91748, USA (626)913-0828 www�msi�com... -
Page 7: Weee Statement
Vietnam RoHS As from December 1, 2012, all products manufactured by MSI comply with Circular 30/2011/TT-BCT temporarily regulating the permitted limits for a number of hazardous substances in electronic and electric products�... -
Page 9: Getting Started
Getting Started This chapter provides you with the information on hardware setup procedures� While connecting devices, be careful in holding the devices and use a grounded wrist strap to avoid static electricity� IMPORTANT • The illustrations are for reference only� Your monitor may vary in appearance� •... -
Page 10: Package Contents
Package Contents 1� Monitor 2� Stand 3� Stand Base with Screw 4� Power Adapter & Power Cord 5� HDMI Cable (optional) 6� USB Upstream Cable (optional) 7� Quick Start Guide 8� Warranty Card * Contact your place of purchase or local distributor if any of the items is damaged or missing�... -
Page 11: Installing The Monitor Stand
Getting Started Installing the Monitor Stand Optix MAG273 (3CB6) IMPORTANT Place the monitor on a soft, protected surface to avoid scratching the display panel� The holes for installing the stand can be also used for wall mount� Please contact your dealer for proper wall mount kit�... - Page 12 Optix MAG273R (3CB6) IMPORTANT Place the monitor on a soft, protected surface to avoid scratching the display panel� The holes for installing the stand can be also used for wall mount� Please contact your dealer for proper wall mount kit� 1�...
-
Page 13: Adjusting The Monitor
Getting Started Adjusting the Monitor This monitor is designed to maximize your viewing comfort with its adjustment capabilities such as tilt, lift and swivel� IMPORTANT Avoid touching the display panel when adjusting the monitor� Optix MAG273 (3CB6) Optix MAG273R (3CB6) 130mm... -
Page 14: Monitor Overview
Monitor Overview Power Button Navi Key Kensington Lock Power Jack... - Page 15 Cable and connect it to the PC and monitor� To PC Once this cable is connected, the USB Type To Monitor A Downstream Ports on the monitor will be ready for use� USB Type-A Downstream Port DisplayPort HDMI Port Headphone Jack MSI Macro Key To activate Gaming OSD�...
-
Page 16: Connecting The Monitor To Pc
Connecting the Monitor to PC 1� Turn off your computer. 2� Connect the HDMI/DisplayPort cable from the monitor to your computer� 3� Assemble the monitor power adapter & power cord� (Figure A) 4� Connect the power adapter to the monitor power jack� (Figure B) 5�... -
Page 17: Osd Setup
OSD Setup This chapter provides you with essential information on OSD Setup� IMPORTANT All information is subject to change without prior notice�... -
Page 18: Navi Key
Navi Key The monitor comes with a Navi Key, a multi-directional control that helps navigate the On-Screen Display (OSD) menu� Navi Key The Navi Key default settings are as follows� Navi Key Hot Key Basic Operations (When OSD menu is OFF) (When OSD menu is ON) Middle Button OSD Main Menu... - Page 19 OSD Setup Navi Key Hot Key Basic Operations (When OSD menu is OFF) (When OSD menu is ON) Game Mode ■ Press Middle Button ■ Selecting function menus to confirm selection and items and exit� ■ Allowing upward ■ Press Up and Down adjustment in function Buttons to adjust�...
- Page 20 Users may enter the OSD Menu to customize their own Navi Key Hot Keys. More Hot Key options are as below� Navi Key Hot Key Options Operations Brightness ■ Press Middle Button to save value and exit� ■ Press Up and Down Buttons to adjust� ■...
-
Page 21: Osd Setup Via Navi Key
OSD Setup OSD Setup via Navi Key Press the Middle button of Navi Key to launch the On-Screen Display (OSD) main menu� Use the Up, Down, Left, Right buttons to tune the desired function menus to suit your personal preferences� h Gaming 1st Level Menu 2nd/3rd Level Menu... - Page 22 1st Level Menu 2nd/3rd Level Menu Description Anti Motion Blur ■ Brightness cannot be adjusted when Anti (OFF) Motion Blur is set to ON. ■ When Screen Refresh Rate is lower than (ON) 75HZ, Anti Motion Blur cannot be enabled. ■...
- Page 23 OSD Setup h Professional 1st Level Menu 2nd Level Menu Description Pro Mode User Default mode� All items can be adjusted by users� Reader All items can be adjusted by users� Cinema All items can be adjusted by users� Designer All items can be adjusted by users�...
- Page 24 h Image 1st Level Menu 2nd/3rd Level Menu Description Brightness 0-100 ■ Users can adjust Brightness in User, RTS, RPG and Reader mode� ■ Brightness will be grayed out when Anti Motion Blur and HDCR are enabled� Contrast 0-100 ■ Users can adjust Contrast in any Mode� Sharpness ■...
- Page 25 OSD Setup h Setting 1st Level Menu 2nd Level Menu Description Language 繁體中文 ■ Language factory default is English� ■ Users have to press the Middle Button to confirm English and apply the Language setting� Français ■ Language is an independent setting� Users’ own Deutsch language setting will override the factory default�...
-
Page 27: Appendix
Appendix IMPORTANT All information is subject to change without prior notice�... -
Page 28: Specifications
Specifications Model Optix MAG273 (3CB6) Optix MAG273R (3CB6) Size 27 inch Curvature Flat Panel Type Resolution 1920 x 1080 Aspect Ratio 16:9 Brightness (nits) Contrast Ratio 1000:1 Refresh Rate 144Hz Response Time 1ms (MPRT) Input Interface ■ HDMI Port x2 ■... - Page 29 Appendix Model Optix MAG273 (3CB6) Optix MAG273R (3CB6) Environment Operating Temperature: 0°C to 40°C Humidity: 20% to 90%, non-condensing Altitude: 0 ~ 2000m Storage Temperature: -20°C to 60°C Humidity: 10% to 90%, non-condensing * Based on CIE1976 test standards�...
-
Page 30: Preset Display Modes
Preset Display Modes Optix MAG273 (3CB6)/ Optix MAG273R (3CB6) Standard Resolution HDMI1 HDMI2 640x480 @60Hz 640x480 @67Hz 640x480 @72Hz 640x480 @75Hz Dos-Mode 720x480 @60Hz SVGA 800x600 @56Hz 800x600 @60Hz 800x600 @72Hz 800x600 @75Hz 1024x768 @60Hz 1024x768 @70Hz 1024x768 @75Hz SXGA 1280x1024 @60Hz 1280x1024 @75Hz 1280x1024 @120Hz... -
Page 31: Troubleshooting
Appendix Troubleshooting The power LED is off. ■ Press the monitor power button again� ■ Check if the monitor power cable is properly connected� No image� ■ Check if the computer graphics card is properly installed� ■ Check if the computer and monitor are connected to electrical outlets and are turned on�...
Need help?
Do you have a question about the Optix Series and is the answer not in the manual?
Questions and answers