Contents Copyright and Trademarks Notice ��������������������������������������������������������������������������iii Revision ������������������������������������������������������������������������������������������������������������������iii Technical Support ���������������������������������������������������������������������������������������������������iii Safety Instructions ���������������������������������������������������������������������������������������������������iv CE Conformity ���������������������������������������������������������������������������������������������������������vi FCC-B Radio Frequency Interference Statement ���������������������������������������������������vi WEEE Statement ���������������������������������������������������������������������������������������������������vii Chemical Substances Information �������������������������������������������������������������������������vii RoHS Statement ����������������������������������������������������������������������������������������������������vii Getting Started ������������������������������������������������������� 1-1 Package Contents ������������������������������������������������������������������������������������������������ 1-2 Installing the Monitor Stand ����������������������������������������������������������������������������������...
Safety Instructions ◙ Read the safety instructions carefully and thoroughly� ◙ All cautions and warnings on the device or user’s manual should be noted� ◙ Refer servicing to qualified personnel only. Keep the User’s Guide that comes with the package for future reference� To prevent fire or shock hazard, keep this device away from humidity and high temperature�...
Page 5
Users should contact the local authorized point of collection for recycling and disposing of their end-of-life products� ◙ Visit the MSI website and locate a nearby distributor for further recycling information� ◙ Users may also reach us at gpcontdev@msi�com for information regarding proper disposal, take-back, recycling, and disassembly of MSI products�...
1� this device may not cause harmful interference, and 2� this device must accept any interference received, including interference that may cause undesired operation� MSI Computer Corp� 901 Canada Court, City of Industry, CA 91748, USA (626)913-0828 www�msi�com...
Vietnam RoHS As from December 1, 2012, all products manufactured by MSI comply with Circular 30/2011/TT-BCT temporarily regulating the permitted limits for a number of hazardous substances in electronic and electric products�...
Getting Started This chapter provides you with the information on hardware setup procedures� While connecting devices, be careful in holding the devices and use a grounded wrist strap to avoid static electricity� IMPORTANT • The illustrations are for reference only� Your monitor may vary in appearance� •...
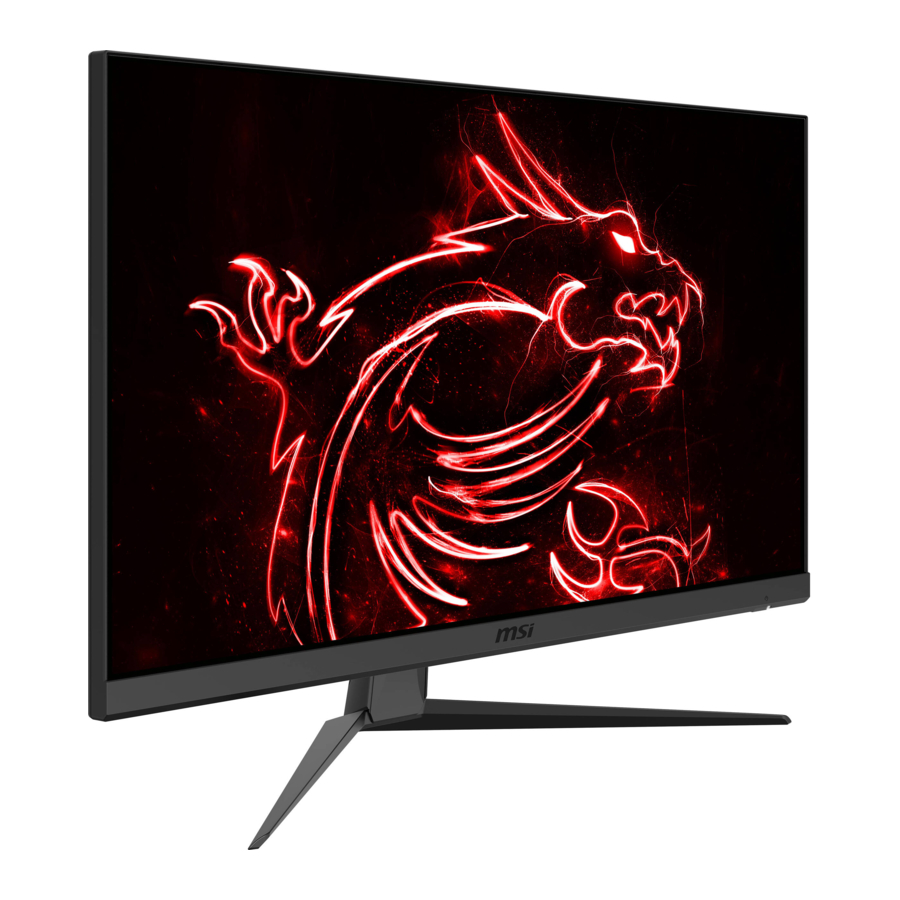
Package Contents 1� Monitor 2� Stand 3� Stand Base with Screw 4� Wall Mount Screws x 4 5� Stand Screws x 4 6� VESA Cover 7� Power Cord 8� HDMI Cable 9� DisplayPort Cable 10� USB Upstream Cable (to enable the USB ports on the monitor) 11�...
Getting Started Installing the Monitor Stand 1� Align the latches of the stand to the monitor� Tighten the stand with the stand screws� 2� Adjust the angle of the stand� Align the latches to place the VESA cover� 3� Connect the base to the stand and tighten the base screw to secure the base� IMPORTANT •...
Adjusting the Monitor This monitor is designed to maximize your viewing comfort with its adjustment capabilities� IMPORTANT Avoid touching the display panel when adjusting the monitor� 100mm...
Getting Started Monitor Overview Power Jack HDMI Port DisplayPort USB-C Port This port can send simultaneously video signal and power stream up to PD 5V/3A� It doesn’t support data transmission function�...
Page 14
USB3.2 Gen1 Type B Upstream Port For USB Upstream Cable� IMPORTANT To Monitor Check the package for USB Upstream Cable and connect it to the PC and monitor� Once this cable is connected, To PC the USB Type A Downstream Ports on the monitor will be ready for use�...
Getting Started Connecting the Monitor to PC 1� Turn off your computer. 2� Connect the HDMI/DisplayPort cable from the monitor to your computer� 3� Connect the power cord to the monitor power jack� (Figure A) 4� Plug the power cord into the electrical outlet� (Figure B) 5�...
Navi Key The monitor comes with a Navi Key, a multi-directional control that helps navigate the On-Screen Display (OSD) menu� Navi Key The Navi Key default settings are as follows� Hot Key Basic Operations Navi Key (When OSD menu is OFF) (When OSD menu is ON) OSD Main Menu ■...
Page 19
OSD Setup Hot Key Basic Operations Navi Key (When OSD menu is OFF) (When OSD menu is ON) Game Mode ■ Press Middle ■ Selecting function menus Button to confirm and items selection and exit� ■ Allowing upward adjustment ■ Press Up and in function values Down Buttons to adjust�...
Page 20
Users may enter the OSD Menu to customize their own Navi Key Hot Keys. More Hot Key options are as below� Navi Key Hot Key Options Operations ■ Press Middle Button to save value and exit� ■ Press Up and Down Buttons to adjust� ■...
OSD Setup OSD Setup via Navi Key Press the Middle button of Navi Key to launch the On-Screen Display (OSD) main menu� Use the Up, Down, Left, Right buttons to tune the desired function menus to suit your personal preferences� h GAMING 1st Level Menu 2nd/3rd Level Menu...
Page 22
1st Level Menu 2nd/3rd Level Menu Description ■ When Anti Motion Blur is enabled, HDCR and (OFF) Brightness cannot be enabled and will be grayed out� (ON) ■ Response time will be grayed out while Anti Motion Blur is enabled� Anti Motion Blur ■...
Page 23
OSD Setup 1st Level Menu 2nd/3rd Level Menu Description ■ FreeSync prevents screen tearing� (OFF) ■ DisplayPort or HDMI default is ON and can be adjusted ON/OFF in any mode, any resolution, any input source and any screen (ON) refresh rate� ■...
Page 24
1st Level Menu 2nd Level Menu Description Image ■ Image Enhancement enhances image edges to Enhancement improve their acutance. Weak ■ Users can adjust Image Enhancement in any Medium Mode. Strong Strongest h Image 1st Level Menu 2nd/3rd Level Menu Description Brightness 0-100...
Page 25
OSD Setup h PIP/ PBP 1st Level Menu 2nd/3rd Level Menu Description ■ PIP (Picture in Picture) allows users to simultaneously display multiple Source HDMI1 video sources on one screen. One HDMI2 program is displayed on the full screen at the same time as one or more other programs are displayed in inset Type C windows.
Page 26
h Setting 1st Level Menu 2nd Level Menu Description Language 繁體中文 ■ Language factory default is English� ■ Users have to press the Middle Button to confirm English and apply the Language setting� Français ■ Language is an independent setting� Users’ own Deutsch language setting will override the factory default�...
Specifications Model Optix MPG341CQRV Size 34 inch Curvature 1800R Panel Type Resolution 3440 x 1440 (UWQHD ) Aspect Ratio 21:9 Brightness (nits) Contrast Ratio 3000:1 Refresh Rate DP 120Hz / HDMI 100Hz Response Time MPRT Input Interface ■ HDMI x2 ■...
Page 29
Appendix Model Optix MPG341CQRV VESA Mounting ■ Plate Type: 100 x 100mm ■ Screw Type: M4 x 10mm ▶ Thread Diameter: 4mm ▶ Thread Pitch: 0.7mm ▶ Thread Length: 10mm Dimension (W x D x H) 810.16 x 269.94 x 564.59mm Weight 9.7 kg (Net) , 13.5 kg (Gross) Environment...
Preset Display Modes Optix MPG341CQRV Resolution HDMI 640 x 480 @60Hz 640 x 480 @67Hz 640 x 480 @72Hz 640 x 480 @75Hz 720 × 400 @70Hz 800 x 600 @56Hz 800 x 600 @60Hz 800 x 600 @72Hz 800 x 600 @75Hz 1024 x 768 @60Hz 1024 x 768 @70Hz 1024 x 768 @75Hz...
Appendix Troubleshooting The power LED is off. ■ Press the monitor power button again� ■ Check if the monitor power cable is properly connected� No image. ■ Check if the computer graphics card is properly installed� ■ Check if the computer and monitor are connected to electrical outlets and are turned on�...
Need help?
Do you have a question about the Optix Series and is the answer not in the manual?
Questions and answers