Advertisement
Quick Links
Advertisement

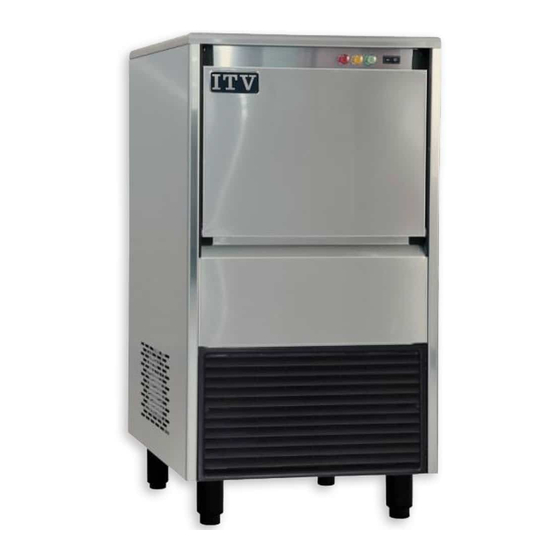
Summary of Contents for ITV ICE MAKERS ICE QUEEN 45
- Page 1 ITV Service Department ICE QUEEN 45 Repairing process - Change of extruder...
- Page 2 Ice Queen 45 Tools and materials needed: Screwdriver PH2 Allen wrench Nº 5/32 & 13/64 IN. Pointed pliers Cutter Drill, Nº 13/64 Box spanner nº 9/32 Insulating tape. * In this process it is not necessary to open the refrigerating circuit.
- Page 3 1. Access to the evaporator First of all, disconnect the machine electrically, close the water faucet, and disconnect the water inlet tube. Once everything is disconnected, start the repairing process step by step: Remove the top cover with a PH2 screwdriver to access gear motor.
-
Page 4: Gear Motor
2.Gear motor Remove with a PH2 screwdriver these four screws that hold the gear motor to the evaporator. Removing these screws, the gear motor will be completely free. Disconnect the electrical connection and remove gear motor from this location. - Page 5 3. Evaporator Take the drill nº 13/64 and remove the two rivets that hold the evaporator bracket. Disconnect the water inlet tube. When removing these two screws, the evaporator will be completely loose and we should hold it with one hand to keep it from falling, while preventing damage to refrigeration copper tubes, specially the capilary tube.
- Page 6 3.1. Upper plate disassembly With a cutter, carefully cut the insulation. You can re-use it Mark plastic and plate as shown to when you assemble the facilitate assembly in same evaporator again. position. Use an insulating tape (picture 26) to re-use this insulation. Remove the safety ring with Remove top cap leveraging pointed pliers.
- Page 7 3.2. Auger Disassembly Take the nº5/32 & 13/64 allen wrench and remove the four screws from the upper plate that hold the extruder. Pull the auger out of the Remove the ice chute with a evaporator. box spanner nº 9/32 Once opened, check the evaporator for scale build up, and do the maintenace and cleaning process if necesary...
- Page 8 3.3.Extruder disassembly With the nº 1/8 allen wrench Remove the old extruder remove the screw that holds the pushrod, as shown in picture 19. Install the new extruder and fix the pushrod with nº1/8 allen New extruder wrench..
-
Page 9: Extruder Assembly
3.4.Extruder assembly To complete the assembly, follow the previous points inversely. ¡¡¡IMPORTANT NOTICE!!! When tightening the four screws that hold the extruder follow a star pattern, tightening them gradually with the nº 5/32 allen wrench. Step by step 1-2-3-4-1-2-3-4... - Page 10 4. Evaporator (insulation assembly) Re-use the isulation using this kind of insulating tape.
- Page 11 Pol.Ind. Sector 13. Avda. dels Hostalers, 2. 46394 Ribarroja del Turia, Valencia (Spain) itv@itv.es· www.itv.es...


Need help?
Do you have a question about the ICE QUEEN 45 and is the answer not in the manual?
Questions and answers