Sign In
Upload
Download
Table of Contents
Contents
Add to my manuals
Delete from my manuals
Share
URL of this page:
HTML Link:
Bookmark this page
Add
Manual will be automatically added to "My Manuals"
Print this page
×
Bookmark added
×
Added to my manuals
Manuals
Brands
Origin Acoustics Manuals
Subwoofer
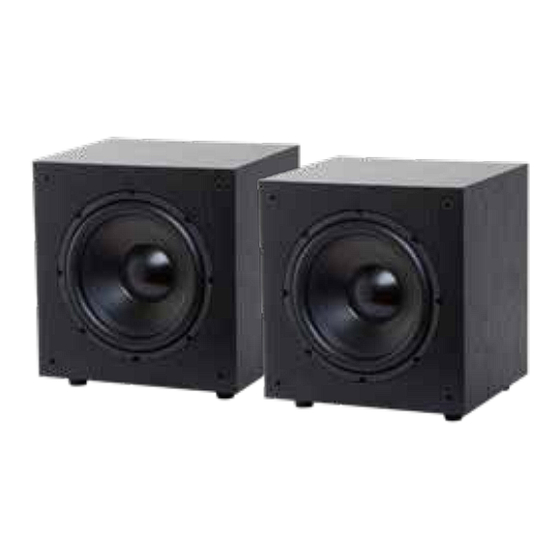
SUBV10
Installation manual
Origin Acoustics SUBV10 Installation Manual
Hide thumbs
Also See for SUBV10
:
Installation manual
(22 pages)
1
Table Of Contents
2
3
4
5
6
7
8
9
10
11
12
13
14
15
16
17
18
19
20
21
22
page
of
22
Go
/
22
Contents
Table of Contents
Troubleshooting
Bookmarks
Table of Contents
Table of Contents
Introduction
Specifications
What's Included
Features
Before You Begin
Important Safety Instructions
Power Connection
Audio Connection: LFE, Line Output, Speaker Wire
Alternative High-Level Wire Options
Powering on Your Subwoofer
Subwoofer Level Control
Subwoofer Crossover Control
Subwoofer Controls: Level, Crossover, Phase Switch
Subwoofer Phase Switch
Subwoofer Placement: Main Channel & Wall or Corner
Cleaning & Care
Troubleshooting
Technical Assistance
Warranty
Return Process
Advertisement
Quick Links
1
Specifications
2
Features
3
Power Connection
4
Audio Connection: Lfe, Line Output, Speaker Wire
5
Powering on Your Subwoofer
6
Subwoofer Controls: Level, Crossover, Phase Switch
7
Troubleshooting
Download this manual
SUBV10 & 12 Manual l
SUBV Collection
SUBV12
SUBV10
Installation Manual
Table of
Contents
Previous
Page
Next
Page
1
2
3
4
5
Advertisement
Table of Contents
Need help?
Do you have a question about the SUBV10 and is the answer not in the manual?
Ask a question
Questions and answers
Related Manuals for Origin Acoustics SUBV10
Subwoofer Origin Acoustics Bassic SUB Series Installation Manual
(22 pages)
Subwoofer Origin Acoustics SUBV12 Installation Manual
(22 pages)
Subwoofer Origin Acoustics SUBV12P Installation Manual
(18 pages)
Subwoofer Origin Acoustics Deep SUBDD12EQ Installation Manual
(18 pages)
Subwoofer Origin Acoustics Deep SUBD10EQ Installation Manual
(18 pages)
Subwoofer Origin Acoustics SUBS10 Instruction Manual
Slim floor-standing subwoofer (30 pages)
Subwoofer Origin Acoustics Bassic SUB12 Installation Manual
(22 pages)
Subwoofer Origin Acoustics Bassic SUB10 Installation Manual
(22 pages)
Subwoofer Origin Acoustics Origin Pro PSUB10X2 Installation Manual
Professional surface mount subwoofer (30 pages)
Subwoofer Origin Acoustics CSUB10N Installation Manual
10” in-wall subwoofer (18 pages)
Subwoofer Origin Acoustics Bassic V10 Installation Manual
(7 pages)
Subwoofer Origin Acoustics DSUB6 Installation Manual
In-ceiling dual 6.5” subwoofer (15 pages)
Subwoofer Origin Acoustics CSUB10R Installation Manual
10” in-wall subwoofer (8 pages)
Subwoofer Origin Acoustics DSUB6F68K Installation Manual
(20 pages)
Subwoofer Origin Acoustics DIRECTOR DSUB6 Installation Manual
(20 pages)
Subwoofer Origin Acoustics WSK200 Installation Manual
Wireless subwoofer kit (8 pages)
This manual is also suitable for:
Subv12
Table of Contents
Print
Rename the bookmark
Delete bookmark?
Delete from my manuals?
Login
Sign In
OR
Sign in with Facebook
Sign in with Google
Upload manual
Upload from disk
Upload from URL


Need help?
Do you have a question about the SUBV10 and is the answer not in the manual?
Questions and answers