
Related Manuals for Clarke X-Pro CAT204


Summary of Contents for Clarke X-Pro CAT204
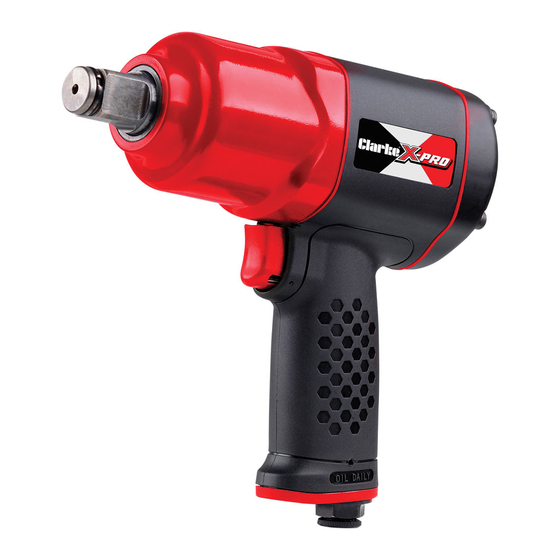
- Page 1 3/4”AIR IMPACT WRENCH MODEL NO: CAT204 PART NO: 3120521 OPERATING & MAINTENANCE INSTRUCTIONS ORIGINAL INSTRUCTIONS GC1019 - ISS 1...
-
Page 2: Specification
INTRODUCTION Thank you for purchasing this CLARKE Impact Wrench. Please read all of the safety and operating instructions carefully before using this product. In doing so you will ensure the safety of yourself and that of others around you, and you can look forward to your purchase giving you long and satisfactory service. -
Page 3: General Safety Rules
GENERAL SAFETY RULES CAUTION: FAILURE TO FOLLOW THESE PRECAUTIONS COULD RESULT IN PERSONAL INJURY, AND/OR DAMAGE TO PROPERTY. WORK ENVIRONMENT 1. ALWAYS keep the work area clean and tidy. 2. ALWAYS Dress appropriately - Do not wear loose clothing or jewellery. Tie long hair out of the way. - Page 4 • The air tool will be left unattended. • Moving to another work area. 13. DO NOT use the tool if it is defective or operating abnormally. 14. DO NOT damage the air tool by applying excessive force. 15. DO NOT maintain the tool with care for the best and safest performance. 16.
-
Page 5: Compressed Air Requirements
A typical air line layout is shown below. If an automatic in-line filter/regulator is used, it will keep the tool in good condition, but should be regularly checked and topped up with oil. CLARKE airline oil should be used, and the lubricator adjusted to approx 2 drops per minute. -
Page 6: Product Overview
A build-up of moisture or oil in the air compressor will accelerate wear and corrosion in the tool. Ensure any moisture is drained from the compressor daily and the inlet filter is kept clean. If an unusually long air hose is required, (over 8 metres), the line pressure or the hose inside diameter may need to be increased. -
Page 7: Before Use
1. Remove the plastic blanking plug from the air inlet connection. 2. Pour 2-3 drops of CLARKE airline oil into the oil filling port. This should be done regardless of whether or not a lubricated air supply is to be used. -
Page 8: Operation
OPERATION FITTING THE IMPACT SOCKET WARNING: NEVER USE STANDARD SOCKETS. THESE MAY SHATTER WITH SERIOUS CONSEQUENCES. ONLY USE IMPACT SOCKETS DESIGNED FOR USE WITH IMPACT TOOLS. 1. Select the impact socket you require, which must be in good condition and fit the tool exactly. 2. -
Page 9: Tightening A Nut
LOOSENING A WHEEL NUT/BOLT 1. Remove any wheel trim, before selecting the appropriate socket and placing firmly on the square drive of the wrench. 2. With the control switch in the REVERSE running position (anti-clockwise) and holding the wrench firmly in BOTH HANDS, squeeze the trigger. The nut will be impacted repeatedly until it is loosened. -
Page 10: Maintenance
3. If the tool still runs erratically or becomes inefficient, and the air supply is of good quality, it may be necessary to dismantle the air motor and replace worn or damaged parts. You may prefer to take the tool to your CLARKE dealer if internal maintenance is required. -
Page 11: Troubleshooting
Your air tool has been designed to give long & trouble free service. If, however, having followed the instructions in this booklet carefully you encounter problems, take the unit to your local CLARKE dealer. Parts & Service: 020 8988 7400 / E-mail: Parts@clarkeinternational.com or Service@clarkeinternational.com... - Page 12 If the tool is to be stored, or is idle for longer than 24 hours, run a few drops of CLARKE air line oil into the air inlet, and run the tool for 5 seconds in order to lubricate the internal parts. Store the tool safely in its box in a dry, secure place.
-
Page 13: Declaration Of Conformity
DECLARATION OF CONFORMITY Parts & Service: 020 8988 7400 / E-mail: Parts@clarkeinternational.com or Service@clarkeinternational.com... -
Page 14: Component Parts List
COMPONENT PARTS LIST Description No Description Hammer case Bearing Rubber gasket Rubber gasket Anvil bushing O-ring Circlip Switch O-ring Spring Anvil Steel ball Hammer O-ring Hammer cage Back cover Hammer pin Fastening screw Trigger Inlet gasket O-ring Handle Rubber gasket Inlet valve Bearing Inlet spring... -
Page 15: Component Parts Diagram
COMPONENT PARTS DIAGRAM Parts & Service: 020 8988 7400 / E-mail: Parts@clarkeinternational.com or Service@clarkeinternational.com...
Need help?
Do you have a question about the X-Pro CAT204 and is the answer not in the manual?
Questions and answers