Advertisement
Quick Links
Advertisement

Subscribe to Our Youtube Channel
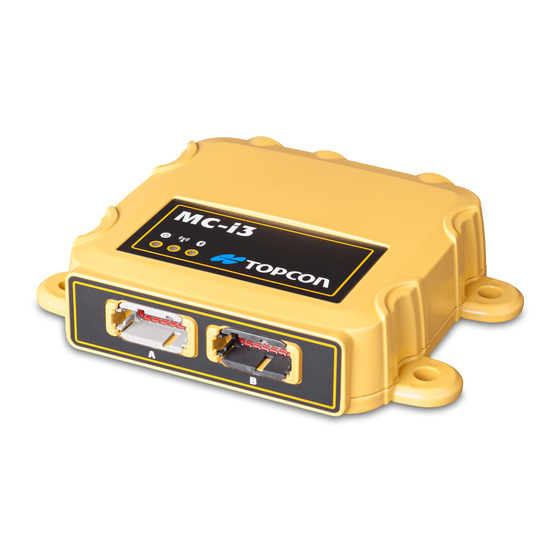
Summary of Contents for Topcon MC-I3
- Page 2 MC-i3 and SL-100 Hardware Setup, Settings, Pinout, SL-R3 Firmware Upgrade, GNSS Firmware Upgrade...
- Page 3 MC-I3 and SL-100 Topcon Europe Positioning...
- Page 4 Features: SL-100/MC-i3 • New Indicate MC receiver • Rugged Housing for • Vanguard™ Technology Construction Environment • Internal SL-R3, Dig UHFII • Ingress Protection:IP-67 • Single or Dual GPS configurations • Network RTK Connectivity • 2 Deutsch connectors serial and •...
-
Page 5: Dip Switch Settings
Dip Switch Settings... -
Page 6: Hardware Setup
Hardware setup Install SIM Card SL-R3 Antenna... - Page 7 Hardware...
- Page 8 MC-i3 / SL-100 Data cable kit 1001271-01 Contains: 1001270-01 Ethernet Cable to configure SL-R3 PC ethernet connection MC-i3 / SL-100 Main B...
- Page 9 MC-i3 / SL-100 Data cable kit 1001271-01 Contains: 1001269-01 Serial Cable to configure GPS boards Serial 1 – (Main board) Power Serial 2 (Aux board) MC-i3 / SL-100 Main A...
-
Page 10: Connectors Pin Outs
Connectors pin outs... - Page 11 How to enter the SL-R3 to change settings. • GX-60 or Computer • Take 1001269-01 cable to power up the box only. • Use 1001270-01 cable for tcp/ip connection to slr-3...
- Page 12 Connect ethernet and powerup the mci3 and follow the steps below. In “control panel” “network and sharing center” use the “local area connection” Set Computer Ethernet Port to match with right picture. Type 192.168.0.1 in your browser( chrome or QT web browser will do)
- Page 13 When prompted for the user name and password, enter ”admin” for both and click “ok”...
- Page 14 Check SL-R3 Firmware...
- Page 15 SLR-3 Firmware update: Select the download of latest firmware release and reboot after loading.
- Page 16 Configure SIM Card Go to settings/ports/gprs ATD*99***1# After save all settings Reboot...
- Page 17 Check connections and GSM status.
- Page 18 GNNS Firmware update MC-i3 via SLR-3 - Use GX-60 or PC - Use cable 1001269-01 Power & Serial Cable’s - Use 1001270-01 cable for tcp/ip connection to slr-3 - Follow procedure described in next slides.
- Page 19 MC-i3 GNNS FW update via GX-60 or PC Please select serial port 1 and 2 to function with GPS and save...
- Page 20 MC-i3 GNNS FW update via GX-60 or PC Primary GPS uncheck “Enabled” to disable gps communication to SLR3 In case of dual GPS: Secondary GPS uncheck “Enabled” to disable when you update the firmware for this card too. Save this and go to Firmware Upgrade tab.(next slide)
- Page 21 MC-i3 GNNS FW update via GX-60 or PC After update and reboot tick “Enabled” in the configuration tab again to restart using the gps communication to the SLR-3 .(do not forget!)
-
Page 22: Led Status
LED Status... - Page 23 MC-I3 and SL-100 Topcon Europe Positioning...


Need help?
Do you have a question about the MC-I3 and is the answer not in the manual?
Questions and answers