Durr Dental VistaScan Perio Plus Installation And Configuration Instructions
Hide thumbs
Also See for VistaScan Perio Plus:
Table of Contents
Advertisement
Quick Links
EN
Installation and configuration instructions
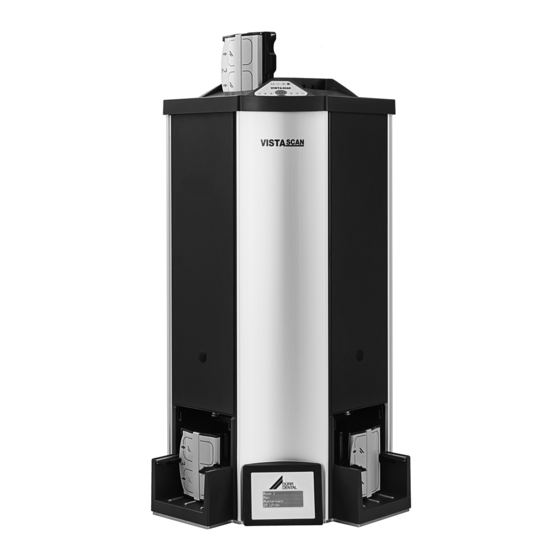
VistaScan Perio Plus
Only fully-qualified personnel may set-up, install or operate this appli-
ance.
Minimum requirements
Imaging program
DBSWIN or VistaEasy by Dürr Dental
Third-party software on request
Computer system
See "System requirements for computer systems for
imaging" (9000-618-148/01)
1 Connecting up the device
The device can be connected to the USB or network.
The connecting cables are contained in the scope of delivery.
Do not connect the device to the USB and to the network at the
same time.
• Connect the connecting cable (USB/network) to the device.
• If necessary, connect the network cable with the network.
Only connect the USB connecting cable to the computer when the
installation assistant asks you to do so.
• Switch the device on.
2 Installation
2.1 Driver installation (only for USB connection)
• Close all programs.
• Place the provided DBSWIN DVD (from Version 5.3) into the DVD drive.
The start window opens.
• If the DVD does not start automatically, execute the file "CD_Start.exe".
• Select the required language.
• Go to the "Driver" tab.
• Click "Duerr Dental Driver Installation".
• Confirm the message by clicking "OK".
The "Dürr Dental Driver Setup" installation assistant starts.
• Follow the instructions of the installation assistant.
2.2 Setting up the network (only for network connection)
• Switch on the network devices (router, PC, and switch).
• Check that TCP port 2006 and UDP port 514 are released in the firewall
being used; if not, release them.
If you are using the Windows firewall, you do not need to check the ports
since you are asked if you want to release them during the driver installa-
tion process.
3 Configuration
For both connection types (USB and network), the configuration takes place
using VistaNetConfig, which is automatically installed during the installation
of DBSWIN or VistaEasy.
• Click Start > All Programs > Dürr Dental > VistaConfig > VistaNetConfig.
• Click the "Refresh" symbol
• Activate the connected device in the "Registered" column.
You can also register multiple devices.
3.1 Configuring the device with a USB connection
You can change the device name and query the configuration in the "Vista-
Net device configuration" window.
• Click the "Edit" button
• If necessary, change the name.
• Click "Apply" to save the configuration.
3 / 4
.
.
Advertisement
Table of Contents

Related Manuals for Durr Dental VistaScan Perio Plus


Summary of Contents for Durr Dental VistaScan Perio Plus
- Page 1 Installation and configuration instructions VistaScan Perio Plus Only fully-qualified personnel may set-up, install or operate this appli- ance. Minimum requirements Imaging program DBSWIN or VistaEasy by Dürr Dental Third-party software on request Computer system See "System requirements for computer systems for imaging“...
- Page 2 To scan image data, refer to the VistaScan Perio Plus installation 3.2 Configuring the device with a network connection and operating instructions (order number 9000-618-167/..). You can change the device name, manually enter an IP address, and query information in the "VistaNet device configuration" window.
Need help?
Do you have a question about the VistaScan Perio Plus and is the answer not in the manual?
Questions and answers