Table of Contents
Advertisement
Quick Links
JMS1100
Leaflet No. 463456
rev01
Read through
ALL
instructions before commencing installation.
If you have any questions about this product or issues with installation
STOP
contact the customer services helpline before returning this product to
the store. See jl.avfgroup.com/p/jms1100 for more information.
CUSTOMER SERVICES HELP LINE NUMBER:
22lbs
01952 670009
10kg
AVF Group Ltd. Hortonwood 30, Telford, Shropshire, TF1 7YE, England
Advertisement
Table of Contents

Related Manuals for AVF Group JMS1100


Summary of Contents for AVF Group JMS1100
- Page 1 If you have any questions about this product or issues with installation STOP contact the customer services helpline before returning this product to the store. See jl.avfgroup.com/p/jms1100 for more information. CUSTOMER SERVICES HELP LINE NUMBER: 22lbs 01952 670009 10kg AVF Group Ltd. Hortonwood 30, Telford, Shropshire, TF1 7YE, England...
-
Page 2: Tools Required
Boxed Parts B - x2 A - x1 C - x1 D - x1 E - x3 U - x2 F - x3 M6x8mm Screw Wall Fixings: Parts to attach to the wall (type of wall will determine which fixings you require). J - x2 - x2 K - x2... - Page 3 Planning & Preparation Determine the wall type that you have (i.e. Brick/Stud/Plasterboard/Sheetrock). Ensure the drilling area is free from mains services (Gas/Electric/Water). Drill three 3mm pilot holes to verify the wall type and select the appropriate fixings (See Section 5). Marking Wall For Drill Points Use the wall bracket (A) as a template and position it on your wall.
- Page 4 Plasterboard/ Sheetrock Ø18mm (3/4") Turn until secure Do not overtighten 40mm (1 ") 9/16 Min gap Wood Stud Option 1 Option 2 Ø3mm(1/8") Ø3mm (1/8") Lubricate screw thread with soap Only one fixing will be in the wood stud. The other fixings will be in plasterboard/ sheetrock(see above).
- Page 5 Metal Stud Option 1 Option 2 Ø3.5mm(9/64") Ø3.5mm (9/64") Hand Tighten only Hand Tighten only Only one fixing will be in the metal stud. The other fixings will be in plasterboard/ sheetrock. Dot & Dab 108mm (4-1/4") Remove dust from hole Ø10mm (25/64") Lubricate screw...
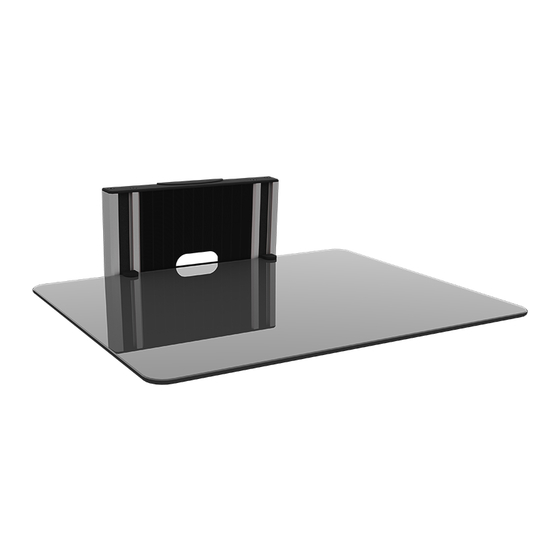
- Page 6 Shelf Assembly Assemble Select desired shelf and spacer configuration, ensuring at least one spacer (E) is at the top. Ensure locating bracket is securely in place & slide assembled shelf unit (C,D) into the wall bracket. Locating Bracket.
- Page 7 Use the spacers to achieve the desired shelf heights. Final Assembly If required cut out section for cable management.
- Page 8 Additional Shelf Location Mark the wall for drill points following sections 4 and 5. Remove Remove Repeat assembly using sections 6, 7 and 8.
Need help?
Do you have a question about the JMS1100 and is the answer not in the manual?
Questions and answers