
Related Manuals for Giersch GL20-Z-L-LN


Summary of Contents for Giersch GL20-Z-L-LN
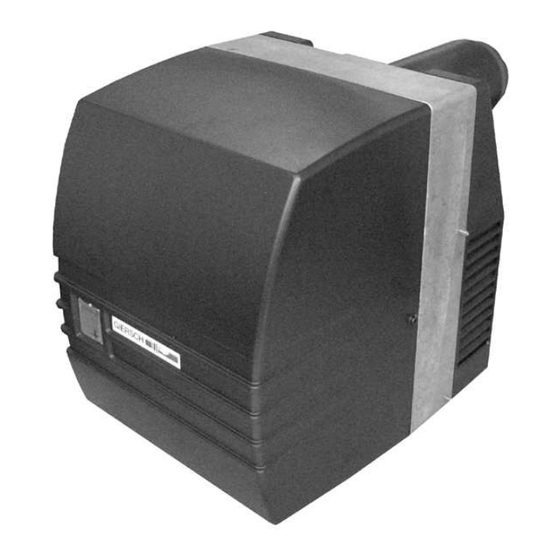
- Page 1 Technical Information • Installation Instructions GL20-Z-L-LN Issued May 2011 Right reserved to effect techn. modifications in the interest of product improvement!
-
Page 2: Table Of Contents
Contents General information ..........................3 Safety guidelines ..........................3 Maintenance ............................3 Declaration of conformity ........................3 Boiler connection dimensions ......................4 Key for code designation ........................4 Technical specifications........................4 Installing flange and burner ........................ 5 Connecting to power supply ....................... 6 Installing the oil line .......................... -
Page 3: General Information
General information 1. General information The GL20-LN oil burners are tested and approved to DIN EN 267 for heating oil EL according to DIN 51603, ÖNORM C 1109, SN 181 160/2. We recommend that the operator use low-sulphur heating oil EL or "eco heating oil" (where regionally available). 2. -
Page 4: Boiler Connection Dimensions
Boiler connection dimensions (All dimensions are given in mm) 5. Boiler connection dimensions (All dimensions are given in mm) 90° GL20/1 GL20/2/3 Hole diameter d1 Hole circle diameter k 140-180 170-200 Outer diameter f 6. Key for code designation GL20/1-Z-L-LN LowNox"... -
Page 5: Installing Flange And Burner
Installing flange and burner 8. Installing flange and burner GL20/1/2-LN • Attach the sliding flange and gasket loosely to the door of the boiler. • Slide in the burner. • Observe the tightening sequence for the screws. • Raise the burner when tightening the screws. GL20/3-LN •... -
Page 6: Connecting To Power Supply
Connecting to power supply 9. Connecting to power supply • Disconnect the system from the power supply. Main switch "OFF". • Check the polarity of all connectors. • Connect the plug unit as indicated in the connection diagram. Route the flexible control lines so that the hinged door of the boiler is not obstructed. -
Page 7: Installing The Oil Line
Installing the oil line 10. Installing the oil line Twin-pipe system H [m] Pump [mm] Suntec Single-line system H [m] throughput [mm] [kg/h] up to 2.5 2.5 - 5.0 5.0 - 10.0 10.0 - 23.0 The tables refer to heating oil EL 4.8 cSt and the inner diameter (Di) of the oil pipes. 4 brackets, 1 valve and 1 non-return valve were included for resistance with the suction line length. -
Page 8: Oil Pump
Oil pump We recommend that you use a heating oil filter with return inlet when changing over to a single-pipe system. This leaves the pump operating in twin-pipe mode. Install the feed and return burner hoses to the filter. Open the oil tap on the filter. Start up the system. -
Page 9: Checking The Operation Of The Flame Monitor Control Unit
Checking the operation of the flame monitor control unit 12. Checking the operation of the flame monitor control unit The DKO control unit uses a microprocessor-based programming sequence to produce extremely stable tim- ings independent of fluctuations in the line voltage and ambient temperature. The built-in visual information sys- tem allows continuous progress monitoring and provides information on the causes of a fault shutdown. - Page 10 Checking the operation of the flame monitor control unit Function test A safety inspection must be carried out on the flame monitor on commissioning as well as after a service or lengthy shutdown. Start-up with covered flame detector: The burner must go into fault mode after the safety period. Start-up with flame detector exposed to light: The control device must switch over to fault mode, see IRD function description.
-
Page 11: Setting The Air Flow Rate
Setting the air flow rate Function test IRD Carry out the following checks after commissioning and each time after the burner has been serviced: 1. Set the maximum sensitivity at the flicker detector and start the burner: After the start pulse, no LED may light up during pre-ventilation. -
Page 12: Actuator Drive
Positioning drive STA... 14. Positioning drive STA... The positioning drive adjusts the air valve position or trips the solenoid valve on two-stage burners with air shutoff. Make the adjustment using the limit switch cams on the positioning drive roller. The cam positions for adjusting the burner to the required boiler capacity can be taken from the adjustment. -
Page 13: Service Position
Service position 16. Service position Risk of injury by fan wheel on activation in service position. - Release quick-release locks (5 x) and detach base plate, - Position the keyhole orifices in the base plate onto the cylinder head screws of the housing and snap into place. Caution ! Ensure the base plate is correctly seated in the housing. -
Page 14: Notes About The Mixing Unit
Notes relating to the mixing unit 18. Notes relating to the mixing unit To disassemble the mixing unit, loosen the Allen screw, size 4. During subsequent assembly, it is essential to ensure the correct position of the mixing head. In the GL20/1-LN version, the ignition electrodes are on the lower part of the unit. -
Page 15: Start-Up
Start-up 21. Start-up For burner commissioning, the first stage can be set manually using the switch on the socket unit. The switch on the socket unit must be at the position 2nd stage during operation. The air throttle is closed in standstill. In stage 1, ignition and pre-ventilation (approx. -
Page 16: Circuit Diagram
Circuit diagram 25.Circuit diagram GA or Boiler control Ext. valve Flame detector IRD 1010 X12 Burner socket unit, 7-pin F11 Ext. fuse, boiler control X31 Boiler control plug unit, 4-pin 6.3 AT / max. 10 AF X32 Burner socket unit, 4-pin F21 Ext. -
Page 17: Troubleshooting
Troubleshooting 26. Troubleshooting Observation Cause Remedy Fuse faulty Replace Safety thermostat locked Unlock Controller set temperature exceeded Renewed start attempt after temperature drop Burner motor is not run- ning Control box faulty Replace Motor faulty Replace a) With flame formation: Flame detector soiled, defective, not Clean, replace, connect correctly or adjust sen- inserted properly or not set correctly... -
Page 18: Adjustment Table
Adjustment tables 27. Adjustment tables... - Page 19 Adjustment tables...
-
Page 20: Explosion Drawings / Spare Parts Lists
Explosion drawings / spare parts lists 28.Explosion drawings / spare parts lists GL20/1-LN... - Page 21 Explosion drawings / spare parts lists GL20/1-LN Designation Item Art. No. Welded retarding disc GL20 cpl. 47-90-27051 GL20 twin electrode, curved 47-90-27694 Silicone hose 10 x 1 x 80 lg. 47-50-22466 GL20 nozzle stem cpl. 47-90-27055 Ignition cable 540 mm 47-90-26740 Flange mixing unit-oil with measuring pipe and adjusting nut 47-90-25526...
- Page 22 Explosion drawings / spare parts lists GL20/2-LN...
- Page 23 Explosion drawings / spare parts lists GL20/2-LN Designation Item Art. No. Welded retarding disk GL20/2 cpl. 47-90-22593 GL20 twin electrode, curved 47-90-22615 Silicone hose 10 x 1 x 80 lg. 47-50-22466 Nozzle stem GL20/2 cpl. 47-90-27222 Ignition cable 540 mm long 47-90-26740 Flange mixing unit-oil with measuring pipe and adjusting nut 47-90-25526...
- Page 24 Explosion drawings / spare parts lists GL20/3-LN...
- Page 25 Explosion drawings / spare parts lists GL20/3-LN Designation Item Art. No. Welded retarding disc GL20/2 cpl. 47-90-22593 GL20 twin electrode, curved 47-90-27049 Silicone hose 10 x 1 x 80 lg. 47-50-22466 Nozzle stem GL20/3 cpl. 47-90-27416 Ignition cable 540 mm long 47-90-26740 Flange mixing unit-oil with measuring pipe and adjusting nut 47-90-25526...
-
Page 26: Dimensions
Subject to alterations. Enertech GmbH • Brenner und Heizsysteme Adjutantenkamp 18 • D-58675 Hemer • Telephone 02372/965-0 • Telefax 02372/61240 e-mail: kontakt@giersch.de • Internet: http://www.giersch.de...
Need help?
Do you have a question about the GL20-Z-L-LN and is the answer not in the manual?
Questions and answers