Table of Contents
Advertisement
Advertisement
Table of Contents

Related Manuals for Hay Loop Stand Table


Summary of Contents for Hay Loop Stand Table
- Page 1 > I N S T R U C T I O N M A N U A L < L O O P S TA N D TA B L E B y L E I F J Ø R G E N S E N...
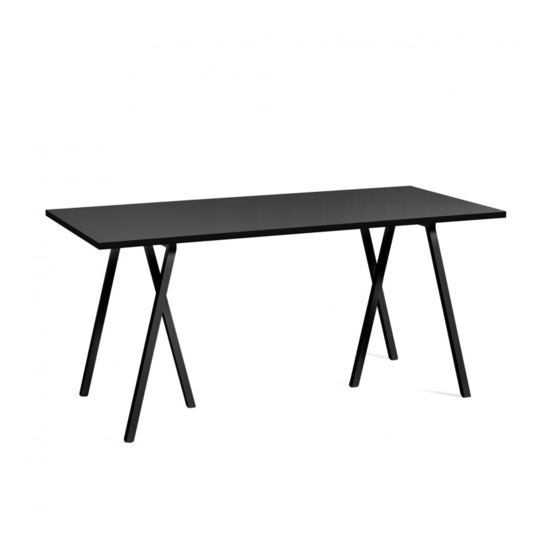
- Page 2 The Loop Stand Table is available in several variants and heights to suit a wide range of dining rooms and offices in corporate and private settings.
- Page 3 > C A R E A N D M A I N T E N A N C E < > C A R E A N D M A I N T E N A N C E < CAUTION LINOLEUM POWDER COATED STEEL...
- Page 4 > C O N T E N T S < CAUTION While assembling, keep the tabletop inside the cardboard box with edge foam to protect the tabletop from scratches etc. Make sure that all parts are included. Page 8 - 1 1 L160/180/200 cm Page 12 - 17 L250 cm - Crossbar extention...
- Page 5 > R E C O M M E N D E D T R E S T L E P L A C E M E N T < > L 1 6 0 / 1 8 0 / 2 0 0 C M / PA R T S < 160cm 27cm 100cm...
- Page 6 Place the tabletop on the trestles according to the recommended trestle placement. Screw the C parts through the trestles and into the tabletop. Mount the table standing upright.
- Page 7 > R E C O M M E N D E D T R E S T L E P L A C E M E N T < > L 2 5 0 C M / PA R T S < 250cm 92,5cm 37cm...
- Page 8 Screw the B parts to the tabletop using the D parts. Place the tabletop on the trestles according to the recommended trestle placement. Flip the tabletop. Screw the D parts through the trestles and into the tabletop. Mount the table standing upright.
- Page 9 CAUTION When moving the table, please lift the table rather than pushing it. If the table is out of balance, please spread the trestle legs in order to align the legs. Spread the trestles in order to align the legs.
- Page 10 > LO O P S TA N D S U P P O R T / O P T I O N A L < Place the trestles standing upright, and slide in the support (D) using the E parts. Do not tighten the E parts completly in order to slide in the support (D).
- Page 11 Tighten the E part to secure the support (D) to the trestle. Screw the support (D) into the tabletop (A) using the F parts.
- Page 13 Havnen 1 8700 Horsens Denmark +45 4282 0282 / hay@hay.dk ITEM NO. 706353 710441 245858 19042017...
Need help?
Do you have a question about the Loop Stand Table and is the answer not in the manual?
Questions and answers