Advertisement
DISCONNECT POWER DURING INSTALLATION AND BEFORE SERVICING.
READ ALL INSTRUCTIONS COMPLETELY BEFORE STARTING INSTALLATION.
INSTRUCTIONS PERTAINING TO A RISK OF FIRE OR INJURY TO PERSONS
WARNING: This product contains chemicals known to the State of California to cause cancer, birth
defects, and/or other reproductive harm. Thoroughly wash hands after installing, handling, cleaning,
or otherwise touching this product.
WARNING: Fixtures must be grounded in accordance with local codes or the National Electrical
Code. Portable spear mounts using a cord and plug must be plugged into a receptacle protected by
a Ground Fault Circuit Interrupter in accordance with the National Electrical Code. Failure to do so
may result in serious personal injury. DO NOT operate luminaries with missing or damaged lens.
WARNING: This Product must be installed in accordance with the applicable installation code by a
person familiar with the construction and operation of the product and the hazards involved.
CAUTION: Fixtures are available in 120 to 277 volt input (Not for connection to a voltage above
240Vac in Canada). Please verify before wiring fixture to field wires.
KEEP THIS SHEET FOR FUTURE REFERENCE.
INSTALLATION
Tools Required:
□1/8" Allen Wrench
All fixtures include a universal mounting adapter (A) that allows adjustment on existing
recessed wiring boxes so the fixture quick mount plate can be aligned properly. If the
wiring box mounting screws are properly aligned the adapter plate can be discarded.
1. Loosen two set screws (2) with 1/8" Allen Wrench and take out the mounting plate (1). (See Pic.
2)
2. Install the mounting plate (1) on the junction box or adapter with screws.
3. Use approved connectors to connect fixture leads to supply leads, and make wire to be spliced
inside the junction box.
4. Put the fixture on the mounting plate (1), and retaining the set screws (2) with 1/8" Allen Wrench.
5. To adjust back tilt up to maximum, loosen swivel screw (4) with Philips Screwdriver being careful
not to disengage the threads. Hold fixture at desired angle and firmly tighten the swivel screw (4)
with Philips Screwdriver. (See Pic. 3)
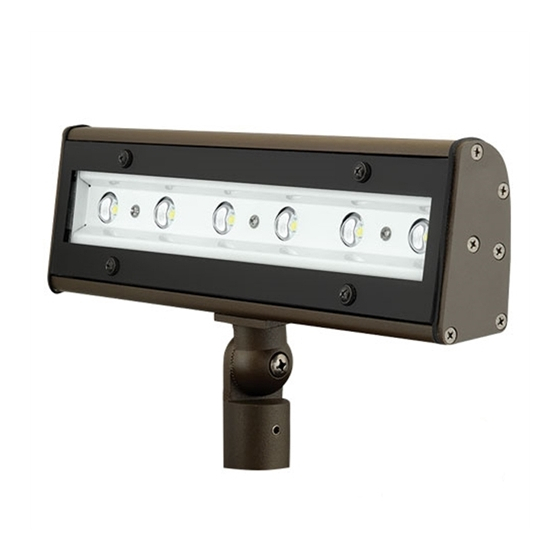
Linear LED ALFW-6LU-5KBZ
and ALFW-6LU-5KBZ PC Series
Installation Instructions
IMPORTANT SAFETY INSTRUCTIONS!
□Phillips Screwdriver
WARNING
REV: A
03-10-2012
Advertisement
Table of Contents

Related Manuals for Hubbell ALFW-6LU-5KBZ Series


Summary of Contents for Hubbell ALFW-6LU-5KBZ Series
-
Page 1: Installation Instructions
Linear LED ALFW-6LU-5KBZ and ALFW-6LU-5KBZ PC Series Installation Instructions WARNING DISCONNECT POWER DURING INSTALLATION AND BEFORE SERVICING. READ ALL INSTRUCTIONS COMPLETELY BEFORE STARTING INSTALLATION. INSTRUCTIONS PERTAINING TO A RISK OF FIRE OR INJURY TO PERSONS IMPORTANT SAFETY INSTRUCTIONS! WARNING: This product contains chemicals known to the State of California to cause cancer, birth defects, and/or other reproductive harm. - Page 2 Linear LED ALFW-6LU-5KBZ and ALFW-6LU-5KBZ PC Series Installation Instructions WARNING DISCONNECT POWER DURING INSTALLATION AND BEFORE SERVICING. READ ALL INSTRUCTIONS COMPLETELY BEFORE STARTING INSTALLATION. Pic. 1 ADAPTER A Pic.2 Pic. 3 IMPORTANT 1. Please verify input voltage! (Fixtures are capable of 120-277 volt) 2.
Need help?
Do you have a question about the ALFW-6LU-5KBZ Series and is the answer not in the manual?
Questions and answers