Table of Contents
Advertisement
Quick Links
Advertisement
Table of Contents

Related Manuals for CHIEF CMSI


Summary of Contents for CHIEF CMSI
- Page 1 I N S T A L L A T I O N I N S T R U C T I O N S Interactive Upgrade Kit - Ceiling Projector Spanish Product Description German Product Description Portuguese Product Description Italian Product Description Dutch Product Description French Product Description CMSI...
-
Page 2: Important Safety Instructions
A CAUTION alerts you to the possibility of damage or destruction of equipment if you do not follow the IMPORTANT ! : The CMSI is designed to be mounted to an 8" corresponding instructions. concrete, 8"x8"x16" concrete block, clay brick, or 2" x 4" wood studs, and may also be attached to drywall only. -
Page 3: Installation Instructions
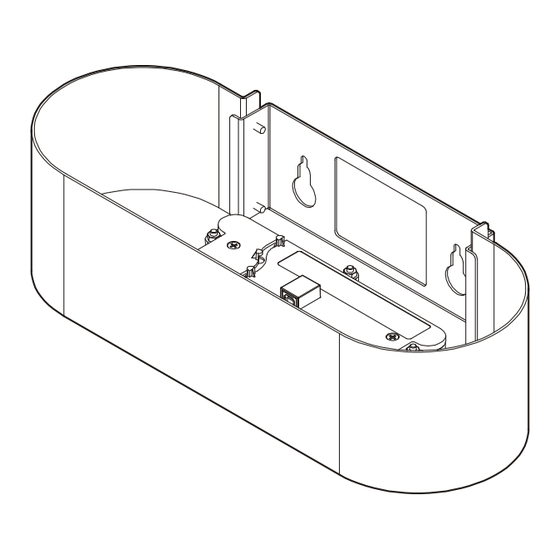
Installation Instructions CMSI DIMENSIONS 3.00 76.2 7.40 188.0 RECOMMENDED 14.00 APPROXIMATE 355.6 SENSOR COVERAGE TO TOP OF WHITEBOARD 140° SENSOR COVERAGE 14.00 355.6 RECOMMENDED WHITEBOARD THICKNESS DIMENSIONS: INCHES [MILLIMETERS]... - Page 4 CMSI Installation Instructions LEGEND Tighten Fastener Pencil Mark Apretar elemento de fijación Marcar con lápiz Befestigungsteil festziehen Stiftmarkierung Apertar fixador Marcar com lápis Serrare il fissaggio Segno a matita Bevestiging vastdraaien Potloodmerkteken Serrez les fixations Marquage au crayon Loosen Fastener Drill Hole Aflojar elemento de fijación...
-
Page 5: Tools Required For Installation
Installation Instructions CMSI TOOLS REQUIRED FOR INSTALLATION 1/2" 1/2" 7/32" 3/8" PARTS (B) - Mounting Kit (A) - Chief Interactive Kit AB (1) [Stylus] BA (4) AA (1) 5/16 x 2-1/2" [Stylus replacement tip kit - 4 tips] AD (1) - Page 6 Determine mounting location of the CMSI. attached may have a maximum drywall thickness of 5/8" (1.6cm). IMPORTANT ! : The CMSI should be centered above the Drill two 7/32" holes at marked locations in wall. (See whiteboard, and be located a minimum of 14" (355.6mm) Figure 2) above the whiteboard.
- Page 7 NOTE: See DIMENSIONS drawing for placement information. • There should be a minimum distance of 14" (355.6mm) between the base of the CMSI and the top of the whiteboard. • The distance between the base of the CMSI and the bottom corner of the projection image (both right and left) should be less than or equal to 110 inches.
- Page 8 Europe A Franklinstraat 14, 6003 DK Weert, Netherlands P +31 (0) 495 580 852 F +31 (0) 495 580 845 Chief Manufacturing, a products division Asia Pacific A Office No. 1 on 12/F, Shatin Galleria of Milestone AV Technologies 18-24 Shan Mei Street...
Need help?
Do you have a question about the CMSI and is the answer not in the manual?
Questions and answers