Table of Contents
Advertisement
Quick Links
Advertisement
Table of Contents

Subscribe to Our Youtube Channel
Related Manuals for CHIEF STS1


Summary of Contents for CHIEF STS1
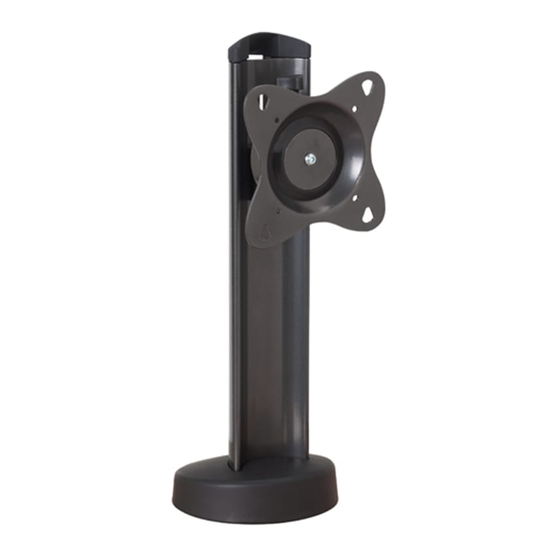
- Page 1 I N S T A L L A T I O N I N S T R U C T I O N S Small Swivel Table Stand Spanish Product Description German Product Description Portuguese Product Description Italian Product Description Dutch Product Description French Product Description STS1...
- Page 2 It is the installer’s responsibility to make sure the combined weight of all components attached to the STS1 up to (and including) IMPORTANT SAFETY INSTRUCTIONS the display does not exceed 30 lbs (13.6 kg). Use with...
- Page 3 Installation Instructions STS1 LEGEND Tighten Fastener Pencil Mark Apretar elemento de fijación Marcar con lápiz Befestigungsteil festziehen Stiftmarkierung Apertar fixador Marcar com lápis Serrare il fissaggio Segno a matita Bevestiging vastdraaien Potloodmerkteken Serrez les fixations Marquage au crayon Loosen Fastener Drill Hole Aflojar elemento de fijación...
-
Page 4: Tools Required For Installation
STS1 Installation Instructions TOOLS REQUIRED FOR INSTALLATION 3/32" (included) 5/32" (included) 5/16" (7.9mm) PARTS B (1) [Wire cover] A (1) [Table stand] C (1) [Top cap] F (4) D (1) 1/4" [Base cable plug] G (4) H (4) 1/4" 1/4"... -
Page 5: Site Preparation
RESULT IN SERIOUS PERSONAL INJURY OR DAMAGE TO EQUIPMENT! It is the installer’s responsibility to make 270° 270° sure the combined weight of all components attached to the STS1 up to (and including) the display does not exceed 30 lbs (13.6 kg). 180° 180° WARNING: TURNING DISPLAY CAN CAUSE DAMAGE TO SURROUNDING OBJECTS. -
Page 6: Cable Management
Lay power cables down back and through bottom of STS1, Lower STS1 base cover. and through mounting surface. Add wire cover (B) to back of STS1 by sliding it into the STS1 through the top. (See Figure 6) Add top cap (C) to top of STS1. (See Figure 6) Add base cable plug (D) to STS1 base. - Page 7 Loosen the head assembly hex fastener using the 5/32" hex Rotating Display key (L) to decrease tension. (See Figure 8) The display may be rotated up to 90° on the STS1 head by Adjust STS1 head as required. using the 5/32" hex key (L) to loosen the fastener, rotating the head in either direction, and tightening the fastener.
Need help?
Do you have a question about the STS1 and is the answer not in the manual?
Questions and answers