Advertisement
Quick Links
I N S T A L L A T I O N I N S T R U C T I O N S
[Landscape example]
PSMH2860
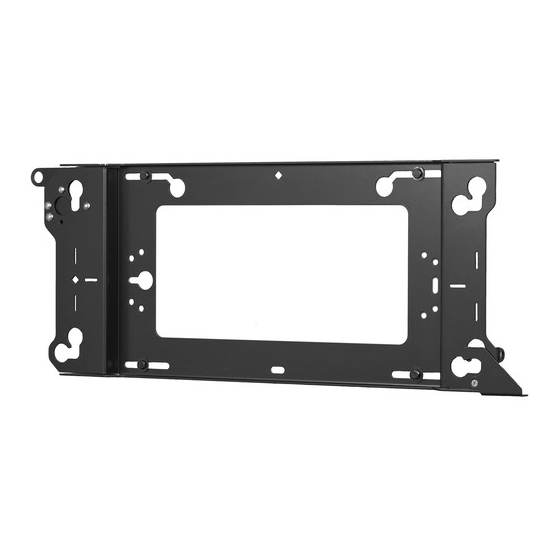
Stretch Display Wall Mount
PSMH2860
[Portrait example]
Spanish Product Description
German Product Description
Portuguese Product Description
Italian Product Description
Dutch Product Description
French Product Description
PSMH2860
Advertisement

Related Manuals for CHIEF PSMH2860


Summary of Contents for CHIEF PSMH2860
- Page 1 I N S T A L L A T I O N I N S T R U C T I O N S PSMH2860 [Landscape example] PSMH2860 [Portrait example] Stretch Display Wall Mount Spanish Product Description German Product Description...
-
Page 2: Important Safety Instructions
ACCESSORY: AN ACCESSORY is the secondary Chief designed to be mounted to a: product which is attached to a primary Chief product, and may • 2" x 4" wood studs (16" on center) wall covered with have a component attached or setting on it. - Page 3 Installation Instructions PSMH2860 DIMENSIONS LANDSCAPE ORIENTATION SET-UP 0.63 15.9 26.72 16.00 678.6 9.25 406.4 235.0 2.50 0.67 63.5 37.8 2.25 3.56 2.17 16.9 TOTAL DEPTH 57.0 90.5 55.0 5.31 7.87 134.9 200.0 HORIZONTAL CENTER OF SCREEN MOUNTING 10.00 PATTERN 1.25 254.0...
- Page 4 PSMH2860 Installation Instructions DIMENSIONS -- continued DETAIL A SCALE 1 : 2 LATCH ATTACH FOR DETAIL B SCALE 1 : 2 LANDSCAPE USE LATCH ATTACH FOR PORTRAIT USE LEGEND Tighten Fastener Pencil Mark Apretar elemento de fijación Marcar con lápiz...
-
Page 5: Tools Required For Installation
Installation Instructions PSMH2860 TOOLS REQUIRED FOR INSTALLATION 1/2" 1/2" 5/16" (concrete) 3/8" (wood) PARTS A (1) [Wall mount] D (1) B (4) 10-24 x 1/2" C (1) [Mounting button] [Latching flag] G (1) F (1) .375 x .194 x .032"... -
Page 6: Assembly And Installation
Phillips screw (D), one spacer (G), and one 10-24 lock nut position. (See Figure 3) (F). (See Figure 2) Replace Phillips head screw removed in Step 1. Proceed to Attaching PSMH2860 to Wall section. Position latch Position latch Position latch... - Page 7 Figure 5) Wood Stud Dual Stud Attachment Points Use one 5/16" x 2-3/4" hex head lag bolt (H) through one 5/16" washer (J), the PSMH2860 and into pilot hole. (See Figure 6) Repeat for remaining pilot hole(s). LANDSCAPE Single Stud Attachment Points...
- Page 8 PSMH2860 Installation Instructions Concrete Lower display until recessed area of mounting buttons is seated in lower area of teardrop mounting holes. Install one UX10x60R anchor (K) into each pilot hole using (See Figure 9) a hammer, making sure that the anchor is flush with the wall.
- Page 9 Installation Instructions PSMH2860...
- Page 10 PSMH2860 Installation Instructions...
- Page 11 Installation Instructions PSMH2860...
- Page 12 Europe A Franklinstraat 14, 6003 DK Weert, Netherlands P +31 (0) 495 580 852 F +31 (0) 495 580 845 Chief, a products division of Asia Pacific A Office No. 918 on 9/F, Shatin Galleria Milestone AV Technologies 18-24 Shan Mei Street...
Need help?
Do you have a question about the PSMH2860 and is the answer not in the manual?
Questions and answers