Advertisement
Quick Links
Quick Start Guide
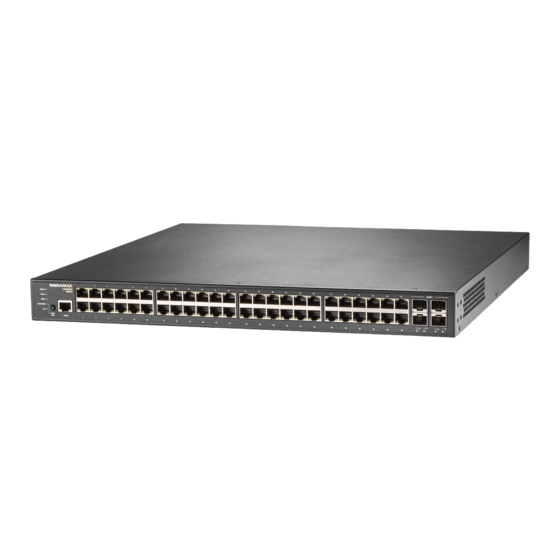
C-500 Series Gigabit Managed Switch
1.
Unpack the Switch and Check Contents
RJ-45
Part Number
Ports
SC50010
48
Wall Mounting Kit—two brackets and eight screws
Console Cable
i
Note: Other documentation, including the
User Manual can be obtained from
www.signamax.com
Warning and Cautionary Messages
Warning: This product does not contain any serviceable
user parts.
Warning: Installation and removal of the unit must be carried
out by qualified personnel only.
Warning: When connecting this device to a power outlet,
connect the field ground lead on the tri-pole power plug to a
valid earth ground line to prevent electrical hazards.
Warning: This switch uses lasers to transmit signals over
fiber optic cable. The lasers are compliant with the
requirements of a Class 1 Laser Product and are inherently
eye safe in normal operation. However, you should never
look directly at a transmit port when it is powered on.
Warning: When selecting a fiber SFP device, considering
safety, please make sure that it can function at a
temperature that is not less than the recommended
maximum operational temperature of the product. You must
also use an approved Laser Class 1 SFP transceiver.
Caution: Wear an anti-static wrist strap or take other
suitable measures to prevent electrostatic discharge when
handling this equipment.
Caution: Do not plug a phone jack connector in the RJ-45
port. This may damage this device.
Caution: Use only twisted-pair cables with RJ-45 connectors
that conform to FCC standards.
Caution: Installing the switch in a rack requires two people:
One should position the switch in the rack, while the other
secures it using the mounting screws.
Note: The switch is an indoor device. If it is to be used with
outdoor devices such as outdoor IP cameras or outdoor WiFi
APs, then users are strongly suggested to install a surge
protector or surge suppressor in order to protect the switch
www.signamax.com
PoE
SFP+
Ports
Ports
48
4
2.
Mount the Switch
1. Attach the mounting brackets to both sides of the
chassis. Insert screws and tighten then with a
screwdriver to secure the brackets.
2. Place the switch on a rack shelf in the rack. Push it in
until the oval holes in the brackets align with the
mounting holes in the rack posts.
3. Attach the brackets to the posts. Insert screws and
tighten them.
Caution: Installing the switch in a rack
requires two people. One person should
position the switch in the rack, while the
other secures it using the rack screws.
Note: The switch can also be installed on a
desktop or shelf using the included adhesive
rubber foot.
3.
Ground the Switch
1. Ensure the rack on which the switch is to be mounted
is properly grounded and in compliance with ETSI ETS
300253. Verify that there is a good electrical
connection to the grounding point on the rack (no paint
or isolating surface treatment).
2. Attach a lug (not provided) to a #12 AWG minimum
grounding wire (not provided) and connect it to the
grounding point on the switch rear panel. Then
connect the other end of the wire to rack ground.
Caution: The earth connection must not be
removed unless all supply connections have
been disconnected.
Caution: The device must be installed in a
restricted access location. It should have a
separate protective earthing terminal on the
chassis that must be permanently
connected to earth to adequately ground
the chassis and protect the operator from
electrical hazards.
-
1 -
Advertisement

Related Manuals for SignaMax C-500 Series


Summary of Contents for SignaMax C-500 Series
-
Page 1: Quick Start Guide
Quick Start Guide C-500 Series Gigabit Managed Switch Unpack the Switch and Check Contents Mount the Switch RJ-45 SFP+ Part Number Ports Ports Ports SC50010 Wall Mounting Kit—two brackets and eight screws Console Cable Note: Other documentation, including the 1. Attach the mounting brackets to both sides of the User Manual can be obtained from chassis. - Page 2 2. For the SFP/SFP+ slots, first install SFP/SFP+ transceivers and then connect fiber optic cabling to the transceiver ports. All Signamax 1G and 10G SFPs are supported. 3. As connections are made, check the port status LEDs to be sure the links are valid.
Need help?
Do you have a question about the C-500 Series and is the answer not in the manual?
Questions and answers