Advertisement
Table of Contents
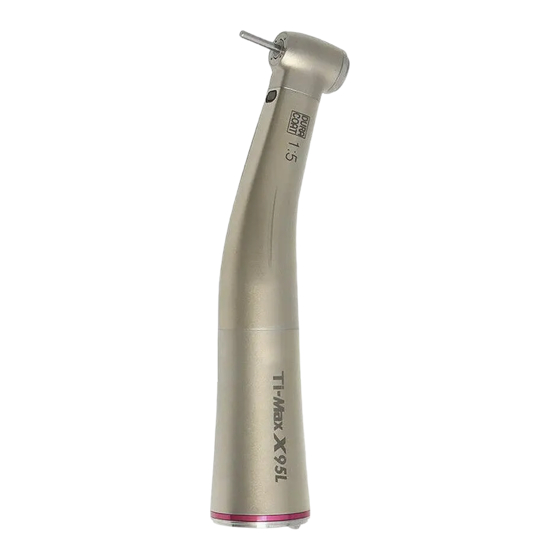
NSK contra angle TiMax X95L– Gear Set Replacement Instruction
TOOL LISTING:
1-Cap Wrench part
#E013
Replacement part diagram
Cartridge assembly
Part # --------
Intermediate shaft assembly
Part # --------
Dog clutch
Part # --------
NSK Model
Ti-Max X95L
INSTRUCTION:
Replacement bearing
Part # QDAB010 x2
Replacement bearing
Part # QDAB001 x2
assembly
Replacement bearing
Part # QDAB017
Advertisement
Table of Contents

Related Manuals for NSK TiMax X95L


Summary of Contents for NSK TiMax X95L
- Page 1 NSK contra angle TiMax X95L– Gear Set Replacement Instruction Replacement part diagram Cartridge assembly Replacement bearing Part # -------- Part # QDAB010 x2 Intermediate shaft assembly Part # -------- Replacement bearing Part # QDAB001 x2 Dog clutch assembly Part # --------...
- Page 2 2-Base nut tool part 1-To remove the ring screw on the back of the handpiece # E015 + Align and engage the pins on tool E015 and slots on ring screw on the back end of the 3-Base disassembly handpiece. Fig. 1 tool # E016 4-water guide removal tool # E014...
- Page 3 Fig. 5 + Insert the tool into the back end of handpiece, rotate clockwise until the handpiece index pin locks into slot on the tool. Fig. 6 Fig. 6 + Turn the wing nut clockwise until the base insert starts to pull out from the handpiece shell, approximately 5 mm.
- Page 4 Fig. 9 INSTRUCTION: 3- To remove the Dog Clutch + Use emery cloth wound around the grip sleeve and the elbow and turn counter- clockwise to detach the grip sleeve. Fig. 10 Fig. 10 + Hold and pull the drive shaft retaining pin to remove the dog clutch from the shell. Fig. Fig.
- Page 5 Fig. 13 INSTRUCTION: 5-To remove the cartridge. + Use cap wrench # E013; turn counter-clockwise to open and remove the head cap. Fig. Fig. 14 + Use blank bur to press to remove the cartrigde out of the head shell. Fig. 15 Fig.
- Page 6 Fig. 17 INSTRUCTION: 7- Reassembly cautions: + Reverse the procedure for disassembly with following cautions. + Make sure slot and pin on head shell and cartridge assembly are aligned before insert the cartridge into the head shell. Fig. 18 Fig. 18 + Align o-ring on head assembly and tips of air/water lines, press the head assembly down to the elbow assembly until click is heard.
Need help?
Do you have a question about the TiMax X95L and is the answer not in the manual?
Questions and answers