Table of Contents
Advertisement
Quick Links
DO
GUIDE
IDOC-PAD-LCA(2)-DSWC
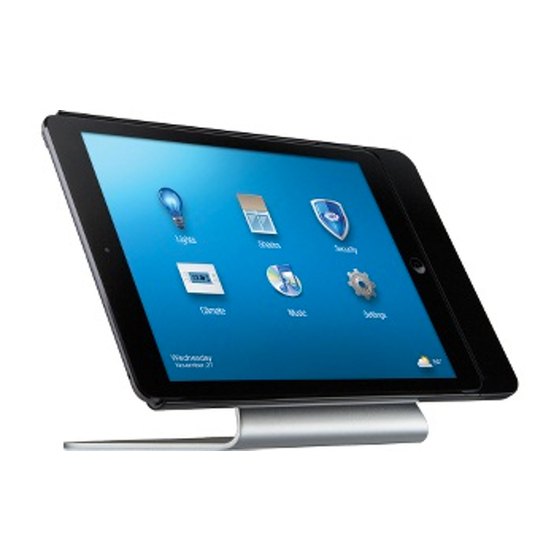
iPanel
Wall Dock for iPad Air
Devices
®
®
DO
Install the Device
The Crestron
®
IDOC-PAD-LCA-DSWC and IDOC-PAD-LCA2-DSWC iPanel
term "iPanel" is used except where noted. Similarly, the word "iPad" is used to denote iPad Air and iPad Air 2. The iPad
For the iPad Air, use the IDOC-PAD-LCA-DSWC. For the iPad Air 2, use the IDOC-PAD-LCA2-DSWC.
The Crestron iPanel installs into a standard 2-gang U.S., U.K., or European electrical box. It can also be attached directly to drywall and other surfaces
over the front of a 2-3/8" H x 3-3/8" W (60 mm H x 86 mm W) cutout. When installed, it protrudes just 1" (26 mm) from the mounting surface and secures
to its included mounting plate with included screws.
Choose a Location
To allow installation and removal of the iPad, the iPanel requires a minimum amount of clearance on both sides. When choosing an installation location,
make sure the center of the mounting location has a minimum of 7-7/16" (189 mm) clearance on the closed side of the iPanel and 15-1/2" (394 mm)
clearance on the open side of the iPanel, as shown below.
2 in
2 in
(51 mm)
(51 mm)
7-7/16 in
15-1/2 in
(189 mm)
(394 mm)
Center Box Cutout
Minimum Wall Distance
Minimum Wall Distance
NOTE: Although the iPanel can be mounted with the opening oriented to the right, note that the iPad Air volume buttons face downward in this
configuration. This may not be optimal for the end user.
Required Tools
The following are required to install the iPanel.
• #2 Phillips screwdriver
• Torx bit (included) and driver (not included)
Install the Device into an Electrical Box
NOTE: A 24 Vdc or PoE cable should already be in the electrical box. The iPanel can use only one source for power.
1. Use the included screws to attach the mounting plate to the electrical box.
• For U.S.-style installations, use the included 06-32 x 3/4" screws.
• For U.K.-style installations, use the included 3.5 x 25 mm screws.
• For European-style installations, use the included 3 x 16 mm screws.
Mounting Plate
Mounting Plate
U.S. Electrical Box
Screws (2) 3.5 X 25 mm
Screws (4) 6-32 X 3/4"
®
Wall Docks feature similar operation. For simplicity within this guide, the
®
is sold separately.
Mounting Plate
U.K. Electrical Box
European
Electrical Box
Screws (4) 3 X 16 mm
DO
Check the Box
QUANTITY
PRODUCT
1
Bit, Torx, T8
4
Screw, 6-32 x 3/4", Undercut Head, Phillips
4
Screw, M3 x 16 mm, Flat Head, Phillips
4
Screw, 4-40 x 3/4", Pan Head, Phillips
2
Screw, M3.5 x 25 mm, Flat Head, Phillips
Items for IDOC-PAD-LCA-DSWC-B-S and IDOC-PAD-LCA2-DSWC-B-S
1
Cover, Front
1
Plate, Mounting
2
Screw, 2-56 x 5/16", Pan Head, Torx
4
Screw, 6-32 x 1/4", Pan Head, Phillips
Items for IDOC-PAD-LCA-DSWC-W-S and IDOC-PAD-LCA2-DSWC-W-S
1
Cover, Front
1
Plate, Mounting
2
Screw, 2-56 x 5/16", Pan Head, Torx
4
Screw, 6-32 x 1/4", Pan Head, Phillips
2. Connect the 24 Vdc or PoE line and earth ground to the rear of the iPanel.
NOTE: Ensure the unit is properly grounded by connecting the chassis ground terminal to an earth ground (building steel). If PoE is used, an earth
ground connection must still be made to the terminal block connector.
NOTE: The iPanel can be connected to 24 Vdc and and PoE simultaneously.
24 Vdc
G
24
PoE
3. Lift and remove the plastic cover from the iPanel.
Lift here.
4. Use the Phillips screwdriver to remove the screws and washers that hold the metal plate in place, and remove the metal plate.
NOTE: If necessary, remove the cable holder.
Remove
screws and
washers.
COLOR
PART NUMBER
2025915
2033247
2013788
2007184
2023756
Black
4519812
Black
2040499
Black
2040263
Black
2007215
White
4519811
White
2039781
2040264
2007213
Advertisement
Table of Contents

Related Manuals for Crestron iPanel IDOC-PAD-LCA-DSWC


Summary of Contents for Crestron iPanel IDOC-PAD-LCA-DSWC
- Page 1 For the iPad Air, use the IDOC-PAD-LCA-DSWC. For the iPad Air 2, use the IDOC-PAD-LCA2-DSWC. Plate, Mounting Black 2040499 The Crestron iPanel installs into a standard 2-gang U.S., U.K., or European electrical box. It can also be attached directly to drywall and other surfaces Screw, 2-56 x 5/16", Pan Head, Torx Black 2040263 over the front of a 2-3/8"...
- Page 2 Crestron, the Crestron logo, and iPanel are either trademarks or registered trademarks of Crestron Electronics, Inc., in the United States and/or other countries. iPad, iPad Air, and Lightning are either trademarks or registered trademarks of Apple, Inc. in the United States and/or other countries.
Need help?
Do you have a question about the iPanel IDOC-PAD-LCA-DSWC and is the answer not in the manual?
Questions and answers