Table of Contents
Advertisement
Quick Links
Advertisement
Table of Contents

Related Manuals for Equinox Systems Waterwave XP


Summary of Contents for Equinox Systems Waterwave XP
- Page 1 Waterwave XP User Manual Order code: EQLED373...
-
Page 2: Safety Advice
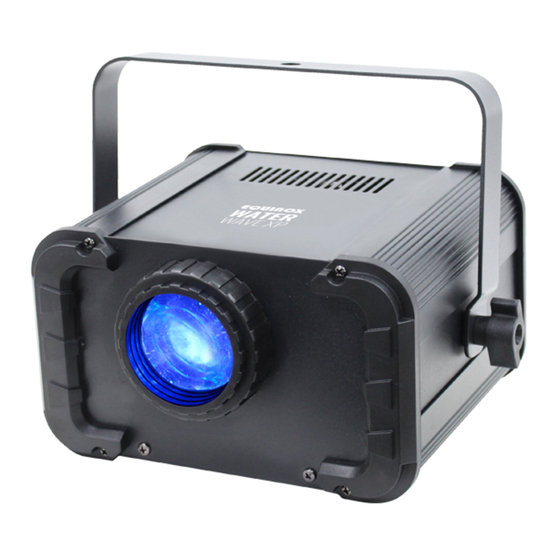
Incorrect operation may lead to danger e.g: short-circuit, burns and electric shocks etc. Do not endanger your own safety and the safety of others! Incorrect installation or use can cause serious damage to people and/or property. www.prolight.co.uk Waterwave XP User Manual... - Page 3 Product overview & technical specifications Waterwave XP The Waterwave XP is a high-output multi-coloured rippling water effect, powered by a 100W LED and featuring an internal colour wheel generating 5 rich vibrant single and split colours plus open. This atmospheric effect comes supplied with 2 interchangeable lens cones creating a unique visual projection, to either fill a venue (60°) or...
-
Page 4: Technical Specifications
1 x power cable, 03 - Safety eye 07 - 3-Pin DMX input 11 - Fuse F3A 250V & 1 x user manual 04 - Microphone 08 - 3-Pin DMX output 12 - Earth point www.prolight.co.uk Waterwave XP User Manual... -
Page 5: Master/Slave Mode
E N p - - - Fixture temperature F h r S - - - - Fixture hours u E r - - - - Software version r S t Factory reset y e s www.prolight.co.uk Waterwave XP User Manual... - Page 6 Green + Blue 066-076 Blue Colour 077-087 Blue + Amber wheel/ 088-098 Amber speed 099-109 Amber + UV 110-120 121-127 UV + White 128-187 Clockwise (fast to slow) 188-196 Stop Anti-clockwise 197-255 (slow to fast) www.prolight.co.uk Waterwave XP User Manual...
- Page 7 Now press the “ENTER” button and use the “UP” and “DOWN” buttons to select between . Press the “ENTER” button to confirm the setting. (See page 5 for wave effect direction/speed values). To exit out of any of the above options, press the “MENU” button. www.prolight.co.uk Waterwave XP User Manual...
-
Page 8: Fixture Temperature
To reset the fixture to factory settings, press the “MENU” button and use the “UP” and “DOWN” buttons to show on the LED display. Now press the “ENTER” button and use the “UP” and “DOWN” buttons to choose between . Press the “ENTER” button. The unit will now perform a factory reset. www.prolight.co.uk Waterwave XP User Manual... -
Page 9: Dmx Setup
Please quote: 3-Pin: CABL10 – 2m CABL11 – 5m CABL12 – 10m 5-Pin: CABL185 – 2m CABL187 – 5m CABL188 – 10m Also remember that DMX cable must be daisy chained and cannot be split. www.prolight.co.uk Waterwave XP User Manual... -
Page 10: Line Termination
5-pin XLR (male) 3-pin XLR (female) Pin 1: GND (screen) Pin 1: GND (screen) Pin 2: Signal (-) Pin 2: Signal (-) Pin 3: Signal (+) Pin 3: Signal (+) Pin 4: N/C Pin 5: N/C www.prolight.co.uk Waterwave XP User Manual... - Page 11 POWER CONSUMPTION: 110W POWER CONSUMPTION: 110W DMX OUTPUT DMX OUTPUT www.prolight.co.uk www.prolight.co.uk DMX INPUT DMX INPUT FUSE: FUSE: F3A 250V F3A 250V MENU DOWN UP ENTER MENU DOWN UP ENTER www.prolight.co.uk Waterwave XP User Manual...
-
Page 12: Weee Notice
Business users should contact their supplier and check the terms and conditions of the purchase contract. This product should not be mixed with other commercial wastes for disposal. www.prolight.co.uk Waterwave XP User Manual...
Need help?
Do you have a question about the Waterwave XP and is the answer not in the manual?
Questions and answers