Table of Contents
Advertisement
Quick Links
Advertisement
Table of Contents

Related Manuals for CHIEF CSMP9X12


Summary of Contents for CHIEF CSMP9X12
- Page 1 I N S T A L L A T I O N I N S T R U C T I O N S Static Storage Panel Spanish Product Description German Product Description Portuguese Product Description Italian Product Description Dutch Product Description French Product Description CSMP9X12...
-
Page 2: Important Safety Instructions
ACCESSORY: --SAVE THESE INSTRUCTIONS-- AN ACCESSORY is the secondary Chief product which is attached to a primary Chief product, and may have a component attached or setting on it. COMPONENT: A COMPONENT is an audiovisual item designed to be attached or resting on an accessory or mounting system such as a video camera, CPU, screen, display, projector, etc. - Page 3 Installation Instructions CSMP9X12 DIMENSIONS DIMENSIONS: INCHES [MILLIMETERS]...
- Page 4 CSMP9X12 Installation Instructions LEGEND Tighten Fastener Pencil Mark Apretar elemento de fijación Marcar con lápiz Befestigungsteil festziehen Stiftmarkierung Apertar fixador Marcar com lápis Serrare il fissaggio Segno a matita Bevestiging vastdraaien Potloodmerkteken Serrez les fixations Marquage au crayon Loosen Fastener Drill Hole Aflojar elemento de fijación...
-
Page 5: Tools Required For Installation
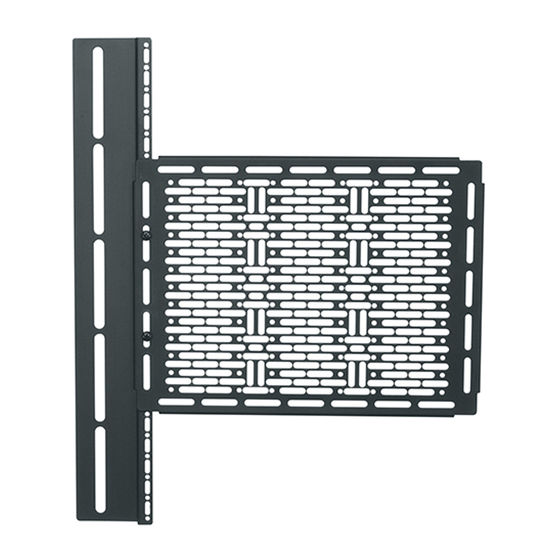
Installation Instructions CSMP9X12 TOOLS REQUIRED FOR INSTALLATION Wire cutter 1/2" PARTS Mounting Plate Installation Hardware Kit A (4) C (1) B (3) [Thumb nut] 5/16" 10-32 x 3/8" D (1) F (2) [PEM Stud] E (20) [Thumb screw] .625x.140x.031" G (1) -
Page 6: Assembly And Installation
CSMP9X12 Installation Instructions ASSEMBLY AND INSTALLATION NOTE: The mounting bracket (H) may be installed using either of two methods. Proceed to either Installing Mounting Bracket to VESA Holes OR Installing Mounting Bracket to Display Mount Interface Bracket. Installing Mounting Bracket to VESA Holes... - Page 7 Installation Instructions CSMP9X12 Installing Thumb Screws / Thumb Nuts Using the fasteners provided with the component and the washers (E), attach the component to the mounting plate Attach two thumb screws (F) to two thumb nuts (A) through (G). (See Figure 5) corners of the mounting plate (G).
- Page 8 CSMP9X12 Installation Instructions USA/International A 6436 City West Parkway, Eden Prairie, MN 55344 P 800.582.6480 / 952.225.6000 F 877.894.6918 / 952.894.6918 Europe A Franklinstraat 14, 6003 DK Weert, Netherlands P +31 (0) 495 580 852 F +31 (0) 495 580 845 Asia Pacific A Office No.
Need help?
Do you have a question about the CSMP9X12 and is the answer not in the manual?
Questions and answers