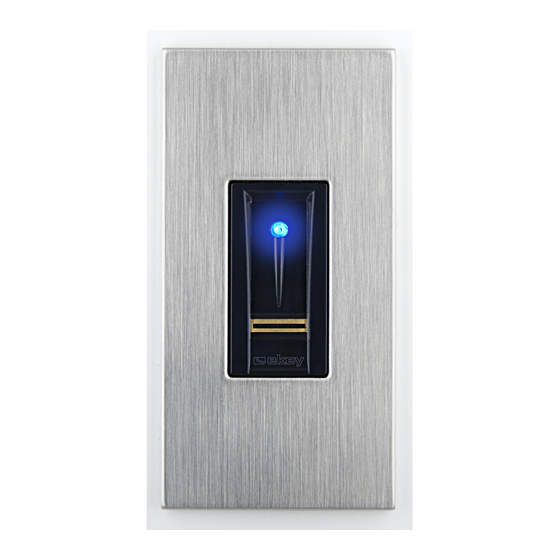
eKey Home Operating Instructions Manual
Hide thumbs
Also See for Home:
- Operating instructions manual (77 pages) ,
- Information sheet (22 pages) ,
- Operating instructions manual (24 pages)
Table of Contents
Advertisement
Quick Links
Advertisement
Table of Contents

Summary of Contents for eKey Home
- Page 1 Operating instructiOns...
-
Page 2: Table Of Contents
English Translation of the original instructions – ID132/221/0/140 Table of contents General ..................2 Note ..................2 Product liability and limitation of liability ........2 Warranty and manufacturer's warranty .......... 2 Notices, symbols and abbreviations ..........2 Safety information ................ 3 Life-threatening danger resulting from electricity ...... -
Page 3: General
GmbH provides a 24-month warranty for material or processing defects. This warranty is only valid in the country where the product was purchased. The product may only be used with original ekey spare parts and accessories. Notices, symbols and abbreviations NOTICE Denotes additional information and useful tips. -
Page 4: Safety Information
Step-by-step instructions Reference to sections of this manual Reference to the mounting instructions Reference to the wiring diagram □ Listing without specified order, 1. level ekey home FS UP Product names Abbreviations: Wall-mounted False Acceptance Rate False Rejection Rate Finger scanner... -
Page 5: Product Description
Product description System overview Fig. 1: Overview of the system 1 Finger scanner 2 Power supply 3 Control panel 4 Distributor 5 Motorised lock 6 Cable transfer 7 Connecting cable □ Finger scanner; Scope of delivery □ Control panel; □ Operating instructions, mounting instructions, wiring diagram;... -
Page 6: Finger Scanner
Function of the finger scanner Finger scanner 1 Front phalanx 2 Fingerprint Fig. 2: Fingerprint The finger scanner detects the fingerprint by means of a line sensor and subsequently processes it. It then compares the result with the stored fingerprint image. The finger scanner only works correctly and reliably with the front phalanx print. - Page 7 Step Figure Description Place the joint of the front phalanx directly onto the sensor. Place your finger flat onto the finger guide. Stretch out the neighbouring fingers. Move your finger evenly downwards over the sensor. Move the whole hand simultaneously. Draw the front phalanx fully over the sensor in order to achieve optimal results.
-
Page 8: Control Panels
1 Status LEDs 2 Button Fig. 5: Overview of the ekey home CP mini 1 The upper status LED indicates if the control panel is connected to the finger scanner. The lower status LED indicates when the relay switches. Button operation Function Press and hold button for 1 sec. -
Page 9: Technical Specifications
: 54 (front side) : 33/43/64 (depending on installation) Speed Operational Finger scans approx. 10 million lifetime Table 4: Technical specifications: ekey home finger scanners Designation Unit Value ekey home CP ekey home CP mini 1 micro 1 Supply VAC/VDC... -
Page 10: Installation
Action Display Ensure safe installation of the devices. Close the covers. Connect the power ekey home CP mini 1 Only for supply to the mains. The upper status LED on the control panel flashes red: default setting. No action required. -
Page 11: Storing Administrator Fingers And Configuring Normal Mode
Storing You must store 4 administrator fingers. You cannot use administrator administrator fingers as user fingers. Use fingers that are not intended to be used for fingers and opening doors as administrator fingers. We recommend storing 2 fingers configuring of 2 different people for this purpose. normal mode Step Action... -
Page 12: Use
The system is in normal mode. NOTICE You can also open the door using the digital input (PIN 7, 8) on the ekey home CP mini 1 You can only delete individual fingers of a user if the person is present. -
Page 13: Deleting All User Fingers
Step Action Description Display Draw any administrator Status LED lights up blue, the the finger over the function LEDs sensor. flash green. Status LED lights up red. The administrator finger was not recognised. Repeat step 1. Wait for 5 seconds. Status LED lights up blue, the function LEDs... -
Page 14: Resetting The System To Default Settings
Step Action Description Display right green. Draw the same Status LED flashes red, the administrator finger over function LEDs the sensor as in step 1. flash green. No action Status LED lights required. up blue. Draw any user finger over Status LED lights up red. -
Page 15: Updating The Software
The finger scanner has been reset to its default settings. You can now recommission the system. Via the control panel Resetting to the default settings is only possible with the ekey home CP mini 1 and is initiated via the control panel. This can only be undertaken... -
Page 16: Maintenance
All content, artwork and any ideas contained in these operating instructions are subject to applicable copyright laws. Any transmission, relinquishment or transfer of this content or parts thereof to any third party requires the prior written consent of ekey biometric systems GmbH. Translated documentation. en│15... - Page 17 GmbH ekey biometric systems Deutschland GmbH Lunzerstraße 89, A-4030 Linz Liebigstraße 18, D-61130 Nidderau Tel.: +43 732 890 500 2500 Tel.: +49 6187 906 960 offi ce@ekey.net deutschland@ekey.net switzerland & Liechtenstein eastern adriatic region ekey biometric systems Est.


Need help?
Do you have a question about the Home and is the answer not in the manual?
Questions and answers