Kohler ENGLEFIELD SAPPHIRE Installation Manual
Square corner sliding shower
Hide thumbs
Also See for ENGLEFIELD SAPPHIRE:
- Installation manual (11 pages) ,
- Installation manual (6 pages) ,
- Installation manual (15 pages)
Advertisement
Table of Contents
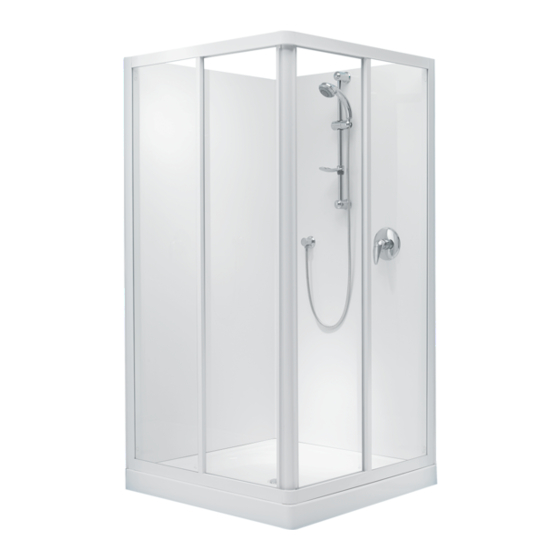
INSTALLATION GUIDE
SAPPHIRE
SQUARE CORNER SLIDING SHOWER
CAUTION
It is the responsibility of the INSTALLER to ensure that the
installation complies with council and or local authority bylaws
.
Instructions, drawings, and diagrams contained in this manual
present information available at the time of printing. Although
every attempt has been made to keep them up-to-date, Kohler
Company reserves the right to implement product changes
without further notice.
1102233-A02-B
03/09/2012
P
g a
e
1
K
o
l h
r e
C
. o
Advertisement
Table of Contents

Related Manuals for Kohler ENGLEFIELD SAPPHIRE


Summary of Contents for Kohler ENGLEFIELD SAPPHIRE
- Page 1 Instructions, drawings, and diagrams contained in this manual present information available at the time of printing. Although every attempt has been made to keep them up-to-date, Kohler Company reserves the right to implement product changes without further notice.
- Page 2 1102233-A02-B 03/09/2012...
-
Page 3: Before You Begin
SAPPHIRE shower door. CAUTION: Risk of injury or product damage. Tempered glass cannot be cut. CAUTION: Before commencing installation. KOHLER strongly recommends reading these installation instructions. ATTENTION: Please install this door on an ENGLEFIELD ®... - Page 4 2005/2/25 13 ROUGH-IN 1830mm SIZE DIMENSION ‘A’ MAX. DOOR OPENING 900 x 900 873 ± 7.5mm 470mm 1000 x 1000 973 ± 7.5mm 540mm UNIT: mm 51mm 38mm Elevation Plan view 1102233-A02-B 03/09/2012...
-
Page 5: Parts Identification
PARTS IDENTIFICATION Wall Retainer Screw ST4.2x35 Top / Bottom Track Wall Retainer Rubber Top Corner Bumper Left Bumper Top Corner Bumper Screw Roller Screw 4.2x28 Screw Head Cover Washer Roller Screw Plastic Track Insert Anchor Roller Corner Bracket Screw Cover Bottom Corner Bumper Screw Wall Frame... -
Page 6: Door Installation
DOOR INSTALLATION Measure and mark on the tray ledge near the wall, Shower Head Can Be On Either Side dimension ‘B’ out from the back wall. Align outside edge of wall retainer with the mark made on the tray ledge. Using a level, plumb the wall retainer and mark the three Pencil wall mounting holes with a pencil. - Page 7 3. Installing Panels. tray. CAUTION: Place the side with rolling wheels upwards. Top Track Wall Frame Track Roller Groove Wall Retainer Bottom Track Track Fixed Panel Bottom Track Slot Front Side 4. Installing Bumpers Remove paper backing from the rubber Bumper (Top) Wall Frame Wall Frame...
- Page 8 5. Install Corner Brackets and Corner Bumpers. Corner Bracket NOTE: Corner brackets for top tracks and bottom tracks are identical. Slide one corner bracket into the cavities Top Track of the top tracks. Top Corner From inside the shower, place the corner bumpers Bumper marked ‘T’...
- Page 9 7. Testing & Adjustment of moving panels. Top Track Screw Cover Slide one of the moving panels into the closed position. Slowly slide the other moving panel until the panels Moving Panel Roller Screw interlock at the corner. If panels do not close together smoothly, adjust one of the moving panels by loosening Retighten screws.
Need help?
Do you have a question about the ENGLEFIELD SAPPHIRE and is the answer not in the manual?
Questions and answers