Table of Contents
Advertisement
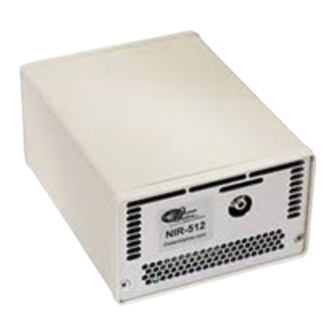
NIR Near Infrared
Fiber Optic Spectrometers
Installation and Operation Manual
Document Number 197-00000-512-02-0305
Offices:
Ocean Optics, Inc.
830 Douglas Ave., Dunedin, FL, USA 34698
Phone 727.733.2447
Fax
727.733.3962
8:30 a.m.-6 p.m. EST
Ocean Optics B.V. (Europe)
Nieuwgraaf 108 G, 6921 RK DUIVEN, The Netherlands
Phone 31-(0)26-3190500
F ax
31-(0)26-3190505
E-mail:
Info@OceanOptics.com
Info@OceanOpticsBV.com
Orders@OceanOptics.com
TechSupport@OceanOptics.com (Technical support)
(General sales inquiries)
(European sales inquiries)
(Questions about orders)
Advertisement
Table of Contents
Troubleshooting


Need help?
Do you have a question about the NIR Series and is the answer not in the manual?
Questions and answers