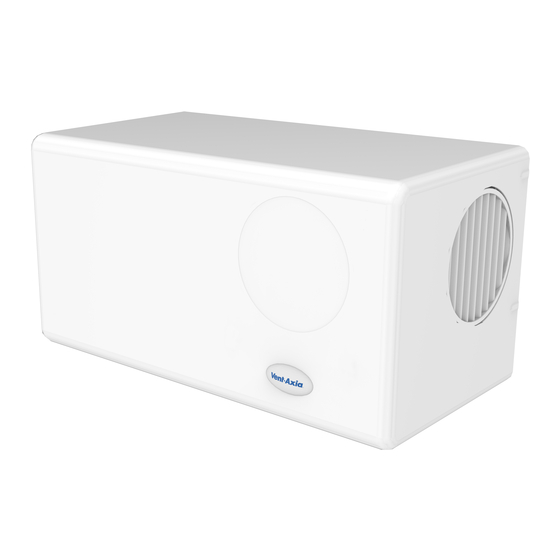
Summary of Contents for Vent-Axia PoziDry Compact Pro
- Page 1 PoziDry Compact Pro Positive Input Ventilation Unit Installation and Wiring Instructions Stock Ref. N° 479188 – PoziDry Compact Pro 220-240V~50Hz PLEASE READ INSTRUCTIONS IN CONJUNCTION WITH THE ILLUSTRATIONS. PLEASE SAVE THESE INSTRUCTIONS...
-
Page 2: Introductory Notes
Installation and Wiring Instructions for the PoziDry Compact Pro Positive Ventilation Unit. INTRODUCTORY NOTES The Unit is a positive input ventilation unit, designed to be installed on a wall of a dwelling to continually supply filtered fresh air into the building. The system consists of a fan unit with heater. -
Page 3: Unit Mounting
10. Children aged from 3 to 8 years shall only switch on/off the appliance provided the unit is installed as intended for normal operation and they have been given supervision or instruction concerning safe use of the appliance and understand the hazards involved. -
Page 4: Installation
INSTALLATION The Unit is wall-mounted using the bracket and fixings supplied (or other suitable fasteners). The wall should have sufficient strength to support the unit. Take into consideration the routing of the cable and the ducting that must be fitted to the inlet spigot. The unit can be mounted vertically or horizontally on a vertical wall. - Page 5 INLET OPTIONS OPTION - 1 OPTION - 2 If installing the unit with the air supply coming through the rear, the metal plate cut-out will need to be removed from base plate and the rear foam case will need to be cut-out before mounting. See next page for details.
-
Page 6: Base Plate
Base Plate Snip the three tabs to remove the insert Rear Foam Using the centre mark, cut through the foam housing using a hole saw... - Page 7 OUTLET OPTIONS OPTION - 1...
- Page 8 OUTLET OPTIONS OPTION - 2...
- Page 9 OUTLET OPTIONS OPTION - 3...
-
Page 10: Filter Installation
FILTER INSTALLATION Please make sure the filter is fitted correctly and retained on top of the scroll. This will ensure that all the fresh air entering the dwelling has passed through the filter first. Slide filter on top of scroll Push filter over retaining clip to secure it in place. - Page 11 COVER PLATES – GRILLE & BLANKING When using the cover plates on the front of the unit, care must be taken when snapping them free. Only the cover plate that is being used in the front of the housing needs to be modified. It is recommended to install the grille facing towards the ceiling to minimise the effect of cold draughts...
-
Page 12: Start-Up Sequence
WIRING A means for disconnection must be incorporated, in the fixed wiring in accordance with the wiring regulations. WARNING: THE POSITIVE VENTILATION UNIT AND ANCILLARY CONTROL EQUIPMENT MUST BE ISOLATED FROM THE POWER SUPPLY DURING THE INSTALLATION / OR MAINTENANCE. Mains supply voltages (220-240V AC) are present in this equipment which may cause death or serious injury by electric shock. -
Page 13: Lock Feature
(F7) filters are advisable in order to ensure the supply air is clear of these particles which are potentially harmful to health. www.vent-axia.com/filters Where ISO ePM2.5 (F7) filters are fitted, please ensure the flow rate of the fan is as expected. F7 filters cause extra system resistance so it may be necessary to increase the fan speed to compensate. -
Page 14: Speed Settings
For most installs the standard features allow for ample adjustability, however in some install situations the advanced features will improve the unit’s performance or acceptability. Radon mode keeps the fan running even at high temperatures to prevent the build-up of dangerous radon gas in the property. - Page 15 In this example the display is showing 34Wh of energy consumption in the previous 24h. To exit the menu press MODE for 5 seconds or wait for the screen to switch off. Spares and accessories available for the Pozidry Compact Pro: Spares and Accessories...
- Page 16 Vent-Axia guarantees this product for 7 years from date of purchase against faulty material or workmanship. In the event of any part being found to be defective, the product will be repaired, or at the Company’s option replaced, without charge, provided that the product:- ...


Need help?
Do you have a question about the PoziDry Compact Pro and is the answer not in the manual?
Questions and answers