Table of Contents
Advertisement
Assembly Instructions
& User's Manual
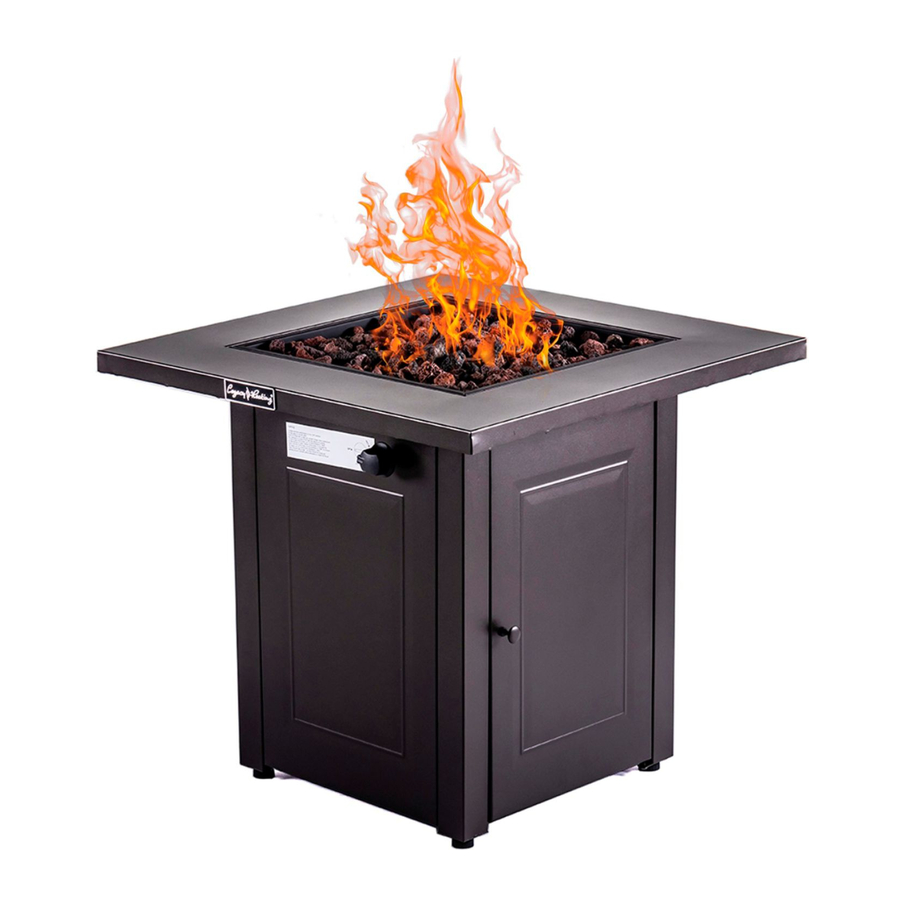
Model No :CDF-WMGB28/WELLFP5010
FOR OUTDOOR USE ONLY.
KEEP THE INSTRUCTIONS FOR FUTURE REFERENCE.
If you have any question or concerns, please contact California Outdoor Design at the below resources:
Toll Free Phone: 800-305-8803 Monday-Friday , 8am-4:30pm
Email: Service @legacyheatcalifornia .com
Advertisement
Table of Contents
Troubleshooting

Related Manuals for Legacy Heating CDF-WMGB28


Summary of Contents for Legacy Heating CDF-WMGB28
- Page 1 Assembly Instructions & User’s Manual Model No :CDF-WMGB28/WELLFP5010 FOR OUTDOOR USE ONLY. KEEP THE INSTRUCTIONS FOR FUTURE REFERENCE. If you have any question or concerns, please contact California Outdoor Design at the below resources: Toll Free Phone: 800-305-8803 Monday-Friday , 8am-4:30pm...
-
Page 2: Table Of Contents
Table of Contents Warnings ………….……………………………………………….2-5 Hardware and Tools....…………………..……………………6 Parts ..................7 Assembly Instructions …….………………………………………8-10 Installing Instructions..………………………………………..11-12 Operating Instructions ……………………………......13 Lighting..................14 Cleaning and Care …………………………………....15-16 Troubleshooting ….……………………………......17-18 Care and Maintenance..............19 Warranty Information..............19 Caution: Do not attempt to operate until you have read & understand all General Safety Information in this manual and all assembly is complete &... -
Page 3: Warnings
Warnings WARNING FOR YOUR SAFETY: Read these instructions before using this appliance. The appliance must be installed in accordance with the instructions and local regulations. The use of this appliance in enclosed areas can be dangerous and is PROHIBITED. Do the leak test after each changing of cylinder. Never check for leaks with a match or open flame. - Page 4 Warnings WARNING DANGER WARNING indicates an imminently DANGER indicates an imminently hazardous situation which, if not hazardous situation which, if not avoided, could result in death or avoided, will result in death or serious injury. serious injury. DANGER CAUTION CAUTION indicates an imminently Do not store or use gasoline or hazardous situation which, if not other flammable vapor and liquids...
- Page 5 Warnings DANGER Solid fuels shall not be burned in this appliance DANGER The maximum inlet gas supply pressure: Max . 250PSI . Min 5PSI DANGER “Do not use this appliance if any part has been under water. Immediately call a qualified service technician to inspect the appliance and to replace any part of the control system and any gas control that has been under water.”...
-
Page 6: Warnings
Warnings You must provide propane gas and propane cylinder. Use a standard 20 lb. propane cylinder only. Use this heater only with a propane vapor withdrawal supply system. See Chapter 5 of the Standard for Storage and Handling of Liquified Petroleum Gas, ANSI/NFPA 58. Your local library or fire department should have this book. -
Page 7: Hardware And Tools
Hardware Door handle 1 set Wing nut 1 set PREPARATION --Select an area where you will assemble this product. To protect components, choose a smooth non abrasive surface that's free of cracks or openings. --Spread out all parts. --Tighten all hardware connections by hand first. Before completing each step, go back and fully tighten all hardware. -
Page 8: Parts
Parts List S/N Description Quantity S/N Description Quantity Leg with Tab Leg with Magnet Igniter Housing* Door Handle Regulator/Hose Assembly* Base Side Panel Page 7 of 20... - Page 9 Assembly Step 1: door handle Remove the screws and washer from the door handle ( c ). Attach the door handle ( c ) to door ( 12 ), then tighten the handle. Attach door (12) to leg (10) using M6X25 (b) - 2PC Note:...
-
Page 10: Assembly Instructions
Assembly Instructions Step 3: Attach side panels (8) and side panel ( 11) with M6X12 (a) -12 pcs. Step 4: Note :the base's direction Note :the base's direction Attach the wing nut ( d ) to base (16). Attach base (16) by rotating to vertical position and lowering it into the center of the side panels. Rotate base (16) to horizontal position and attach with M6x25 (b) screws –... - Page 11 Assembly Instructions Step 5: Turn unit upright. lace lava rocks. CAUTION: Do Not dump lava rocks out of package. Carefully place lava rocks by hand so that dust will not clog burner. CAUTION: Do Not cover pilot hosing. Note: Lava rocks should be 0.8-2.0 in. (2-5 cm long. Approx. 5.5 lbs (2.5 kg) of lava rocks are needed (included).
-
Page 12: Installing Instructions
Installing LP Gas Tank To operate, you will need one precision-filled standard LP grill gas tank with external valve threads.. CAUTION: LP gas tank must be properly disconnected and removed prior to moving this outdoor fireplace. Inserting and securing LP gas tank WARNING: Make sure LP gas tank valve is closed. - Page 13 Installing LP Gas Tank Connection LP gas tank 1. Before connecting, be sure there is no debris caught in the head of the LP gas tank, head of the regulator valve or in the head of the burner or burner ports. 2.
-
Page 14: Operating Instructions
Operating Instructions Checking for leaks *WARNING: Before using this outdoor fireplace, make sure you have read , understand and are following all information provided in the “Warnings” section. Failure to follow those instructions can cause death, serious injury or property damage. Burner connections 1. -
Page 15: Lighting
Lighting CAUTION:Keep outdoor gas appliance area clear and free from combustible material, gasoline and other flammable vapors and liquid. CAUTION:Do NOT obstruct the flow of combustion and ventilation air. CAUTION:Check and clean burner/ venturi tubes for insects and insect nests. A clogged tube can lead to a fire. -
Page 16: Cleaning And Care
Cleaning and Care CAUTION: 1. All cleaning and maintenance should be done when outdoor fireplace is cool and with the fuel supply disconnected. 2. Do Not clean any outdoor fireplace part in a self-cleaning oven. The extreme heat will damage the finish. 3. - Page 17 Cleaning and Care Cleaning surface 1. Wipe surface clean with mild dishwashing detergent or baking soda mixed with water. 2. For stubborn stains, use a citrus-based cleaner and nylon scrubbing brush. 3. Rinse clean with water. 4. Allow to air dry. Before Storing 1.
-
Page 18: Troubleshooting
TROUBLESHOOTING: Problem Possible Cause Prevention/Cure Make sure regulator is securely attached to the LP gas LP gas tank valve is closed tank per " Installing LP Gas Tank" section, then turn LP gas tank valve to "ON" Check if LP gas tank is empty. A.If empty exchange, No gas flow refill or replace B.If LP gas tank is not empty, refer to "Sudden drop in gas flow or reduced flame height"... -
Page 19: Troubleshooting
TROUBLESHOOTING: Problem Possible Cause Prevention/Cure New burner may have residual Burn outdoor fire pit for 15 minutes and manufacturing oils inspect. Spider webs or inset nest in Flame is yellow or orange Clean burner/venture tube burner/venture tube Poor alignment of valve to Ensure/burner/venture tube is properly burner/venture tube engaged with valve... -
Page 20: Care And Maintenance
CARE AND MAINTAINCE Service: Repair gas passages and associated components should be done only by a qualified service person. Caution: Always allow heater to cool before attempting service. Warranty Information This product has a 1 year guarantee against defects in material and/or workmanship.
Need help?
Do you have a question about the CDF-WMGB28 and is the answer not in the manual?
Questions and answers