Table of Contents
Advertisement
Quick Links
APPLICATIONS:
REQUIRED ACCESSORIES:
TECHNICAL SPECIFICATIONS
CT10
: 8 ohm and 16W multi-tap 70.7V or 100V trans-
former, with torsion spring mounting hardware
DIMENSIONS
Unless otherwise specifi ed all dimensions are in inches
[mm]
13.00 [330]
PRODUCT WEIGHT:
Page 1
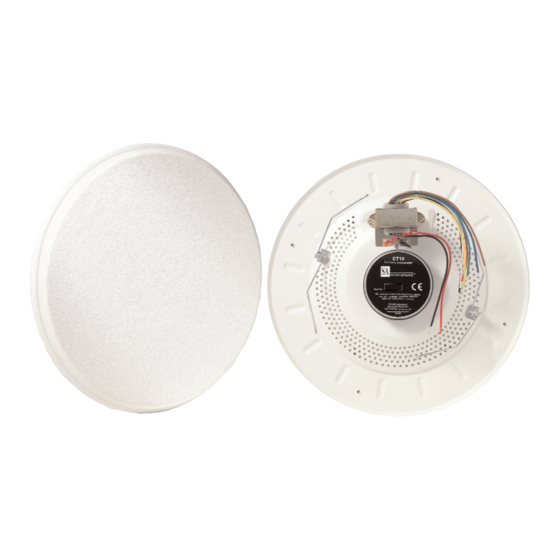
CT10 Loudspeaker with Accessories
Installation into sheetrock ceilings**, Installation into drop ceilings**
Installation into Concealed Spline Ceilings**, **with or without back-
box — new or existing construction
See Text
.56 [14]
2.49 [63]
4.2 lb (1.91kg)
33-4204
INSTALLATION INSTRUCTIONS
ACCESSORY DATA
PBB8-10 Industry Standard Stackable Enclosure (Back-
can). Weight 1.9 lb. (0.86 kg.)
10.25 [260]
12.25 [311]
The CT10 loudspeaker can be installed using most indus-
try standard 8" loudspeaker mounting accessories and
will retrofi t into almost all existing standard 8" diameter
loudspeaker openings.
UMB8-10 Universal Mounting Bracket (Tile Bridge), for
use with or without backcan. Weight 2.8 lb. (1.22kg)
23.75 [603.3]
04/06
4.25 [108]
1.29 [32.8]
13.44 [341.4]
CT10
Advertisement
Table of Contents

Summary of Contents for Sound Advance CT10
-
Page 1: Installation Instructions
PBB8-10 Industry Standard Stackable Enclosure (Back- can). Weight 1.9 lb. (0.86 kg.) 10.25 [260] The CT10 loudspeaker can be installed using most indus- try standard 8” loudspeaker mounting accessories and will retrofi t into almost all existing standard 8” diameter loudspeaker openings. -
Page 2: Unpacking And Inspection
CT10 INSTALLATION The notes below are intended to provide general informa- tion and assistance in the installation of a CT10 and its compatible hardware in a variety of situations, and shall not be used as a step-by-step installation guide. Although the CT10 can be installed using most industry- standard 8”... -
Page 3: Loudspeaker Connection
Please refer to the instructions provided with the UMB8-10. • SOUND ADVANCE does not recommend installing a CT10 loudspeaker in walls and fascias. The springs may be subject to uneven compression, which can result in speaker displacement. • Backcans and plaster rings with U-shaped torsion spring receptacles are NOT compatible with SOUND ADVANCE products. -
Page 4: Final Installation
Remove the protective cardboard disk. PBB8-10 Backcan UMB8-10 Mounting Bracket CT10 Speaker If a situation should arise which cannot be resolved through the information contained in these installation instructions, please contact SOUND ADVANCE Customer Support Services at (800) 592-4644 or (949) 492-5449 Monday-Friday 8 AM to 5 PM Pacifi...


Need help?
Do you have a question about the CT10 and is the answer not in the manual?
Questions and answers