
Related Manuals for Franklin Electric FPS MH Series


Summary of Contents for Franklin Electric FPS MH Series
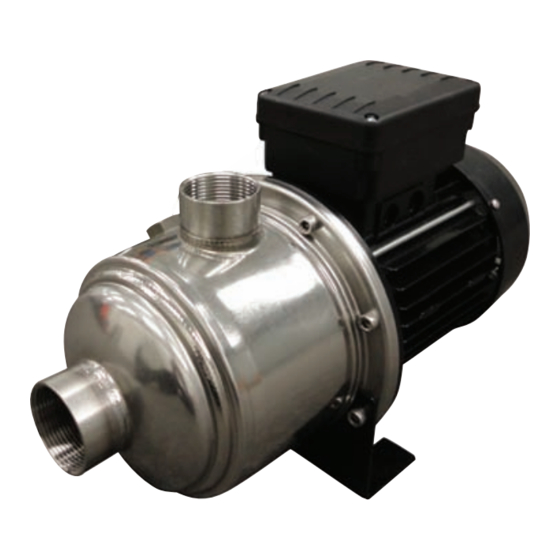
- Page 1 50 Hz Horizontal Multistage Centrifugal Pumps Assembly and Disassembly Instructions...
-
Page 3: Disassembly Procedure
Disassembly Procedure Unloose the screws of fan cover and Remove the fan by means of a remove it. screwdriver. Remove the plugs from the pump casing Using a bench vice lock the pump from the motor shaft then release the preload screws as shown in the picture. - Page 4 Disassembly Procedure Remove the O-ring from the seal plate. Unscrew and then remove the impellers’ pre-loading nut and washer. Remove stages, spacers and impellers. 10. Remove the mechanical seal locking disk, split rings and washer. Insert the specific tool /pipe having very 12.
- Page 5 Disassembly Procedure 13. Remove the static portion of the 14. Unscrew and then remove the tie bolts. mechanical seal from the seal plate. 15. Pull out together the rotor and motor 16. Remove the motor cover and the flange. compensation ring. Extract the rotor from the motor flange.
-
Page 6: Reassembly Procedure
Re-assembly Procedure 18. Insert the rotor into motor flange. 19. Couple the stator 19. Insert the rotor into motor flange. with motor flange. 20. Place the compensation spring on top of 21. Couple the motor flange. motor bearing. 22. Insert and fasten the tie bolts. 23. - Page 7 Re-assembly Procedure 24. Use the alcool to lubiricate the static part 25. Place the seal plate as shown. of the mechanical seal and then put the seal into its housing. 26. Lubricate the mechanical seal,and slide Bring the seal faces together and it down on the shaft.
- Page 8 Re-assembly Procedure 30. Tighten firmly the preloading nut and its 31. Couple the O-ring to the seal plate. washer. 32. Lubricate the O-ring with alcohol and 33. Position the motor holder. then position the pump casing. 34. Secure the pump casing to the motor by 35.
- Page 9 Re-assembly Procedure 36. By means of a mallet put back the motor Position the motor fan cover and tighten fan. it firmly.
- Page 10 Notes...
- Page 11 Notes...
-
Page 12: Australia/New Zealand
AUSTRALIA / NEW ZEALAND Franklin Electric (Australia) Pty. Ltd. 106-110 Micro Circuit Dandenong South, Victoria 3175 Australia Toll Free: 1300 FRANKLIN 1300 372 655 Fax: +61 3 9799 5050 Tel: +61 3 9799 5000 www.franklin-electric.com.au FE663 07/11...
Need help?
Do you have a question about the FPS MH Series and is the answer not in the manual?
Questions and answers