Table of Contents
Advertisement
Quick Links
Quick Installation Guide
Moxa Americas:
Toll-free: 1-888-669-2872
Tel:
1-714-528-6777
Fax:
1-714-528-6778
Moxa Europe:
Tel:
+49-89-3 70 03 99-0
Fax:
+49-89-3 70 03 99-99
Moxa India:
Tel:
+91-80-4172-9088
Fax:
+91-80-4132-1045
UC-8100A-ME-T
Edition 1.0, January 2019
Technical Support Contact Information
www.moxa.com/support
2019 Moxa Inc. All rights reserved.
Moxa China (Shanghai office):
Toll-free: 800-820-5036
Tel:
+86-21-5258-9955
Fax:
+86-21-5258-5505
Moxa Asia-Pacific:
Tel:
+886-2-8919-1230
Fax:
+886-2-8919-1231
P/N: 1802081121010
*1802081121010*
Advertisement
Table of Contents

Related Manuals for Moxa Technologies UC-8100A-ME-T


Summary of Contents for Moxa Technologies UC-8100A-ME-T
- Page 1 UC-8100A-ME-T Quick Installation Guide Edition 1.0, January 2019 Technical Support Contact Information www.moxa.com/support Moxa Americas: Moxa China (Shanghai office): Toll-free: 1-888-669-2872 Toll-free: 800-820-5036 Tel: 1-714-528-6777 Tel: +86-21-5258-9955 Fax: 1-714-528-6778 Fax: +86-21-5258-5505 Moxa Europe: Moxa Asia-Pacific: Tel: +49-89-3 70 03 99-0...
- Page 2 Warranty card • IMPORTANT! Notify your sales representative if any of the above items are missing or damaged. UC-8100A-ME-T Panel Layout The following figures show the panel layouts of the UC-8100A-ME-T: Top Panel View Bottom Panel View - 2 -...
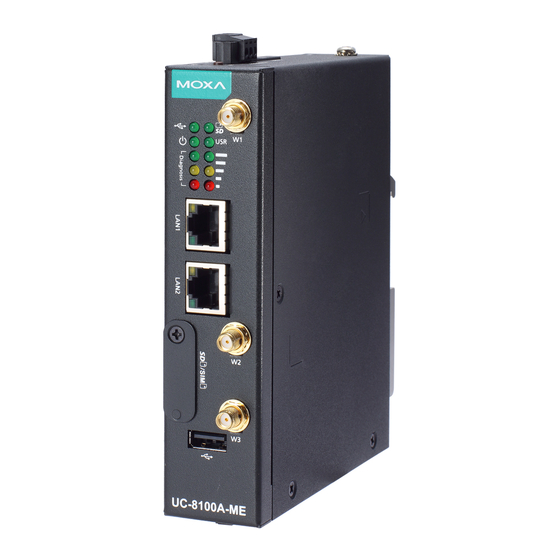
- Page 3 Front Panel View LED Indicators LED Name Color Function Steady On USB device is connected and working normally. Green USB device is not connected. Steady On SD Card inserted and working normally. Green SD card is not detected. Power is on and the computer is working Green normally.
- Page 4 DIN-rail Mounting The aluminum DIN-rail attachment plate is already attached to the product’s casing. To mount the UC-8100A-ME-T on to a DIN rail, make sure that the stiff metal spring is facing upwards and follow these steps. Pull down the bottom slider...
- Page 5 Wall Mounting (Optional) The UC-8100A-ME-T can be mounted with a wall-mounting kit that needs to be purchased separately. Follow these steps to mount the computer on to a wall: Step 1 Step 2 Use four screws to fasten the Use another four screws to mount...
- Page 6 RXD- SD/SIM Card Sockets The UC-8100A-ME-T comes with an SD socket for storage expansion, and a SIM card socket for cellular communication. The SD card/SIM card sockets are located at the lower part on the front panel. To install the cards, remove the screw and the protection cover to access the sockets, and then insert the SD card or the SIM card into the sockets directly.
- Page 7 There is a risk of explosion if the battery is replaced with an incorrect type of battery. Accessing the UC-8100A-ME-T Using a PC You can use a PC to access the UC-8100A-ME-T by one of the following methods: A. Through the serial console port with the following settings:...
Need help?
Do you have a question about the UC-8100A-ME-T and is the answer not in the manual?
Questions and answers