Table of Contents
Advertisement
Quick Links
REVISION D
Form No. 3314492.000 09/16
(French 3314493.000_D)
©2016 Dometic Corporation
LaGrange, IN 46761
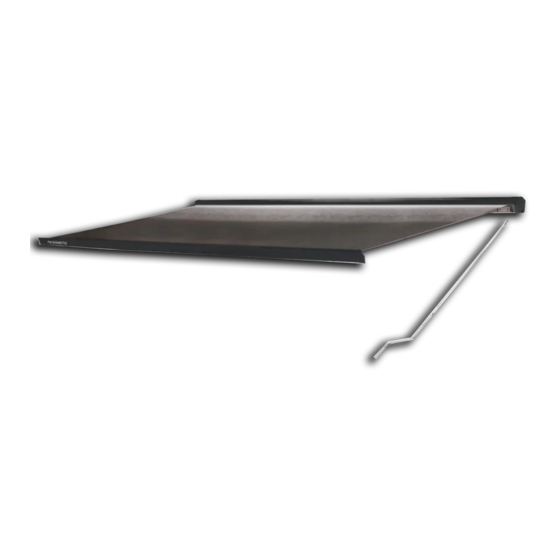
CASE / CASSETTE AWNING
200(LL)(CC).003(#)
Read these instructions carefully. These
instructions MUST stay with this product.
USA
SERVICE OFFICE
Dometic Corporation
1120 North Main Street
Elkhart, IN 46514
RECORD THIS INFORMATION FOR FUTURE
REFERENCE:
Model Number
Serial Number
Date Purchased
Retailer / Qualified Installer
TYPE
9500
MANUAL
MODEL
CANADA
Dometic Corporation
46 Zatonski, Unit 3
Brantford, ON N3T 5L8
CANADA
SERVICE CENTER &
DEALER LOCATIONS
Please Visit:
www.eDometic.com
Advertisement
Table of Contents

Summary of Contents for Dometic 9500 200 003 Series
- Page 1 REVISION D DEALER LOCATIONS SERVICE OFFICE Dometic Corporation Form No. 3314492.000 09/16 Dometic Corporation 46 Zatonski, Unit 3 Please Visit: (French 3314493.000_D) 1120 North Main Street Brantford, ON N3T 5L8 www.eDometic.com ©2016 Dometic Corporation Elkhart, IN 46514 CANADA LaGrange, IN 46761...
-
Page 2: Table Of Contents
This product can be installed by one person with brief help from additional personnel. Use these instructions to ensure correct installation and function of product. Dometic Corporation reserves the right to modify appearances and specifications without notice. TABLE OF CONTENTS INTRODUCTION ..................................2... -
Page 3: Important Safety Instructions
IMPORTANT SAFETY INSTRUCTIONS This manual has safety information and instructions to help I ncorrect [installation / operation / servicing / you eliminate or reduce the risk of accidents and injuries. maintaining] of this product can lead to seri- ous injury. Follow all instructions. Recognize Safety Information The installation MUST comply with all ap- ... -
Page 4: Specifications
SPECIFICATIONS Door Clearance Awning Dimensions Allow for sufficient clearance be- IMPACT OR CRUSH HAZARD. Lo- tween awning fabric and entry door to accommo- cate mounting bolts behind each shoulder assem- date awning pitch (slope). bly (lateral arm attachment) to provide proper sup- port. -
Page 5: Installation
INSTALLATION Determine Awning Location FIG. 5 Mounting RV Wall (Structure Not Shown) Bracket 1. S tructural backing: Backing Plate IMPACT OR CRUSH HAZARD. (Optional-Installer Supplied) Make sure mounting surface on RV is flat, has solid structural backing where fasteners pene- trate surface, and will safely and securely sup- port product. -
Page 6: Install Mounting Bracket
INSTALLATION Install Mounting Bracket 5. IMPACT OR CRUSH HAZARD. Do NOT over-tighten fasteners. Applying too 1. Install mounting bracket(s) on a much torque may cause fasteners/threads to flat surface, and level to ensure correct function fail, and could allow product to collapse. Failure and appearance. -
Page 7: Install Awning
INSTALLATION Install Awning 4. IMPACT OR CRUSH HAZARD. Do NOT operate or leave awning unattended un- 1. LIFTING HAZARD. Use proper til it is securely fastened to mounting bracket(s). lifting technique and control when lifting product. Otherwise, awning could dislodge and fall. Fail- Failure to obey this caution could result in injury. -
Page 8: Adjustments (Optional)
ADJUSTMENTS (OPTIONAL) Adjust Fabric Slope (If Desired) FIG. 14 Shoulder Bracket This awning is factory preset for a 5° fabric slope to help accommodate water runoff. Alternatively, the Pitch Adjustment awning may be set for a steeper slope (up to 15°) Screw if adequate clearance (for door, etc.) is available. - Page 9 ADJUSTMENTS (OPTIONAL) FIG. 15 FIG. 17 (Top) Tilt Adjustment Screw(s) Shoulder Lateral Arm Shoulder Pivot Bracket Assembly Pivot Clamp Screw Front Shoulder Collet (Bottom) Tilt Adjustment Back Shoulder Elbow Clearance Back Rail Screw(s) Collet 1. E xtend awning far enough (approximately 1′) to 4.
-
Page 10: Adjust Lead Rail Alignment (If Required)
ADJUSTMENTS (OPTIONAL) 7. Tighten both pivot clamp screws to 140 in·lb 4. Retract awning again to check alignment of lead torque (to clamp front shoulder collet to shoul- rail against top and end caps. der pivot). 5. Repeat steps (2) through (4) as necessary. ...


Need help?
Do you have a question about the 9500 200 003 Series and is the answer not in the manual?
Questions and answers